What Makes Bubbles Last Longer? Easy Science Fair Experiment
This bubble science fair project compares three homemade bubble solutions—Dawn dish soap and water, the same mixture with sugar, and the same mixture with glycerin—to find out what makes bubbles last longer.
It is a simple, repeatable experiment for science fairs, homeschool, classroom STEM, or a rainy afternoon, and it uses the same blower, surface, room conditions, and timer to make the comparison as fair as possible.
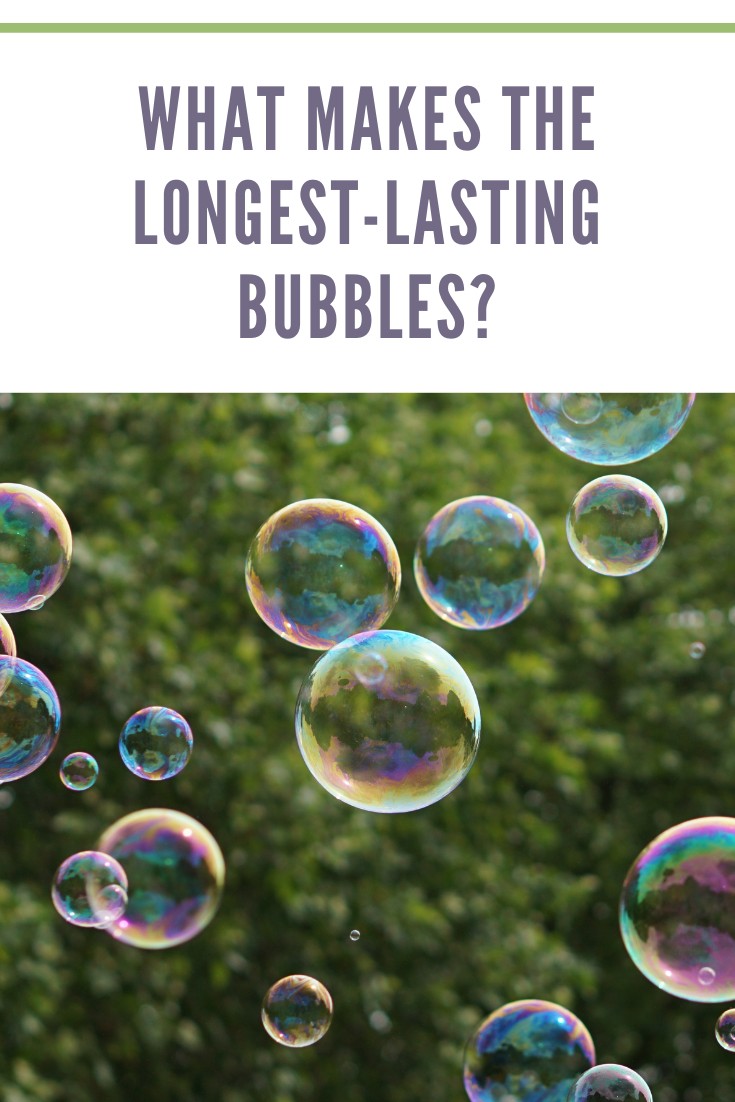
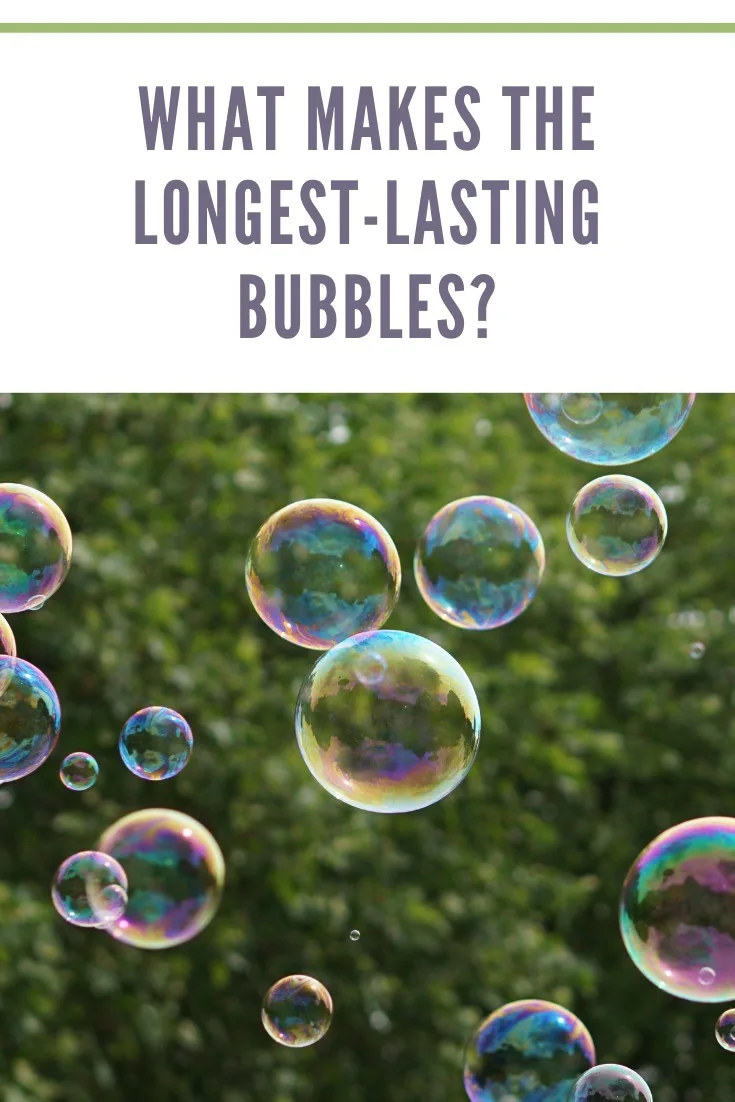
Longest-Lasting Bubbles Science Fair Project
The question behind this experiment is wonderfully simple: which bubble recipe makes bubbles that last the longest?
We tested three solutions:
- Dawn dish soap and water
- Dawn dish soap, water, and sugar
- Dawn dish soap, water, and glycerin
Then we used the same bubble blower, the same damp surface, the same timer, and the same general room conditions to compare them. Jake’s original plan was to blow ten bubbles from each solution and time how long each bubble lasted before it popped.
That is what makes this a useful science fair project. The ingredients are simple, but the question can be tested, timed, recorded, compared, and explained.
Quick Answer: Which Bubble Recipe Lasted Longest?
The bubble recipe with glycerin was the clear winner. Of the three solutions we tested—dish soap and water, dish soap with sugar, and dish soap with glycerin—the glycerin bubble solution produced the longest-lasting bubbles in our experiment.
Jake had originally hypothesized that the plain dish soap and water recipe would last the longest, so the results surprised us. That is exactly what made this such a good science fair project: we made a prediction, tested all three recipes under the same conditions, and let the results—not the hypothesis—determine the answer.
Readers Also Make These Hands-On Science Projects
If one good question always leads to another at your house, try our Laundry Lab science fair project to compare which detergent works best on real stains, or make 2-ingredient Oobleck for another wonderfully messy lesson in hands-on science.
Why You’ll Love This Science Fair Project
- It asks one clear question: Which bubble recipe makes the longest-lasting bubbles?
- It uses simple ingredients: Dish soap, water, sugar, and glycerin are the heart of the experiment.
- The results are measurable: Each bubble is timed until it pops.
- It teaches fair testing: The recipe changes while the other testing conditions stay as consistent as possible.
- It is visual: Bubbles, timers, charts, photographs, and a science board make the project easy to explain.
- It came from a real family experiment: Jake first completed this project years earlier, and the younger kiddos repeated it to see whether they would get the same result.
Science Fair Question
Which of three homemade bubble recipes creates the longest-lasting bubbles?
The purpose of the project is to compare bubbles made from plain dish soap and water with bubbles made from solutions containing sugar or glycerin.
Our Hypothesis
Jake’s original hypothesis was:
“If I blow ten bubbles from each bubble recipe and time how long it takes before each bubble pops, I believe the recipe with the soap and water will create the longest-lasting bubbles.”
I love keeping the original hypothesis because that is the point of an experiment. You make your best prediction before the testing begins, then let the results tell the story.
A hypothesis does not have to be correct to make a successful science project. Sometimes the most interesting part is discovering that the bubbles had other plans.
Ingredients
You will make three separate bubble solutions. Label the containers before mixing so Recipe #1 does not mysteriously become Recipe “I Think This Was the Sugar One.”
Bubble Recipe #1: Dish Soap and Water
- 1/4 cup Dawn dish soap
- 1 cup water
Bubble Recipe #2: Dish Soap, Water, and Sugar
- 1/4 cup Dawn dish soap
- 1 cup water
- 1 tablespoon sugar
Bubble Recipe #3: Dish Soap, Water, and Glycerin
- 1/4 cup Dawn dish soap
- 1 cup water
- 1 tablespoon glycerin
Other Materials
- 3 separate containers for the bubble solutions
- Labels and a permanent marker
- Garbage bag or another table covering
- Spray bottle filled with water
- One pipe cleaner for making the bubble blower
- One testing surface
- Timer or stopwatch
- Science log book or notebook
- Pencil
- Data chart for recording each bubble’s lifespan
How to Test Which Bubble Recipe Makes the Longest-Lasting Bubbles
The experiment is straightforward: mix the three bubble solutions, make one bubble at a time under the same testing conditions, time each bubble until it pops, and record every result.
Step 1: Prepare the Testing Area
Cover the table with a garbage bag or another protective covering. Keep the testing area away from strong drafts, fans, open doors, or anything else that could give one bubble an unfairly dramatic ending.
Use the same testing surface for every bubble.
Step 2: Label and Mix the Three Bubble Solutions
Label three separate containers Recipe #1, Recipe #2, and Recipe #3.
Mix each solution in its own container using the measurements above. Keep the same amount and brand of dish soap in every recipe and use water at the same temperature.
Step 3: Lightly Spritz the Testing Surface
We lightly spritzed the surface before placing the bubbles on it.
Step 4: Use the Same Bubble Blower
We made a simple blower from a pipe cleaner and used it for all three recipes.
Using the same blower helps keep the testing process consistent. Try to make the bubbles as similar in size as possible and use a gentle, steady breath each time.
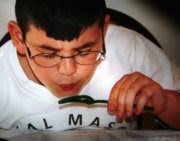
Step 5: Blow and Time One Bubble
Dip the blower into the first solution and create one bubble on the prepared surface.
Start the timer when the bubble is in place. Stop the timer the moment the bubble pops.
Write the lifespan in your science log book immediately. Trust me, by Bubble Number 23, “I’ll remember that one” is no longer a dependable data system.

Step 6: Test Ten Bubbles From Each Recipe
Repeat the process until you have timed ten bubbles from Recipe #1.
Then repeat the exact same process with Recipe #2 and Recipe #3.
Record every trial. Testing ten bubbles per recipe gives you 30 bubble times to compare.
Step 7: Calculate the Average Bubble Lifespan
Add the ten bubble times for each recipe, then divide the total by 10.
Average bubble lifespan = total seconds for 10 bubbles ÷ 10
Compare the three averages. The recipe with the highest average time created the longest-lasting bubbles in your experiment.
Independent, Dependent, and Controlled Variables
One important improvement to the original article is making the variables clearer.
Independent Variable
The independent variable is the bubble solution recipe:
- Dish soap and water
- Dish soap, water, and sugar
- Dish soap, water, and glycerin
This is the factor intentionally changed during the experiment.
Dependent Variable
The dependent variable is how long each bubble lasts before it pops, measured with the same timer.
Controlled Variables
Keep these conditions as consistent as possible:
- Same amount of dish soap
- Same amount of water
- Same brand of dish soap
- Same water temperature
- Same testing surface
- Same bubble blower
- Similar bubble size
- Similar air pressure when blowing
- Same room temperature
- Minimal drafts
- Same timer
- Same number of bubbles tested for each recipe
No home science experiment is perfectly identical from one bubble to the next. The goal is to control as many conditions as reasonably possible and explain what you did.
Keep a Science Project Log Book
We recorded the project in a science log book as we worked.
The log book is where the experiment really lives. Use it to record:
- The date of each test
- The three recipes
- Your hypothesis
- Every bubble time
- Anything unusual that happened
- Questions that came up during testing
- Ideas for improving the experiment
- Your final averages and conclusion

Our Long Family History With Science Fairs
This experiment has a little history at our house.
Jake first did Bubble-ology more than a decade before we repeated it with the younger kiddos. We wanted to know whether they would get the same result he did.
Science fair season was practically a family season for us. The fair happened in February, and we often used Christmas vacation to work on experiments while we had time to test, retest, take pictures, stare at charts, and ask ourselves why we had somehow chosen a project involving 30 timed bubbles.
My children completed plenty of science fair projects over the years, and several advanced to the district level. That taught us something important: a good project does not need to begin with complicated equipment.
Sometimes it begins with dish soap, a pipe cleaner, a timer, and a kid who wants to know which bubble refuses to give up first.
Our Results: The Glycerin Bubble Recipe Won
The bubble solution made with Dawn dish soap, water, and glycerin was the clear winner in our experiment. Its bubbles lasted longer than the bubbles made with plain dish soap and water and the solution made with added sugar.
That meant Jake’s original hypothesis was not supported by the results. He had predicted that the simplest recipe—dish soap and water—would create the longest-lasting bubbles, but the glycerin solution outperformed it.
And honestly, that made the project more interesting. A science fair experiment is not about proving your guess was right. It is about testing a question carefully, recording what happens, and being willing to change your conclusion when the evidence says otherwise.
What We Learned From the Bubble Experiment
The biggest lesson is not simply that one recipe wins.
The experiment teaches kids how to:
- Turn a question into a testable science project
- Write a hypothesis before seeing the results
- Change one main factor at a time
- Keep other testing conditions consistent
- Record results instead of relying on memory
- Repeat a test more than once
- Use averages to compare multiple trials
- Accept the results even when the hypothesis is wrong
That last one may be my favorite.
Science is not about making the bubbles agree with you. It is about paying attention to what they actually do.
Perfect With a Rainy Afternoon or Science Fair Season
This bubble experiment is a natural fit for winter science fair season, homeschool lessons, classroom STEM, summer bubble play, or those rainy afternoons when the kiddos are climbing the walls and you would prefer they experiment with bubbles instead.
For more screen-free projects, sensory play, hands-on learning, and kid-friendly STEM ideas, explore the Kids Crafts & Activities collection.
Expert Tips for Testing Bubbles Fairly
- Label everything before mixing. Three clear solutions can become confusing surprisingly fast.
- Use the same measuring tools. Measure each recipe as consistently as possible.
- Keep the testing order organized. Finish and record one recipe before moving to the next.
- Use the same blower. Changing the wand adds another difference to the experiment.
- Avoid strong drafts. Fans, vents, doors, and people walking past can affect the test.
- Try for similar bubble sizes. Perfectly identical bubbles are unrealistic, but consistency helps.
- Record the time immediately. Do not trust anyone to remember ten bubble times correctly.
- Test the same number of bubbles. We planned ten trials for each recipe.
- Take photographs as you go. The testing process makes the science fair board much easier to understand.
Troubleshooting the Bubble Experiment
Why do the bubbles pop immediately?
Check the testing area for drafts and make sure you are using the same lightly damp surface for each trial. Also make sure the blower and testing setup are being handled consistently.
What if I cannot make every bubble the same size?
That is normal in a home science project. Use the same blower and try to blow with the same gentle, steady pressure each time. Note the limitation in your log book.
What if one bubble lasts much longer than all the others?
Record it. That is why you test multiple bubbles and calculate an average instead of declaring a winner after one spectacular bubble.
What if I make an obvious testing mistake?
Write down what happened. If a bubble was hit by a draft, the timer was started late, or the wrong solution was used, note the error and repeat that trial rather than silently changing the data later.
What if I forget which solution is which?
That is your sign to stop, relabel, and begin again. Good science and mystery containers are not friends.
Variations and Creative Ideas
Once you finish the original three-recipe experiment, the next science question is already waiting.
- Compare different brands of dish soap.
- Test tap water against distilled water.
- Compare freshly mixed solutions with solutions made ahead of time.
- Test bubbles indoors and outdoors.
- Compare different bubble wand shapes.
- Test whether bubble size changes how long a bubble lasts.
- Repeat the original experiment in a different season.
Choose only one new variable for each new experiment. Otherwise, you may know that something changed without knowing what caused the difference.
How to Make the Science Fair Display Board
Once the testing is finished, turn the experiment into a story that someone can understand while standing in front of the board.
Include:
- Project title
- Science fair question
- Purpose
- Hypothesis
- Background information
- Materials
- Three bubble recipes
- Procedure
- Independent variable
- Dependent variable
- Controlled variables
- Data table
- Graph of the average bubble times
- Results
- Conclusion
- Original experiment photographs
Keep the most important information large enough to read from a comfortable distance. The board should help your child explain the experiment—not force the audience to solve a wall-sized word search.

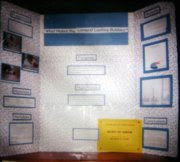
A Little History About the Original Elmer’s Project
This article began years ago as part of a sponsored Elmer’s campaign, which explains the old URL and some of the original photographs.
We did use a tri-fold project board for our science fairs, and after several children and more than one trip to district-level competition, I learned to check the school’s display-board size rules before decorating anything.

The sponsorship is no longer the reason to read this page. The bubble experiment is.
Longest-Lasting Bubbles Science Fair Project FAQs
What makes bubbles last longer?
This experiment tests whether changing the bubble recipe changes how long the bubbles last. It compares plain dish soap and water with solutions containing sugar or glycerin while keeping the rest of the testing process as consistent as possible.
Which bubble solution lasts the longest?
Test ten bubbles from each solution, calculate the average lifespan for each recipe, and compare the three averages. The solution with the highest average time is the longest-lasting bubble recipe in your experiment.
How do you test which bubbles last the longest?
Use the same blower and testing surface for every solution. Blow one bubble at a time, time it until it pops, record the result, and repeat ten times for each recipe. Compare the average lifespan of the three solutions.
What are the three bubble recipes in this science fair project?
Recipe #1 uses dish soap and water. Recipe #2 adds sugar. Recipe #3 adds glycerin. Each recipe uses the same amount of dish soap and water so the added ingredient is the main recipe difference.
How many bubbles should I test?
Jake’s original experiment called for ten bubbles from each of the three recipes, for a total of 30 timed bubbles.
What is the independent variable in the bubble experiment?
The independent variable is the bubble solution recipe: plain soap and water, the sugar solution, or the glycerin solution.
What is the dependent variable?
The dependent variable is how long each bubble lasts before it pops.
What should stay the same during the experiment?
Keep the dish soap brand, water amount, water temperature, blower, testing surface, room conditions, timer, and number of trials as consistent as possible.
Can I use a different brand of dish soap?
Yes, but use the same brand in all three recipes. Changing the soap brand and the added ingredient at the same time would make it harder to know which difference affected the results.
What should go on a longest-lasting bubbles science fair board?
Include the question, hypothesis, materials, three recipes, procedure, variables, data table, graph, results, conclusion, and original experiment photographs.
Which bubble solution lasts the longest?
In our family science fair experiment, the recipe made with Dawn dish soap, water, and glycerin was the clear winner. Its bubbles lasted longer than the plain soap-and-water solution and the sugar bubble solution.
Final Thoughts: Sometimes the Best Science Starts With a Bubble
This project has always been more than dish soap and a stopwatch to me.
Jake did it first. More than a decade later, the younger children repeated it to see whether the bubbles would tell the same story. That is one of the things I loved about raising a houseful of curious kiddos: one child’s question had a way of waiting around for the next one.
The experiment is simple enough to do at home but strong enough to teach the bones of a real science fair project. Ask a clear question. Make a prediction. Keep the test fair. Record what happens. Compare the results. Tell the truth about what you found.
And every once in a while, stand back and admire the fact that an ordinary bottle of dish soap can keep a family curious for more than a decade.
Next Science Project to Try: Laundry Lab
If your kiddos enjoyed comparing three bubble solutions, try our Laundry Lab: Which Laundry Detergent Works Best? next. It is another real family science fair project built around a simple question, controlled testing, original photographs, measurable results, and the kind of everyday curiosity that makes science stick.
Historical disclosure: This project was originally created as part of a compensated Elmer’s social shopper insights campaign (#gluenglitter, #collectivebias, #cbias). The science experiment, photographs, recipes, and family observations are our own.