This Paper Roll Mummy craft is brought to you by Welch’s. All opinions and my love for Halloween and nummy fruit snacks remain my own.
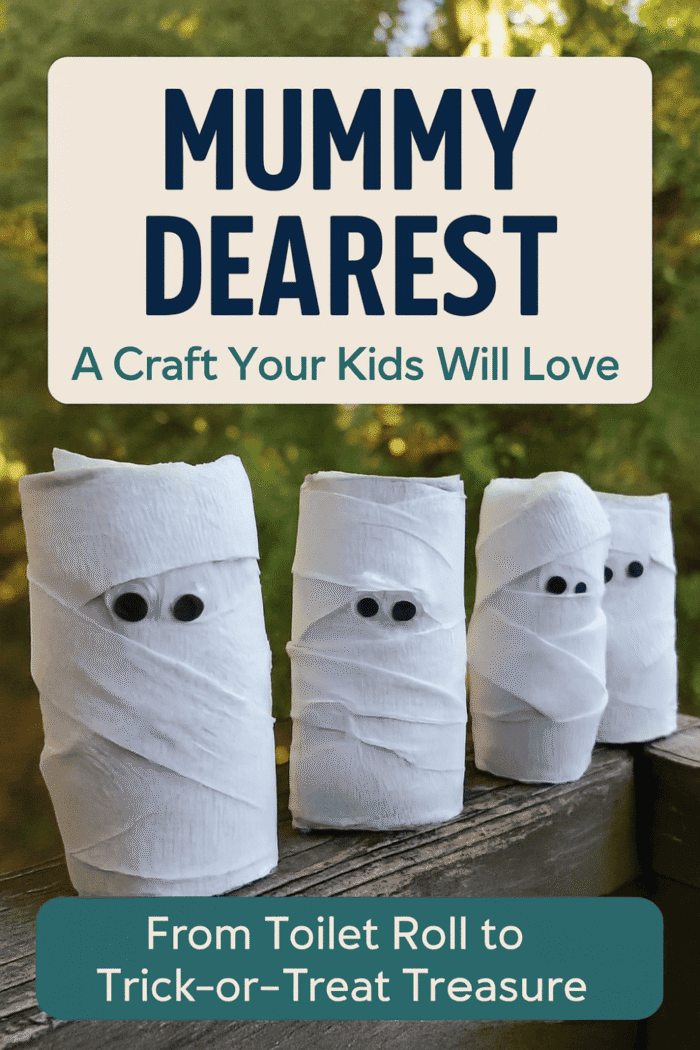
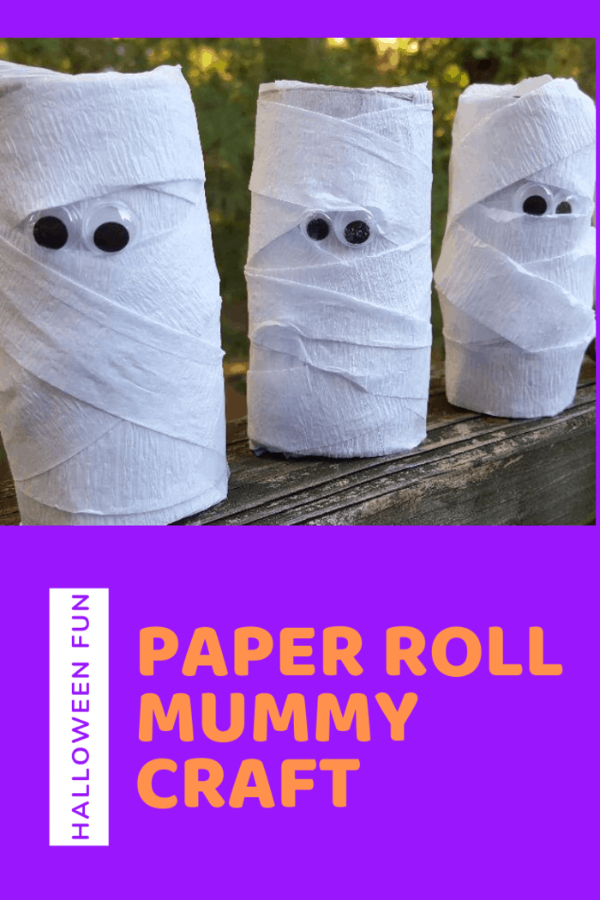
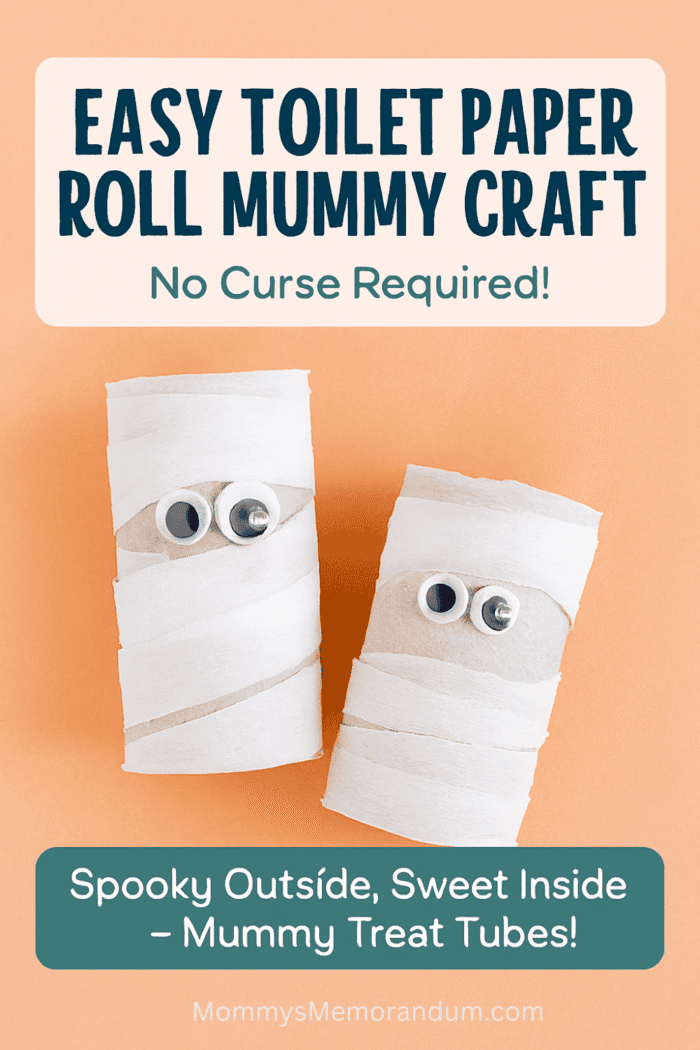
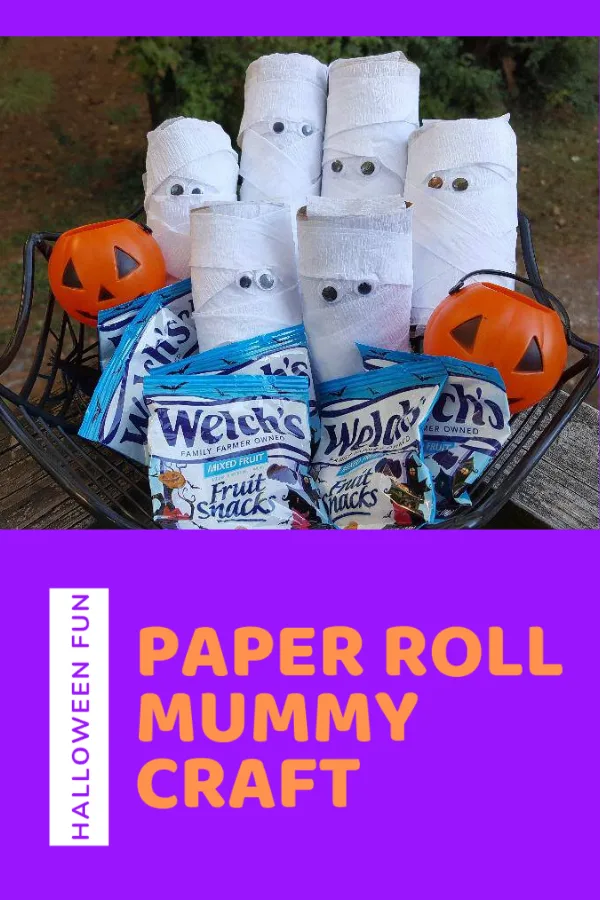
Looking for an easy toilet paper roll mummy craft that kids can actually make? These goofy little mummies turn an empty cardboard tube, white crepe paper, googly eyes, and a hidden Halloween treat into a spooky-cute craft that’s part decoration, part party favor, and part surprise.
Unlike a basic paper roll mummy that’s just wrapped and decorated, these little guys hide Halloween fruit snacks or candy inside the tube. Seal both ends, wrap the roll in mummy “bandages,” add a pair of wonky googly eyes, and you’ve got an easy Halloween treat holder that’s perfect for classroom parties, preschool craft time, playdates, or a family Halloween afternoon.
Best of all, the wrapping does not need to be perfect. Crooked strips, ragged edges, and uneven overlaps make these mummies look even better.

Why You’ll Love This Paper Roll Mummy Craft
- Easy enough for young crafters: Preschoolers can help wrap and decorate while adults handle any cutting or tricky sealing.
- Budget-friendly: The base is an empty toilet paper tube you would otherwise recycle.
- No perfection required: Uneven mummy bandages are a feature, not a mistake.
- Craft and treat in one: Fill the tube before wrapping it so every mummy hides a Halloween surprise.
- Great for groups: Make a whole mummy army for classroom parties, Halloween gatherings, or party favors.
- Builds fine-motor skills: Cutting, wrapping, overlapping, gluing, and positioning the eyes give little hands plenty of practice.
Watch: How to Make a Paper Roll Mummy Treat Holder
See how easy it is to turn an empty toilet paper roll into a spooky mummy with a sweet surprise hiding inside. We’ll seal the Halloween treats inside, give the tube a quick shake test, wrap it in wonderfully wonky crepe-paper bandages, and finish our little mummy with googly eyes.
How Long Does This Mummy Craft Take?
Prep Time: 15 minutes
Crafting Time: 25 minutes
Total Time: About 40 minutes
If you’re making these with toddlers or preschoolers, save yourself a little Halloween chaos by cutting the paper and preparing the tubes before craft time begins.
As an Amazon Associate, I earn from qualifying purchases.
🎧 Craft & Listen: Add a Spooky Story to Mummy-Making
This paper roll mummy craft takes about 40 minutes from start to finish, which makes it a fun excuse to turn craft time into a little Halloween listen-along. Put on a story while everyone fills, wraps, glues, and gives those mummies their wonderfully wonky googly eyes.
For Younger Mummy Makers
My first pick is How to Catch a Witch: A Halloween Picture Book for Kids. It pairs perfectly with a silly Halloween craft like this one and keeps the spooky factor fun rather than frightening for younger kids.
For Older Kids Who Want Something Spookier
If you’re crafting with elementary-age kids who are ready for a little more mystery, try Scary Stories for Kids Age 9-12: Spooky, Short Ghost Tales and Mysterious Adventures for Campfires, Sleepovers, and Halloween Fun.
Prefer Cozy Fall Over Halloween Frights?
For younger listeners who would rather have falling leaves than ghosts and witches, The Leaf Thief makes a sweet autumn alternative.
New to Audible?
Turn craft time into storytime with Audible Standard. Choose a story, press play, pass around the googly eyes, and see who creates the most ridiculous mummy in the bunch.
Paper Roll Mummy Craft Supplies
You only need a handful of supplies to make these Halloween mummy treat holders:
- Empty toilet paper rolls or similar cardboard tubes
- White crepe paper streamers, white tissue paper, or gauze
- Googly eyes
- Glue dots, craft glue, or tape
- Kid-safe craft scissors
- Welch’s Halloween Fruit Snacks or another small individually wrapped treat
- Optional: Halloween treat assortment
- Optional: black or orange paint, glitter, stickers, or other decorations

Crepe Paper, Tissue Paper, or Gauze: Which Works Best?
You have a few good choices for your mummy’s bandages, and each gives the finished craft a slightly different look.
Crepe Paper
White crepe paper streamers are my favorite for this version. They’re inexpensive, easy to wrap around a cardboard tube, and have just enough stretch to hug the roll without looking too neat. The ridged texture also gives the mummy a fun bandaged look.
Tissue Paper
White tissue paper works too. Tear it into long strips about 1 to 2 inches wide. Don’t worry about making straight cuts—ragged and uneven edges actually make excellent mummy bandages.
Medical Gauze
Gauze gives the most realistic mummy texture and is very easy to wrap, although it can cost more than crepe or tissue paper. If you already have some in the craft cupboard, it’s a great substitute.
How to Make a Toilet Paper Roll Mummy Treat Holder
1. Gather and Prep Your Supplies
Start with a clean, empty toilet paper tube. Pull away any stubborn bits of paper still clinging to the cardboard.
Cut two pieces of white crepe paper large enough to completely cover the open ends of the tube. These will keep your Halloween treats hidden inside.
If your child is young, this is a good step for an adult to prepare ahead of time.
2. Seal the First End
Place one piece of crepe paper over one open end of the cardboard tube. Secure it around the edge with tape or glue dots so there aren’t large openings where the treats can escape.
It does not need to look pretty. You’ll cover it with more mummy wrapping in a minute.
3. Hide the Halloween Treats
Now comes the sneaky part.
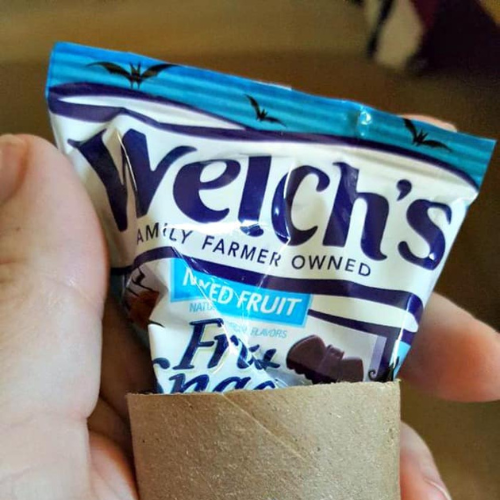
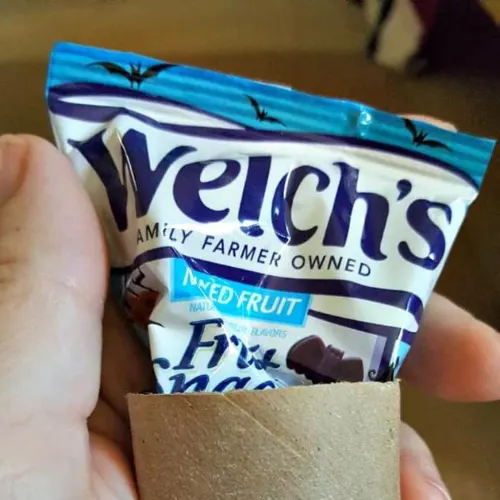
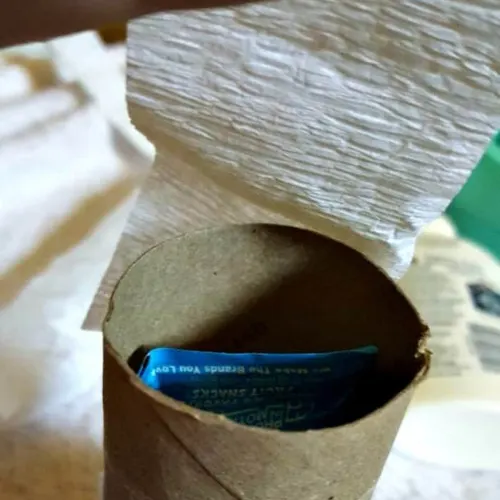
Drop a small handful of Welch’s Halloween Fruit Snacks into the open end of the tube. You can also substitute small wrapped candies or a Halloween treat assortment as long as everything fits comfortably inside.
Don’t pack the tube too tightly. Leave enough room that the second end can close without bulging.
4. Seal the Second End
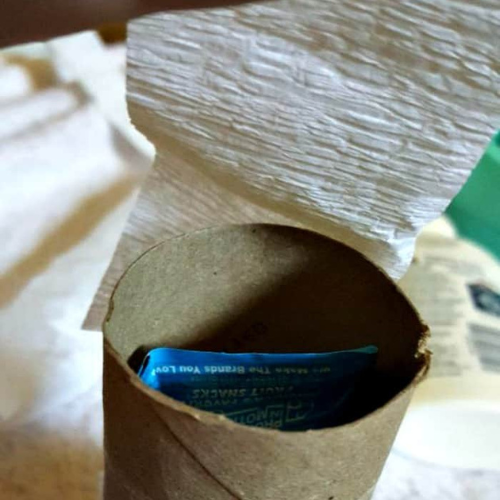
Once the treats are tucked inside, cover the remaining opening with your second piece of crepe paper and secure it just as you did the first.
Give the tube a gentle shake. If nothing escapes, your mummy’s secret snack stash is officially contained.
5. Make the Mummy Bandages
Cut or tear a piece of white crepe paper approximately 24 to 36 inches long.
If you’re starting with wider crepe or tissue paper, aim for strips roughly 1 to 2 inches wide. Don’t reach for the ruler. Slightly different widths, torn edges, and crooked strips give the mummy more character.
6. Wrap Your Paper Roll Mummy
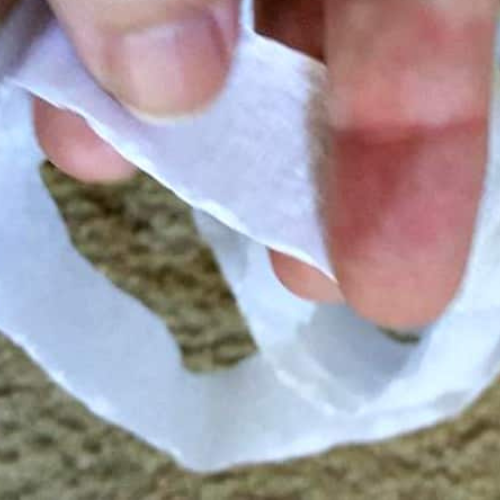
Secure one end of your crepe-paper strip against the tube with a small piece of tape or a glue dot. Then start winding the paper around the cardboard roll.
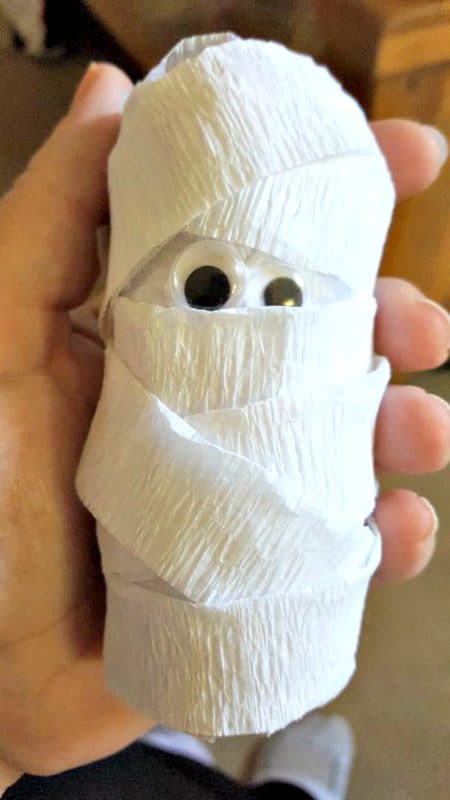
Wrap at a slight angle and overlap the previous layer as you go. Change direction now and then, let a few edges wrinkle, and don’t worry if the layers aren’t perfectly straight. Mummies have been hanging around for thousands of years. Their bandages are allowed to be a little wonky.
If one strip doesn’t cover the tube, secure the end and add another.
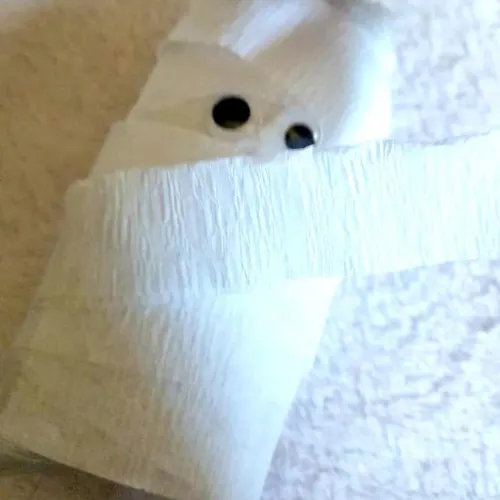
Leave a small area near the upper front of the mummy available for its eyes.
7. Add the Googly Eyes
Every mummy needs someone to keep an eye on the candy.
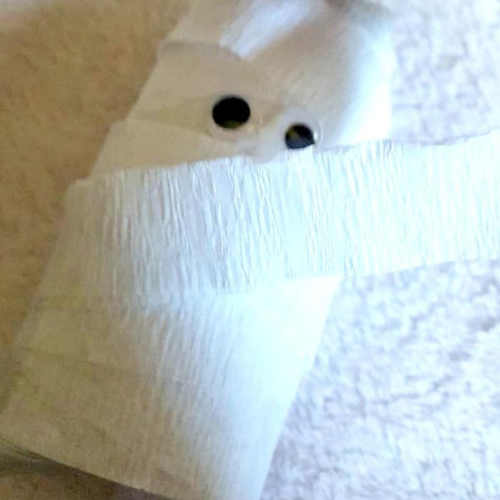
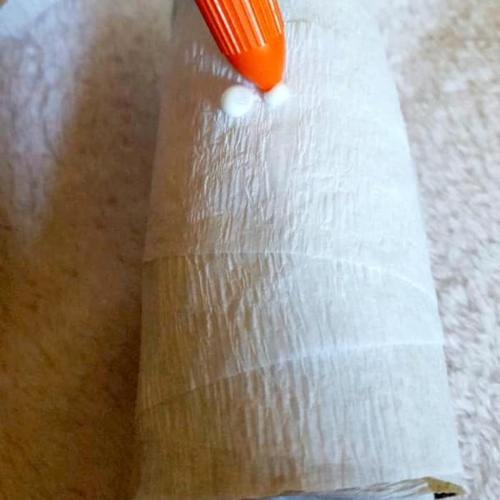
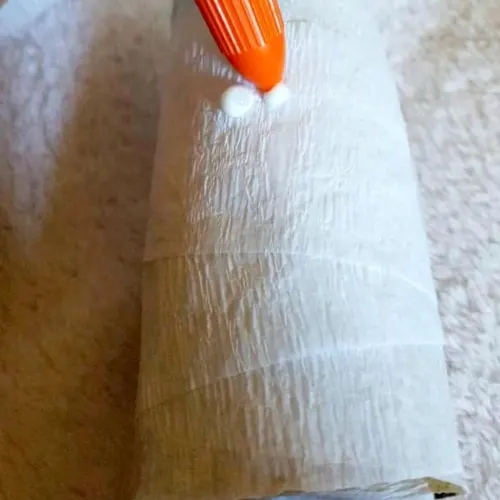
Attach two googly eyes near the upper front of the roll. A couple of glue dots make this especially easy for kids because there’s no drying time.
Don’t fuss over perfectly matched or perfectly straight eyes. Put them close together, tilt one a little, or give every mummy in the batch a different expression.
What’s Hiding Inside the Mummy?
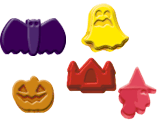
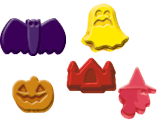
The original version of this craft was made with Welch’s Halloween Fruit Snacks tucked inside the cardboard tube. The seasonal fruit snacks included fun Halloween shapes such as bats, witches, ghosts, haunted castles, and jack-o’-lanterns.
Seasonal varieties and packaging can change, so use whichever individually packaged Halloween treats are currently available and fit comfortably inside your tube.
Making Toilet Paper Roll Mummies with Toddlers and Preschoolers
This mummy paper roll craft is simple enough to adapt for younger children, but a little advance prep makes the experience much smoother.
Adults Can Prep
- Clean and collect the cardboard tubes.
- Pre-cut the end covers.
- Pre-cut or tear mummy bandages.
- Help seal the first end.
- Supervise scissors, small craft pieces, and treats.
Young Kids Can Do
- Put the treats into the tube.
- Wrap and overlap the paper bandages.
- Choose where their googly eyes go.
- Add stickers or other decorations.
- Give each mummy its own personality.
Older preschoolers and elementary-age kids can do more of the cutting and assembly themselves with age-appropriate kid-safe craft scissors.
Tips for Easier, Less-Messy Mummy Making
- Cover the table. A tray, placemat, or sheet of kraft paper catches paper scraps and runaway googly eyes.
- Pre-cut for younger kids. Having bandage strips ready keeps little crafters moving instead of waiting.
- Use glue dots for the eyes. They’re quick, tidy, and don’t require drying time.
- Don’t overfill the tube. Leave enough room to close the second end securely.
- Embrace the wonky wrapping. Mummy bandages should overlap irregularly. Perfectly straight strips actually look less mummy-like.
- Keep wipes nearby. Halloween craft tables have a mysterious attraction to sticky fingers.
- Make an assembly line for groups. Set up separate stations for filling, sealing, wrapping, and eyes when you’re making these for a classroom or party.
How to Use Your Finished Mummy Treat Holders
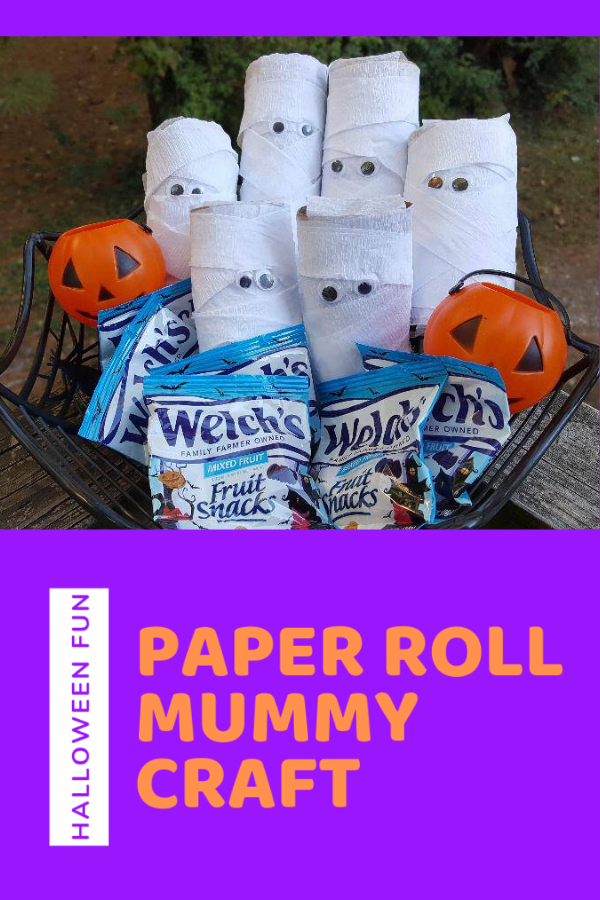
Once you’ve made one, making an entire mummy army is hard to resist. These little Halloween crafts work especially well as:
- Halloween classroom party favors
- Preschool Halloween crafts
- Halloween playdate activities
- Place settings for a Halloween party
- Small treat holders
- Party-table decorations
- Halloween basket fillers
- A simple family craft-night activity
Paper Roll Mummy Variations
Make a Treat-Free Mummy
Skip sealing the ends and treats entirely if you simply want a Halloween decoration. Wrap the tube, add eyes, and you’re done.
Paint the Tube First
Paint the cardboard tube black or orange before adding the bandages. Small glimpses of color between the layers make every mummy look different.
Use Different Mummy Bandages
Try crepe paper, torn tissue paper, or gauze. You can even mix textures within the same mummy army.
Give the Mummies Silly Personalities
Use mismatched googly eyes, tilt the eyes in different directions, add stickers, or wrap one mummy more tightly than another. The less identical they look, the more fun the finished group becomes.
Swap the Treats
Fruit snacks aren’t the only surprise that works. Small wrapped candies, stickers, temporary tattoos, erasers, or other tiny Halloween favors can go inside as long as they’re appropriate for the children receiving them.
More Ways to Use the Halloween Fruit Snacks
Halloween Bingo
Want to stretch the Halloween fun a little further? Use the seasonal fruit snacks as edible Bingo markers. Kids can cover their squares as they play—and perhaps negotiate whether eating the markers is allowed before the game ends.
Paper Roll Mummy Craft FAQs
Can toddlers make a toilet paper roll mummy?
Yes, with adult help. Pre-cut the paper and prepare the tube first, then let toddlers or preschoolers handle the fun parts—wrapping the mummy and choosing where the eyes go. Always supervise young children around scissors, small googly eyes, glue, and treats.
How wide should the mummy bandages be?
About 1 to 2 inches works well, but there’s no need to measure every strip. A mix of narrow, wide, torn, and slightly ragged edges creates a better mummy effect than perfectly uniform bandages.
How much crepe paper do I need for one mummy?
Start with roughly 24 to 36 inches. The exact amount depends on how much you overlap the paper and how tightly you wrap the tube. Keep a little extra nearby in case your mummy needs another layer.
What can I use instead of crepe paper?
White tissue paper or gauze both work. Tissue paper is inexpensive and easy to tear; gauze creates a more textured, realistic bandage effect.
Do I need to glue the whole toilet paper roll?
No. For this version, you can secure the beginning and end of the wrapping rather than coating the entire tube in glue. That keeps the project less messy and makes it easier to open the treat holder later.
What’s the best way to attach googly eyes?
A dab of craft glue works, but glue dots are especially convenient because the eyes stay put immediately without waiting for glue to dry.
Can I use candy instead of fruit snacks?
Absolutely. Any small, appropriately packaged treat that fits inside the tube can work. You can also use stickers, erasers, temporary tattoos, or another small non-food surprise.
Can I make these without putting treats inside?
Yes. If you’re making your paper roll mummies strictly as Halloween decorations, leave the ends open and skip the filling step.
Can I paint the cardboard roll before wrapping it?
Yes. Black or orange paint showing through small gaps between the white bandages can make the finished mummy even more Halloween-y.
Can I make these ahead for a Halloween party?
Yes. Assemble the mummies ahead of time and keep them in a clean, dry place. If they’re filled with food, use individually packaged treats and follow the storage guidance printed on the treat packaging.
Mummy Dearest: That’s a Wrap!
An empty toilet paper roll may not look like much, but add a little white paper, a pair of ridiculous googly eyes, and a hidden Halloween treat and suddenly you’ve got a whole mummy situation on your hands.
Whether you’re making one paper roll mummy with your child or assembling an army for a classroom Halloween party, remember the most important crafting rule: the wonkier the bandages and eyes, the better.
Now fill, wrap, glue, and let those little mummies get to haunting.
Paper Roll Mummy Treat Holders


Turn empty toilet paper rolls into spooky-cute mummy treat holders with white crepe paper, googly eyes, and a hidden Halloween surprise inside. This easy Halloween craft is perfect for kids, preschool activities, classroom parties, and party favors.
Materials
- Empty toilet paper roll
- White crepe paper streamer, tissue paper, or gauze
- 2 googly eyes
- Glue dots, craft glue, or tape
- Welch’s Halloween Fruit Snacks or another small individually wrapped treat
- Optional black or orange paint, glitter, stickers, or other decoration
Tools
- Kid-safe craft scissors
Instructions
- Prepare the cardboard tube. Remove any remaining paper from an empty toilet paper roll. Cut two pieces of white crepe paper large enough to cover both open ends.
- Seal the first end. Place one piece of crepe paper over one end of the tube and secure it with tape or glue dots.
- Add the treats. Place a small handful of Welch’s Halloween Fruit Snacks or another small individually packaged Halloween treat inside the tube. Avoid overfilling so the opposite end will close easily.
- Seal the second end. Cover the remaining opening with the second piece of crepe paper and secure it in place.
- Prepare the mummy bandages. Cut or tear approximately 24 to 36 inches of white crepe paper. If using wider paper, make strips roughly 1 to 2 inches wide. Ragged or uneven edges are perfect for a mummy.
- Wrap the mummy. Secure one end of the strip to the tube. Wrap the paper around the tube at slight angles, overlapping the previous layer as you go. Change direction occasionally and leave a small area near the upper front for the eyes.
- Add the googly eyes. Attach two googly eyes near the top of the mummy using glue dots or craft glue. Crooked or mismatched eyes give each mummy more personality.
- Let your mummy haunt. Use the finished mummy as a Halloween party favor, classroom treat, decoration, or spooky surprise for kids.
Notes
Best Paper for Mummy Bandages
White crepe paper streamers are especially easy to wrap because they have a little stretch and naturally create a textured bandage effect. White tissue paper or gauze also works well.
Make It Easier for Younger Kids
For toddlers and preschoolers, adults can pre-cut the paper strips and prepare the cardboard tubes. Kids can help add the treats, wrap the mummy, and place the eyes. Kid-safe craft scissors are a good choice for older preschoolers and elementary-age crafters.
Easy Eye Attachment
Glue dots make attaching googly eyes quick and mess-free because there is no drying time.
Halloween Treat Ideas
The original craft uses Welch's Halloween Fruit Snacks, but you can substitute another Halloween treat assortment, small wrapped candies, stickers, erasers, or temporary tattoos that fit inside the tube.
Crafting Tip
Do not try to make the mummy bandages perfectly straight. Uneven wrapping, overlapping strips, torn edges, and slightly crooked googly eyes give these paper roll mummies their homemade personality.
Next Halloween Craft to Try