Homemade Vanilla Pudding Recipe (Easy and Creamy)
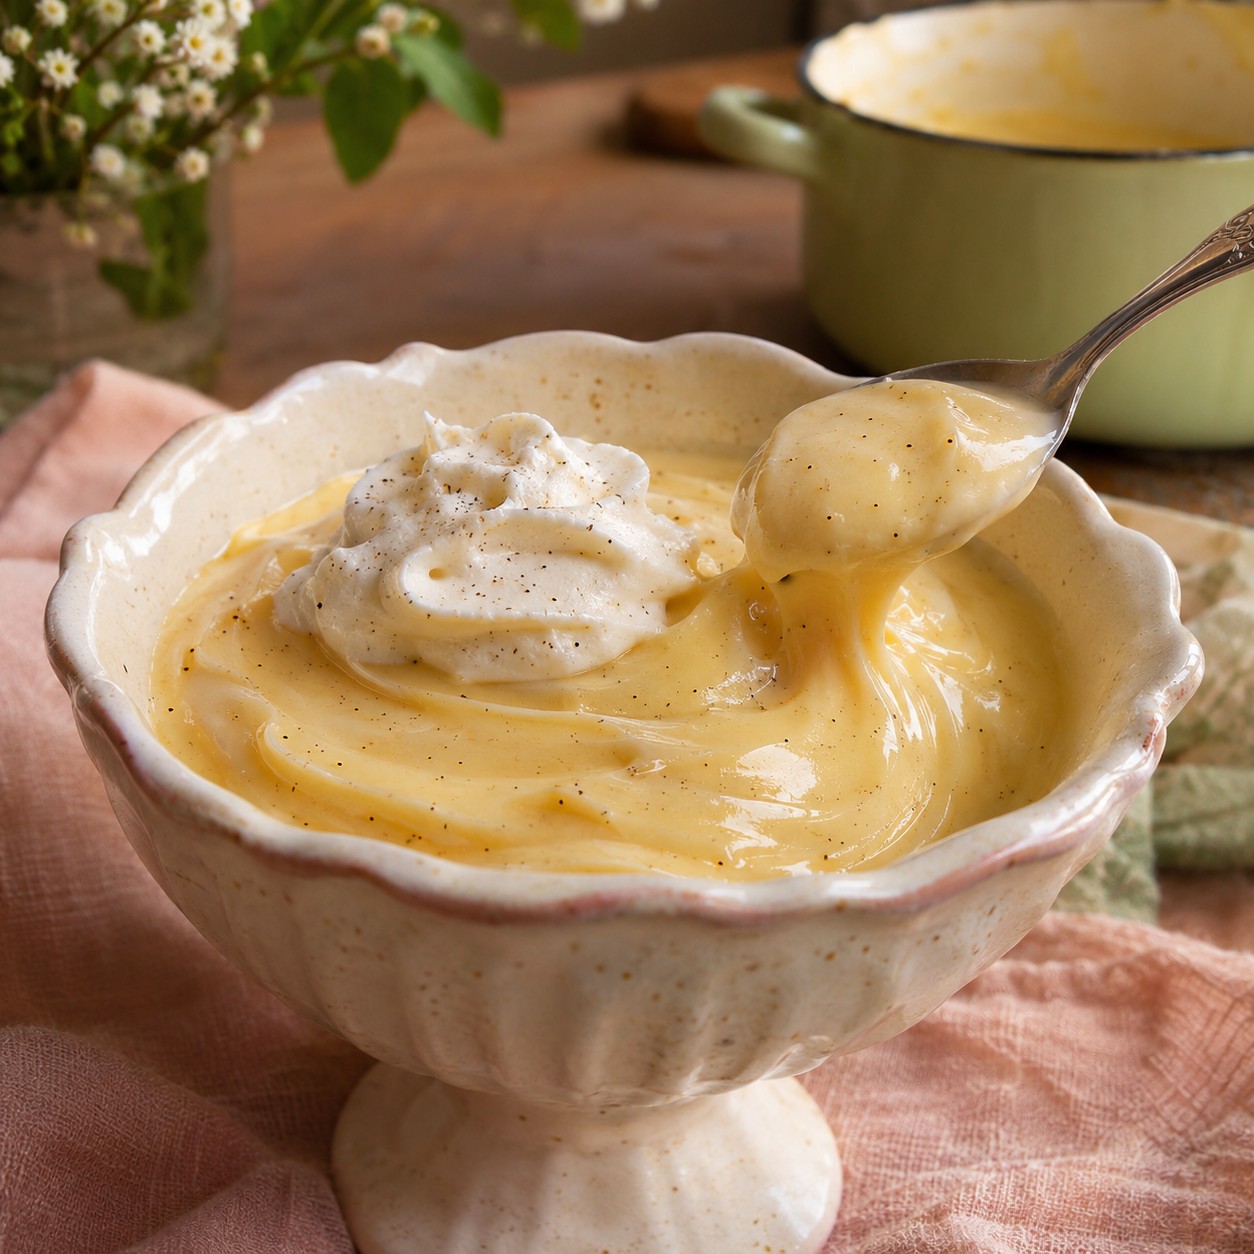
Some desserts don’t need a special occasion. A bowl of homemade pudding, a spoon, and a little whipped cream on top are enough to make an ordinary day feel a little sweeter.
This homemade vanilla pudding is made on the stovetop with milk, sugar, egg yolks, and cornstarch. It’s creamy, sweet, and delicious on its own, but you can also use it as the starting point for chocolate pudding or a layered banana dessert.
The hands-on work takes about 25 minutes. Then the pudding goes into the refrigerator to chill and thicken—if you can resist sneaking a warm spoonful first.
Why You’ll Love This Homemade Pudding
- Simple ingredients: You may already have everything you need in the kitchen.
- Easy to make ahead: Prepare the pudding earlier in the day and refrigerate until dessert.
- Three ways to enjoy it: Keep it vanilla, add cocoa, or layer it with bananas and cookies.
- Comforting and creamy: Egg yolks, milk, and butter give the pudding a rich finish.
Ingredients for Homemade Vanilla Pudding
You’ll need just six ingredients for the vanilla pudding base. Find the full printable recipe in the recipe card below.
- Cornstarch: Helps thicken the pudding as it cooks.
- Granulated sugar: Sweetens the pudding. This is a sweet, classic-style dessert.
- Milk: Use regular milk, or the original option of equal parts evaporated milk and water. For the evaporated milk option, mix 2 cups evaporated milk with 2 cups water.
- Egg yolks: Add richness and color.
- Vanilla extract: Gives the pudding its classic vanilla flavor.
- Butter: Stirred in at the end for a smooth, rich finish.
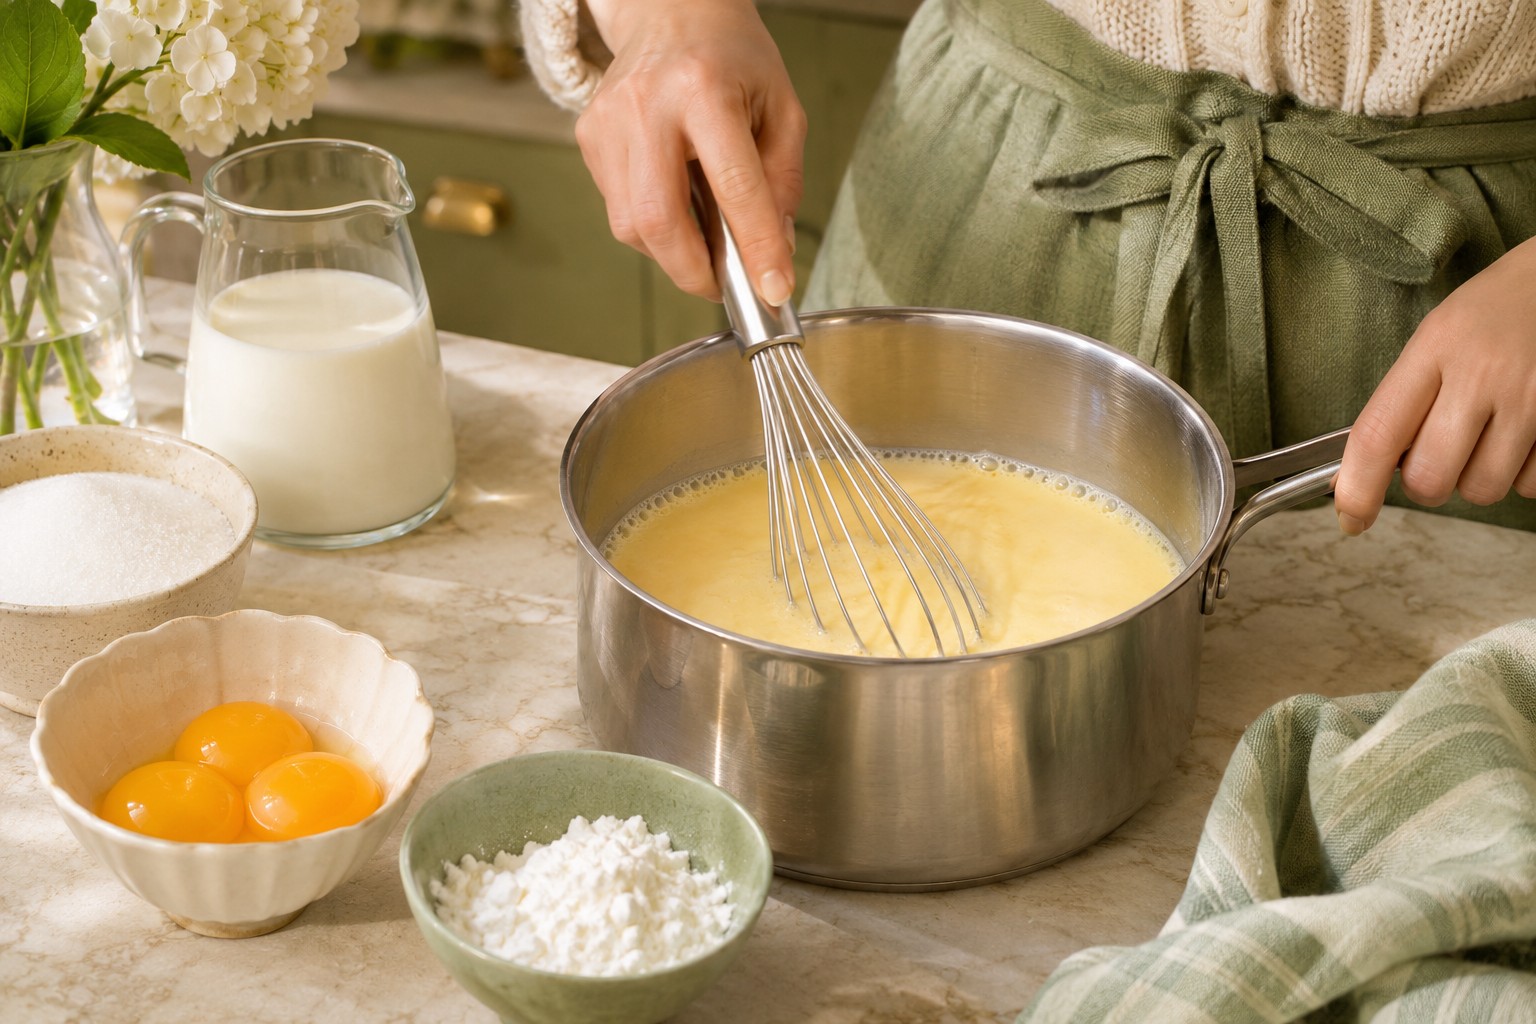
How to Make Homemade Pudding
1. Mix the ingredients
In a medium saucepan, whisk together the sugar and cornstarch. Gradually whisk in the cold milk until smooth, then whisk in the egg yolks until combined.
2. Cook until thickened
Place the saucepan over medium heat. Cook, whisking constantly and reaching into the corners of the pan, until the pudding thickens and begins to bubble. This may take about 10–15 minutes, depending on your stove and pan.
Once it bubbles, continue whisking gently for about 1 minute. The pudding should coat the back of a spoon. Check that it reaches 160°F with a food thermometer.
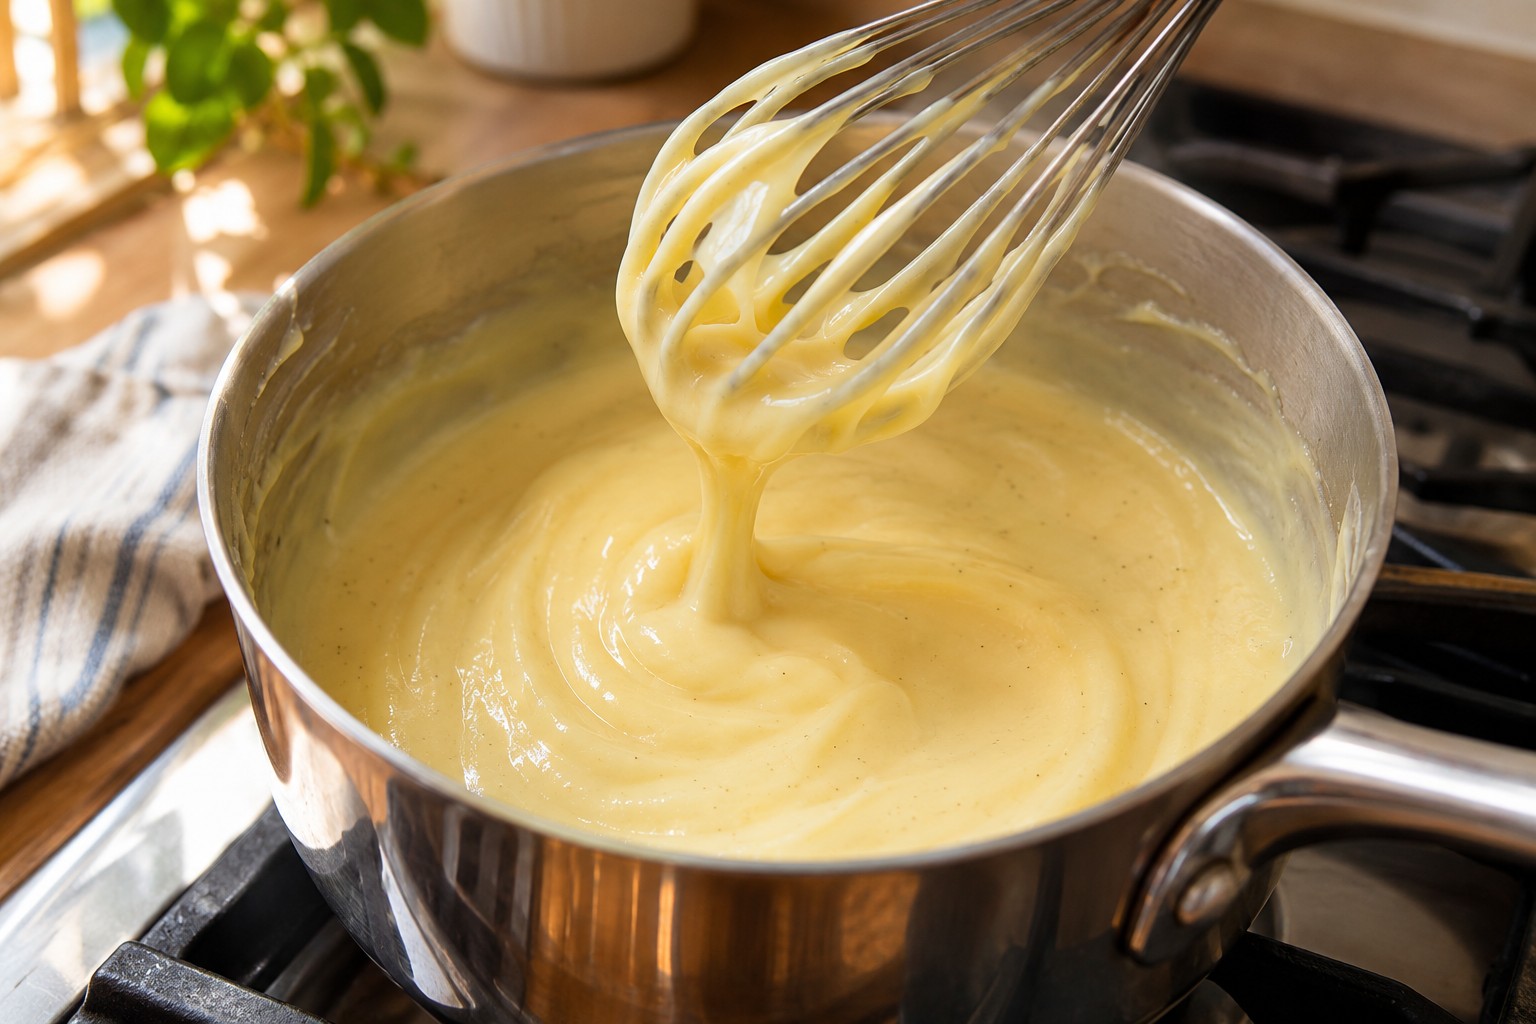
3. Add the vanilla and butter
Remove the pan from the heat. Stir in the vanilla and butter until the butter melts and the pudding is smooth.
If you notice any lumps, pour the warm pudding through a fine-mesh strainer.
4. Chill and serve
Divide the pudding among six dessert dishes or pour it into a shallow serving bowl. To prevent a skin from forming, press plastic wrap directly onto the surface.
Refrigerate until chilled and set, about 1–2 hours. Serve plain or add your favorite toppings.
Tips for Smooth, Creamy Pudding
- Start with cold milk. Whisking it gradually into the cornstarch and sugar helps prevent lumps.
- Whisk as it cooks. Pay attention to the bottom and edges of the pan, where the pudding can thicken first.
- Look for bubbles. The mixture should thicken and begin to bubble before you remove it from the heat.
- Expect it to thicken more as it chills. It will be softer while warm and firmer after refrigeration.
- Use a strainer if needed. A few lumps don’t have to stand between you and dessert.
Chocolate and Banana Variations
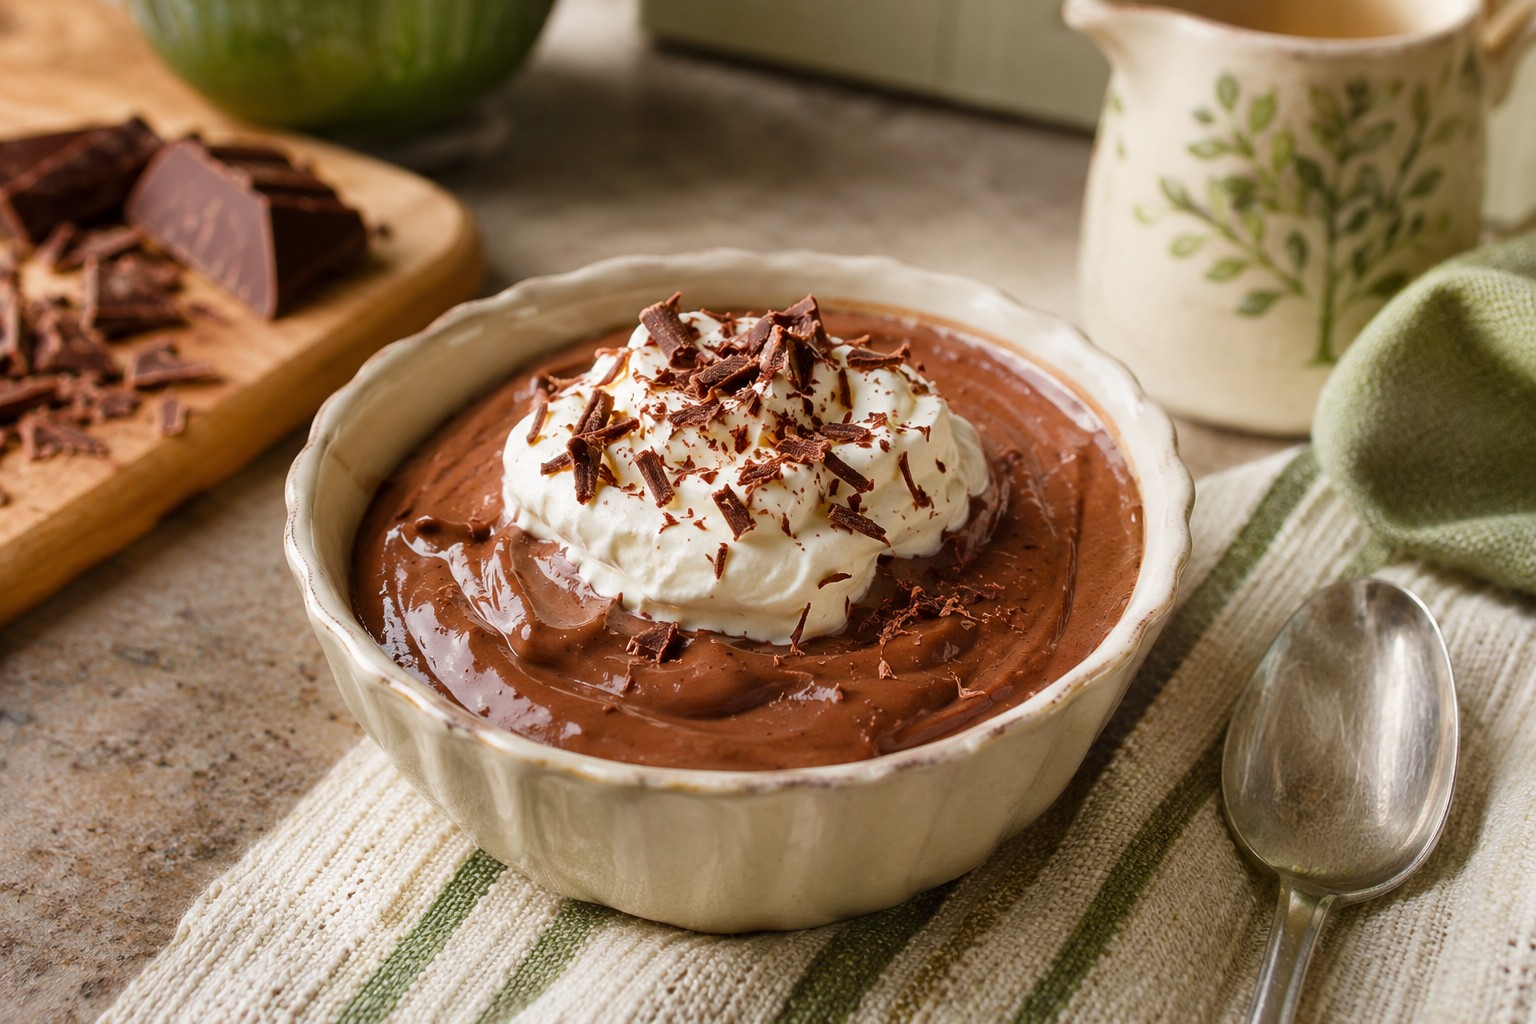
Chocolate Pudding
For the chocolate version in the original recipe, whisk 4 tablespoons unsweetened cocoa powder into the sugar and cornstarch before adding the milk. Continue with the recipe as directed.
Banana Pudding
For the banana version, stir 1 teaspoon banana extract into the cooked pudding along with the vanilla and butter. Once chilled, layer the pudding with sliced bananas, graham crackers or vanilla wafers, and whipped cream.
You can also skip the banana extract and use the vanilla pudding as the base for your layers. Add the banana slices close to serving time for the freshest appearance.
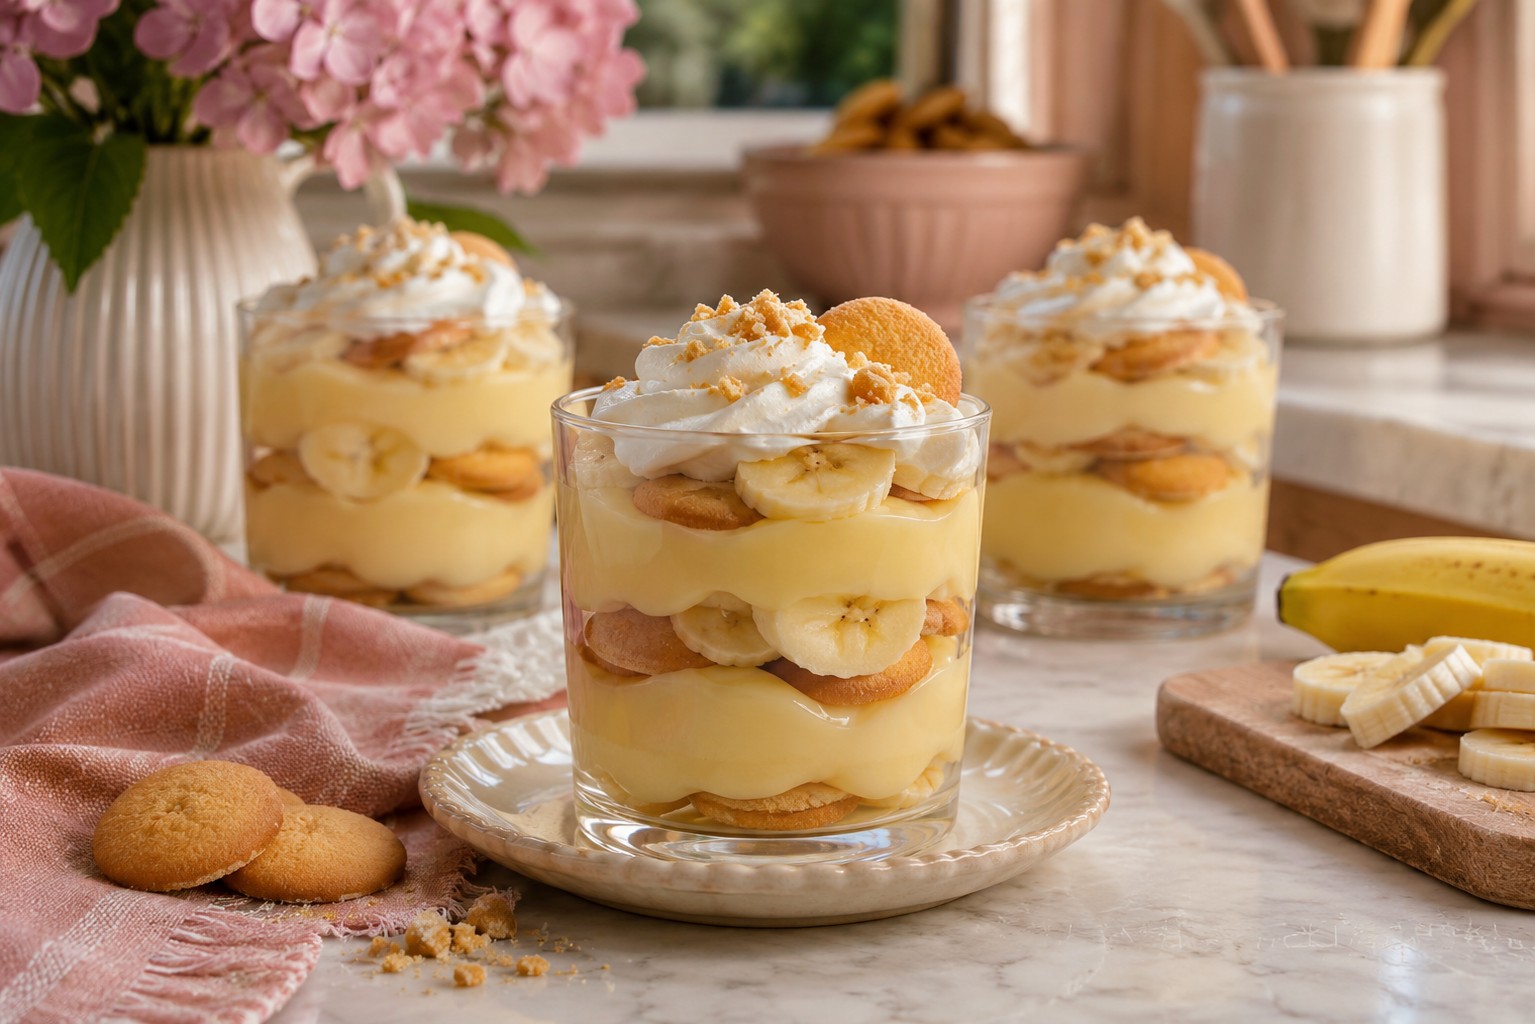
Ways to Serve Homemade Pudding
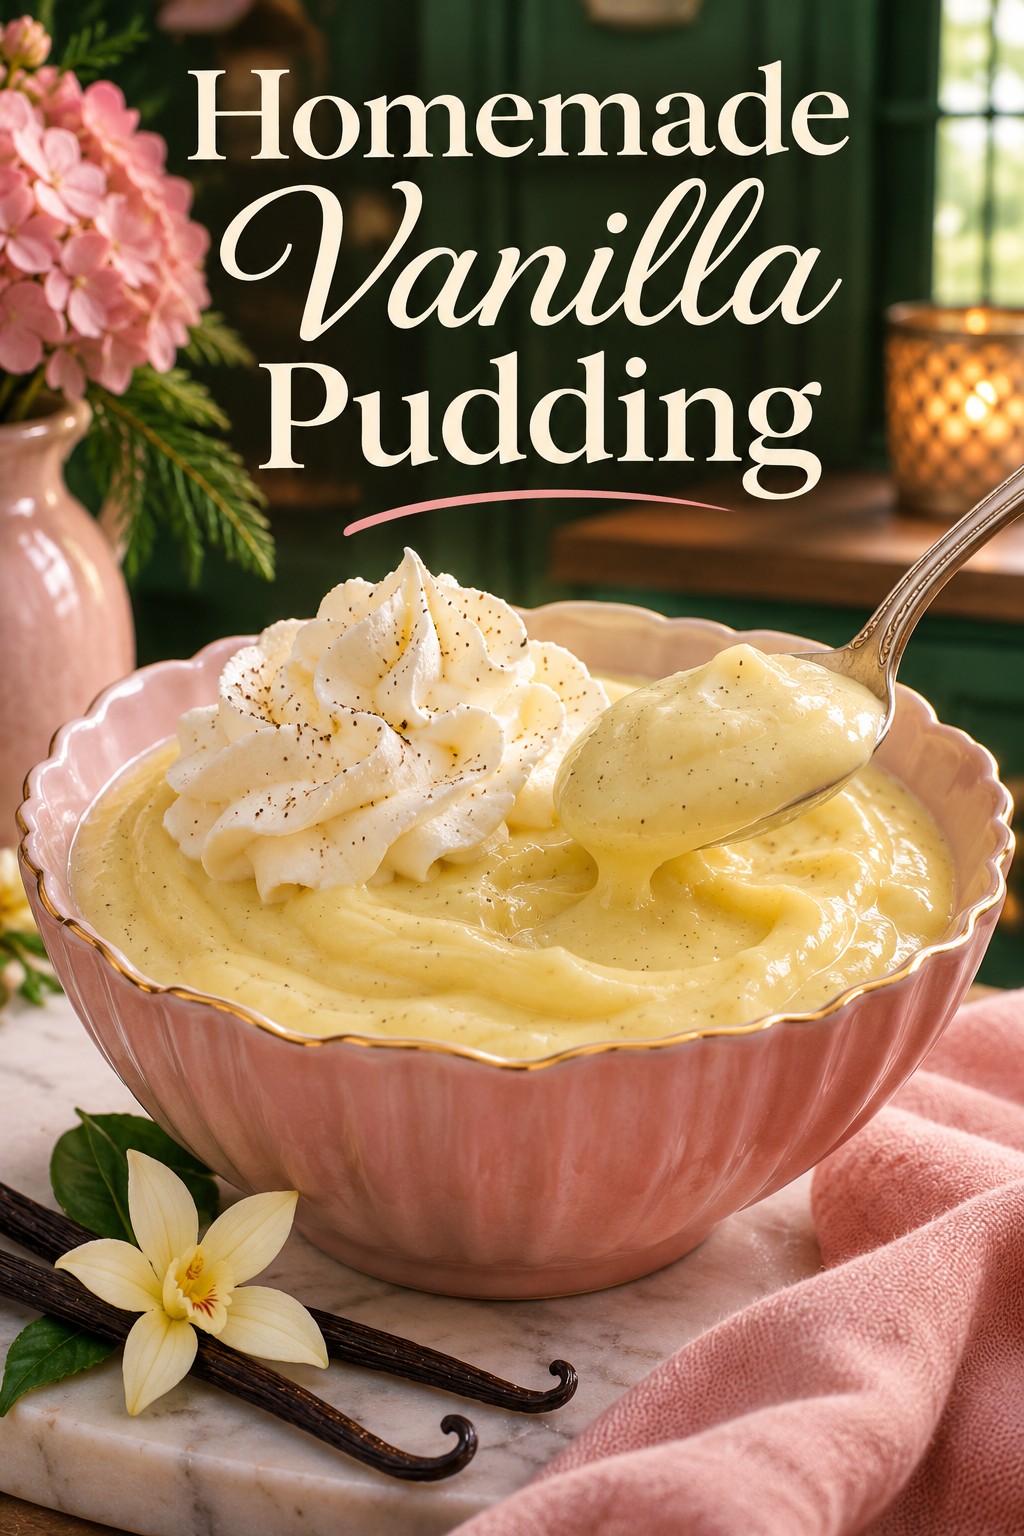
Spoon the pudding into dessert bowls and add a dollop of homemade whipped cream. For an extra treat, finish it with a drizzle of homemade caramel sauce, chocolate shavings, or fresh berries.
You can also layer it with crumbled cookies and fruit for individual pudding parfaits. And if you’re in the mood for a warm, baked dessert, try my banana bread pudding.
Make-Ahead and Storage
Homemade pudding is a convenient make-ahead dessert. Divide it into shallow dishes, cover, and refrigerate promptly; perishable foods should be refrigerated within two hours of preparation.
Store covered in the refrigerator and enjoy within 3–4 days. If liquid collects on top, give the pudding a gentle stir before serving. Add fresh fruit and whipped cream when you’re ready to eat.
Homemade Pudding FAQs
Why didn’t my pudding thicken?
The pudding needs enough heat for the cornstarch to thicken. Continue cooking and whisking until the mixture bubbles and coats the back of a spoon. It will also thicken further as it chills.
How do I keep pudding from forming a skin?
Press plastic wrap directly against the surface of the pudding before refrigerating. If you enjoy pudding skin, you can leave the surface uncovered until the pudding has cooled, then cover it for storage.
Can I use evaporated milk?
Yes. The original recipe offers an option of equal parts evaporated milk and water: use 2 cups of each for the 4 cups of milk called for in the recipe. Use evaporated milk, not sweetened condensed milk.
Can I serve homemade pudding warm?
Homemade Vanilla Pudding

This homemade vanilla pudding is sweet, creamy, and made on the stovetop with simple ingredients. Enjoy it chilled with whipped cream or try the chocolate and banana variations in the notes.
Ingredients
- 4 tablespoons cornstarch
- 1 ½ cups granulated sugar
- 4 cups milk, or 2 cups evaporated milk mixed with 2 cups water
- 3 egg yolks
- 1 teaspoon vanilla extract
- 1 tablespoon butter
Instructions
1. In a medium saucepan, whisk together the cornstarch and sugar. Gradually whisk in the cold milk until smooth. Add the egg yolks and whisk until combined.
2. Place the pan over medium heat. Cook, whisking constantly, until the pudding thickens and begins to bubble, about 10–15 minutes.
3. Once bubbling, continue whisking gently for about 1 minute. The pudding should coat the back of a spoon and reach 160°F on a food thermometer.
4. Remove from the heat. Stir in the vanilla and butter until smooth. If needed, strain through a fine-mesh strainer.
5. Divide among six dessert dishes or pour into a shallow serving bowl. Press plastic wrap directly onto the surface to prevent a skin, if desired.
6. Refrigerate until chilled and set, about 1–2 hours. Serve with whipped cream or your favorite toppings.
Notes
- Medium saucepan
- Whisk
- Food thermometer
- Fine-mesh strainer, optional
- Six dessert dishes or a shallow serving bowl
- Gradually whisk the cold milk into the sugar and cornstarch to help prevent lumps.
- Whisk constantly as the pudding cooks, including around the bottom and edges of the pan.
- The pudding will continue to thicken as it chills.
- If it looks lumpy, strain it while warm.
- Chocolate: Whisk 4 tablespoons unsweetened cocoa powder into the sugar and cornstarch before adding the milk.
- Banana: Stir 1 teaspoon banana extract into the cooked pudding with the vanilla and butter. Chill, then layer with sliced bananas, graham crackers or vanilla wafers, and whipped cream. You may also omit the banana extract and use the vanilla pudding for the layers.
- Evaporated milk: Replace the 4 cups milk with 2 cups evaporated milk mixed with 2 cups water.
Equipment
Tips
Make-Ahead and Storage
Divide into shallow dishes, cover, and refrigerate promptly, within 2 hours of preparation. Store covered in the refrigerator for 3–4 days. Add fresh fruit and whipped cream when ready to serve.
Variations
Serving
Serve chilled with homemade whipped cream, fresh berries, chocolate shavings, or a drizzle of homemade caramel sauce.
FAQs
Can I serve it warm? Yes. It will be softer when warm and will thicken more as it chills.
How do I prevent pudding skin? Press plastic wrap directly onto the surface before refrigerating.
Try This Next: Instant Pot Rice Pudding
If a bowl of creamy pudding sounds like your kind of comfort food, try my Instant Pot Rice Pudding. It’s made without eggs and finished with sweetened condensed milk.
Nutrition Disclaimer
Nutrition information is an estimate and will vary based on ingredients, brands, serving size, and optional toppings.
Nutrition Information:
Yield:
6Serving Size:
1Amount Per Serving: Calories: 310Total Fat: 5gSaturated Fat: 2gUnsaturated Fat: 3gCholesterol: 99mgSodium: 60mgCarbohydrates: 65gFiber: 0gSugar: 63gProtein: 3g
The Nutritional Information may not be accurate. This website provides approximate nutrition information for convenience and as a courtesy only. Nutrition data is gathered primarily from the USDA Food Composition Database, whenever available, or otherwise other online calculators.
This recipe was originally published February 7, 2011, and updated with improved instructions and photos.