Learn the art of crafting fresh sweetened homemade whipped cream with just two simple ingredients, creating a perfect topping for an array of delightful treats such as pies, cakes, crepes, mousse, cream-filled puffs, pies, or a luxurious addition to coffee. This recipe guarantees light and billowy whipped cream that elevates your dessert experience.
Indulge in the delightful world of homemade whipped cream with our easy and quick recipe for sweetened perfection. Create a luscious topping for your favorite desserts, from pies and cakes to crepes and mousses. This two-ingredient wonder, featuring vanilla extract for added flair, ensures a light and billowy texture that elevates your culinary creations. Embrace the art of making fluffy whipped cream from scratch, achieving the perfect balance of soft peaks that hold their form without succumbing to over-whipping pitfalls.
Experience the versatility of this creamy delight as it transforms into a stellar pie topping or a decadent cake frosting alternative. Whether you’re exploring pie topping ideas for a peach cobbler or enhancing the richness of hot chocolate, our whipped cream recipe promises a creamy, dessert-perfect result. Learn the nuances of incorporating air for fluffy peaks, and master the chilled bowl and whisk method for optimal results. Dive into the world of American desserts with our heavy whipping cream-based creation, and discover the joy of crafting a time-saving dessert topping that adds the perfect finishing touch to your sweet treats.

Homemade Whipped Cream
Prep Time: 15 minutes
Cook Time: 5 minutes
Servings: Approximately 2 cups
Cuisine: Dessert
Ingredients:
- 1 cup (240 ml) heavy whipping cream
- 1 teaspoon (5 ml) vanilla extract (optional)
- 1 tablespoon (15 ml) confectioners’ sugar or simple syrup
Expanded Ingredients:
- Heavy Whipping Cream: Choose this with a 36-percent milk fat content for a sturdy texture that holds its form, essential for achieving the perfect whipped cream.
- Vanilla Extract: Optional but adds a delightful flavor profile to the end product.
- Confectioners’ Sugar or Simple Syrup: Enhances sweetness and contributes to the texture; confectioners’ sugar, containing cornstarch, prevents the whipped cream from weeping when left out.

How to Make Whipped Cream
- Prepare and Chill: Place the mixing bowl and whisk attachment in the freezer for 15-30 minutes to ensure they are adequately chilled. Cold cream whips more easily.
- Combine Ingredients: In the chilled metal bowl, combine 1 cup of heavy whipping cream, 1 teaspoon of vanilla extract, and 1 tablespoon of confectioners’ sugar or simple syrup.
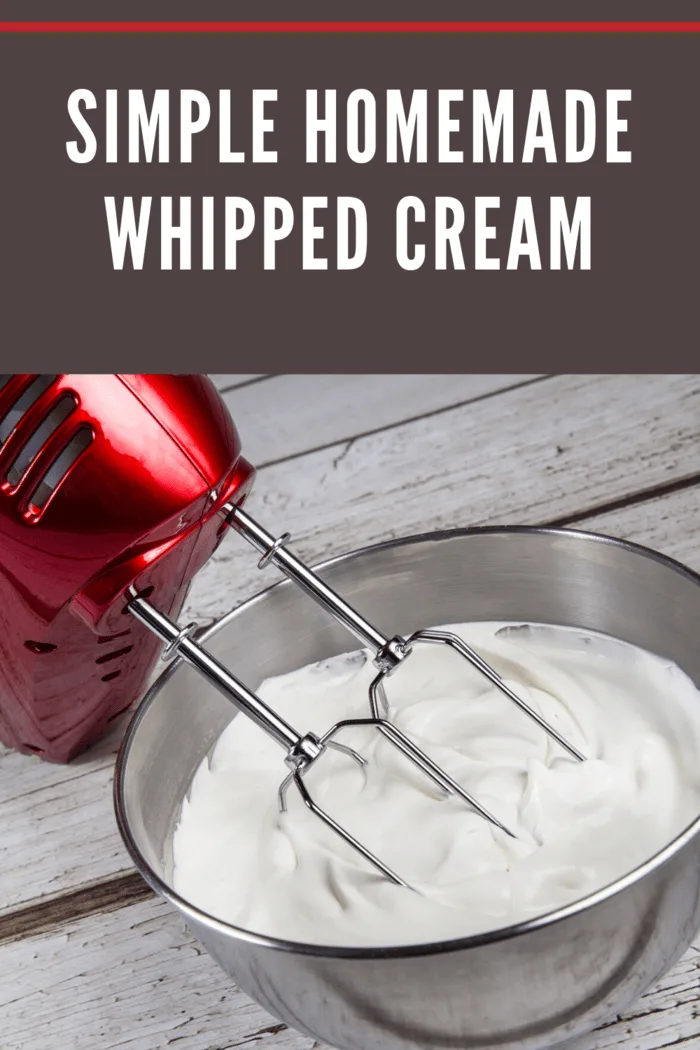
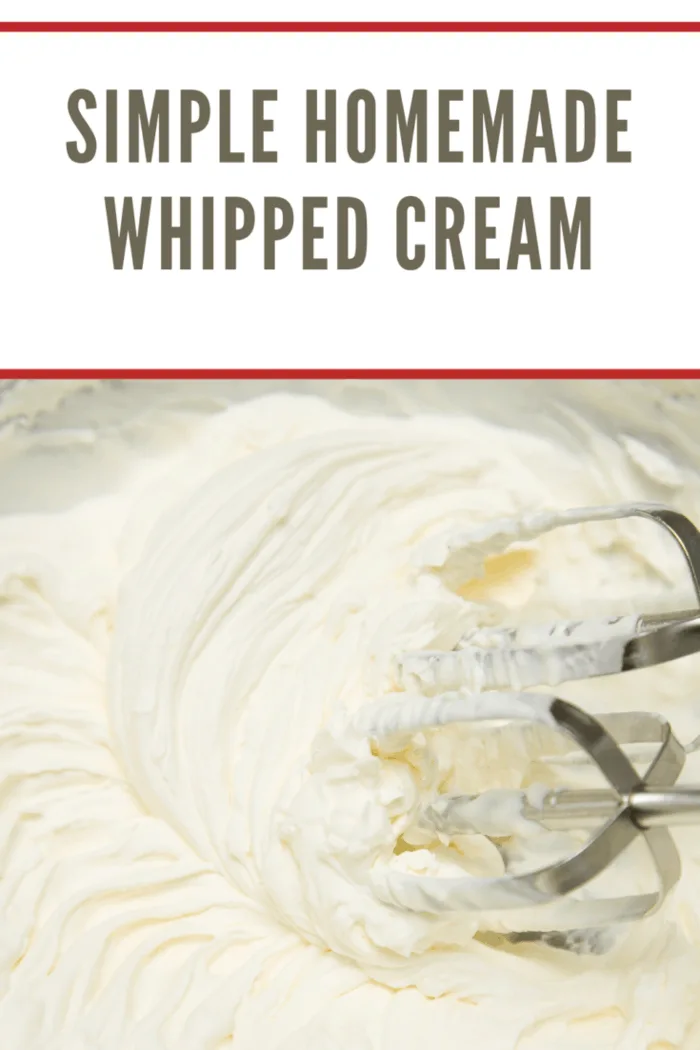
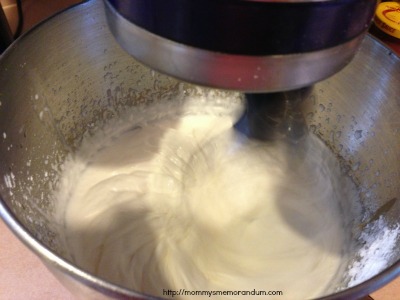
- Whisk Soft Peaks: Begin whisking on low speed to incorporate air until soft peaks form. Increase the speed to medium until firm peaks form. Be cautious not to over-whip.
- Check for Stiff Peaks: Continue whisking until stiff peaks form. The whipped cream should hold its shape when the beater is lifted, without becoming lumpy.
- Avoid Over-Whipping: Be mindful of the speed, as high speed can lead to over-whipping, resulting in a grainy consistency. If over-whipped, add a tablespoon or two of additional cream and stir at low speed.
- Storage: Store the whipped cream in an airtight container for up to two days.

Expert Tips:
- Ensure the cream, bowl, and whisk are adequately chilled for optimal results.
- Incorporate the sugar and vanilla from the start for even distribution.
- Watch the peaks carefully to achieve the desired texture.
- Adjust whipping speed to avoid over-whipping; adding more cream can remedy the lumpy or grainy texture.
Stabilizing Whipped Cream with Cornstarch:
Take your whipped cream game to the next level by incorporating a secret ingredient that enhances texture and extends its longevity – cornstarch. The addition of cornstarch to confectioners’ sugar in our recipe serves a dual purpose. While the sugar sweetens and lightens the whipped cream, the cornstarch stabilizes the cream, preventing it from weeping and maintaining its form over time. This becomes especially valuable when you’re preparing desserts in advance or displaying them for an extended period. The cornstarch creates a protective barrier, ensuring your whipped cream remains fluffy and billowy, preserving its aesthetic appeal and taste. Dive into the realm of stabilized whipped cream and elevate your dessert presentations to a whole new level of sophistication.
Salvaging Over-Whipped Cream:
Even the most seasoned chefs occasionally find themselves on the verge of over-whipping cream, but fear not – our recipe comes with a quick fix to salvage the situation. If you notice your whipped cream taking on a lumpy, grainy consistency, or worse, the beginnings of a liquid separating from the mixture, don’t panic. The remedy is simple yet effective. Add a tablespoon or two of additional cold cream to the mixture and gently stir at low speed. This corrective action helps smoothen out the texture, rescuing your whipped cream from the brink of irreversibility. By following this expert tip, you not only save your dessert topping but also gain valuable insights into the delicate balance between achieving the perfect peaks and avoiding the pitfalls of over-whipping. Master the art of recovery and turn a potential setback into an opportunity for culinary finesse.

Recipe FAQs:
Q: Can I use granulated sugar instead of confectioners’ sugar? A: Yes, granulated sugar works well; however, it may take longer to dissolve, especially when doubling the recipe.
Q: How can I salvage over-whipped cream? A: Add a tablespoon or two of additional cream and stir at low speed. If unsalvageable, keep whipping to make sweet butter.

How to Make Whipped Cream
Transform heavy cream into dreamy perfection! Master the peaks with our quick vanilla whipped cream recipe. A dessert game-changer!
Ingredients
- 1 cup (240 ml) heavy whipping cream
- 1 teaspoon (5 ml) vanilla extract
- 1 tablespoon (15 ml) confectioners' sugar or simple syrup
Instructions
- Prepare and Chill: Place the mixing bowl and whisk attachment in the freezer for 15-30 minutes to ensure they are adequately chilled. Cold cream whips more easily.
- Combine Ingredients: In the chilled metal bowl, combine 1 cup of heavy whipping cream, 1 teaspoon of vanilla extract, and 1 tablespoon of confectioners' sugar or simple syrup.
- Whisk Soft Peaks: Begin whisking on low speed to incorporate air until soft peaks form. Increase the speed to medium until firm peaks form. Be cautious not to over-whip.
- Check for Stiff Peaks: Continue whisking until stiff peaks form. The whipped cream should hold its shape when the beater is lifted, without becoming lumpy.
- Avoid Over-Whipping: Be mindful of the speed, as high speed can lead to over-whipping, resulting in a grainy consistency. If over-whipped, add a tablespoon or two of additional cream and stir at low speed.
- Storage: Store the whipped cream in an airtight container for up to two days.
Notes
- Ensure the cream, bowl, and whisk are adequately chilled for optimal results.
- Incorporate the sugar and vanilla from the start for even distribution.
- Watch the peaks carefully to achieve the desired texture.
- Adjust whipping speed to avoid over-whipping; lumpy or grainy texture can be remedied by adding more cream.
Recommended Products
Nutrition Information:
Yield: 10 Serving Size: 1Amount Per Serving: Calories: 70Total Fat: 1gSaturated Fat: 1gTrans Fat: 0gUnsaturated Fat: 0gCholesterol: 3mgSodium: 1mgCarbohydrates: 16gFiber: 0gSugar: 15gProtein: 0g
The Nutritional Information may not be accurate. This website provides approximate nutrition information for convenience and as a courtesy only. Nutrition data is gathered primarily from the USDA Food Composition Database, whenever available, or otherwise other online calculators.


