Learn how to shuck corn like a pro with our easy step-by-step guide! Enjoy sweet, juicy corn on the cob atL your summer gatherings.
How to Shuck Corn on the Cob: A Summer Tradition
Corn on the cob is a quintessential summer treat that captures the essence of backyard barbecues and family gatherings. Whether roasted, boiled, or grilled to perfection, this vibrant vegetable is a favorite for many. In fact, it’s hard to find someone who can resist a warm ear of corn dripping with butter and sprinkled with their favorite seasonings.

A Historical Perspective
Eating corn on the cob has always been a bit of a challenge. As Lillian Eichler Watson aptly put it in her 1921 etiquette book, enjoying corn is “without a doubt one of the most difficult foods to eat gracefully.” Just take a moment to watch anyone tackle a cob; you’ll see an array of techniques—from holding it at the ends to cradling it in a napkin, or even using a small knife to cut off the kernels. It’s a delightful spectacle, isn’t it?
The Perfect Seasoning
No matter how you choose to eat it, there’s nothing quite like a cob seasoned to perfection. Picture this: a golden ear of corn drenched in rich butter, sprinkled with salt and pepper, or even a dash of paprika or hot sauce for those who like a kick. Everyone seems to have their own ritual, and the etiquette suggests salting and buttering each section right before taking a bite, ensuring every kernel bursts with flavor.

The Art of Shucking Corn
A Family Tradition
This past Memorial Day weekend, my friend Briana was tasked with preparing corn on the cob for fifty guests at her family gathering. Despite her best intentions, shucking corn was her least favorite chore—a task that brought back memories of summers spent at Grandma’s house, where shucking corn was a rite of passage. Does that resonate with you? We all have those chores that seem to haunt us every summer!
Step-by-Step Guide: How to Shuck Corn on the Cob
1. Start at the End:
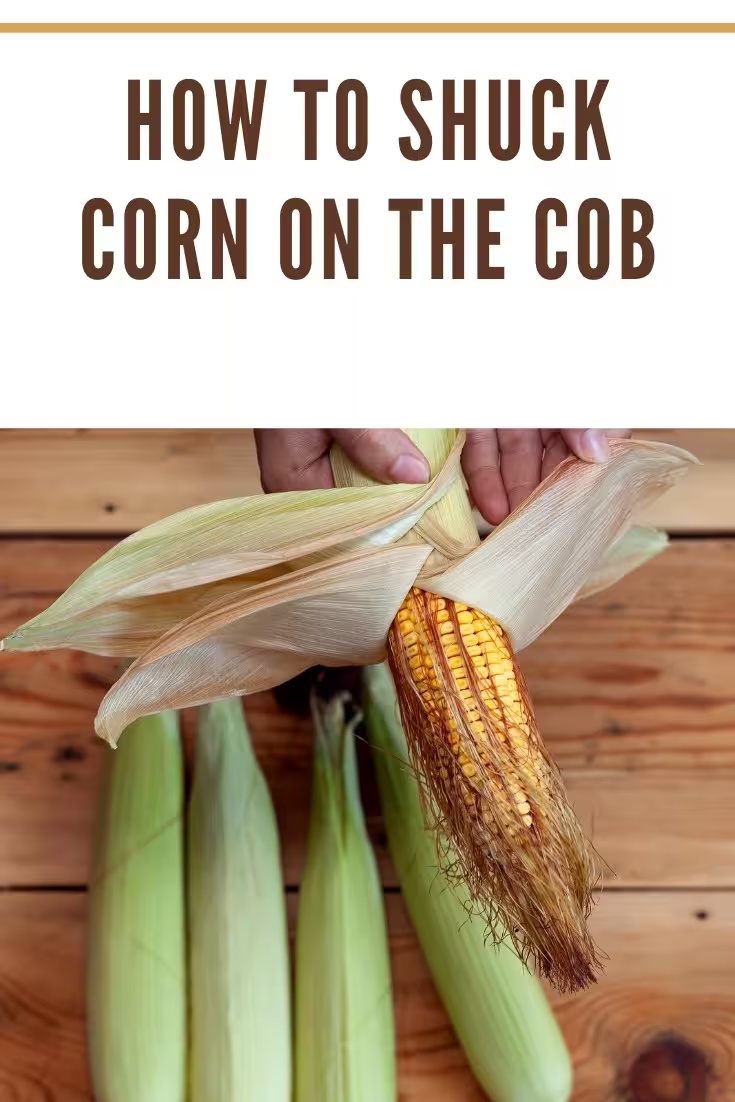
Begin at the end of the cob where the strings are dangling. Firmly pull down the husk to “undress” the corn, revealing its golden treasure.
2. Keep Going:
Continue pulling down until the cob is completely bare. This is the moment when you can finally snap off the bottom!
3. Rinse and Shine:
Rinse the cob under cold water, using your hand to sweep away any lingering silk threads that cling stubbornly to the kernels.
4. Break for Easier Eating:
Consider breaking the cob in half for easier handling to solve Miss Watson’s etiquette dilemma. It’s a simple trick that makes a world of difference—much easier than wrestling with a knife!
5. Save the Husks:
If you’re planning to make tamales or another dish, don’t forget to save those husks!

How to Cook Corn on the Cob
Once your corn is shucked, the next step is cooking it to perfection. Here’s how:
1. Boil Water:
Start by boiling a large pot of water.
2. Add the Corn:
Carefully place the corn on the cob into the boiling water.
3. Keep It Short:
Boil for just three minutes—no need to overdo it! Overcooking can lead to a mushy texture, and we want that sweet crunch.
4. Drain and Serve:
Remove the corn from the water and set it aside to drain. For those who like to keep it warm, wrap it in aluminum foil with a pat of butter.
A Bit About Corn’s Heritage
Did you know that corn has been a staple in North America long before European settlers arrived? Native American tribes cultivated this versatile crop, weaving it into their daily lives and diets. It’s a rich history that adds depth to every bite we take today.
Call to Action
Ready to elevate your summer cookouts? Don’t miss out on the best corn on the cob! Purchase your fresh corn from a local farmer’s market or grab some handy tools to make shucking even easier. Check out my Amazon affiliate link for top-rated corn shuckers and other essential kitchen gadgets that will make your cooking experience delightful!
