Rice Krispie Treats Recipe (Easy, Gooey & No-Bake)
This classic Rice Krispie treats recipe is made with just 3 simple ingredients—crispy rice cereal, marshmallows, and butter—and turns out soft, gooey, crisp, and wonderfully nostalgic.
The whole batch takes about 10 minutes to make on the stovetop, plus 30 minutes to cool, making these easy homemade Rice Krispie treats perfect for lunchboxes, bake sales, parties, potlucks, or those days when you simply need a square of marshmallow happiness.
Disclosure: I originally received a Copper Chef pan in exchange for the first version of this post. All opinions are my own. This post has since been updated and expanded into a complete classic Rice Krispie treats recipe while preserving the original step-by-step photos.
Classic Rice Krispie Treats Recipe
These are the homemade Rice Krispie treats you remember: buttery, marshmallowy cereal squares with just enough chew to keep them soft and just enough crispness to make every bite satisfying.
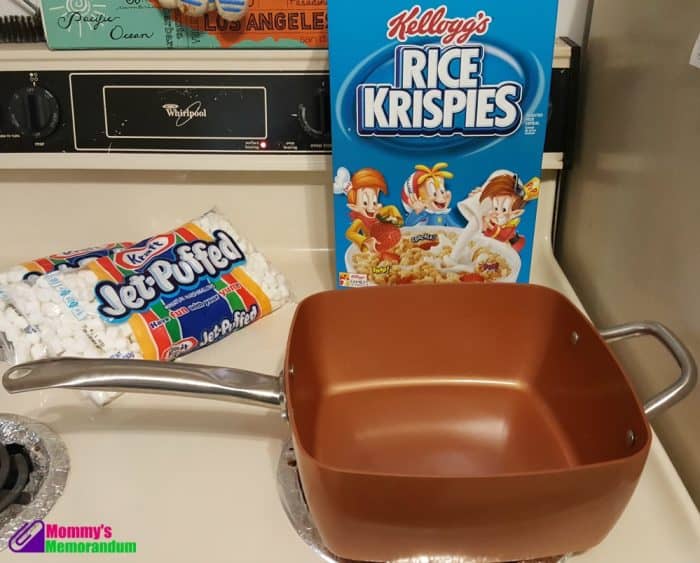
The recipe uses the classic combination of 3 tablespoons butter, 10 ounces marshmallows, and 6 cups Rice Krispies cereal. Melt the butter, gently melt the marshmallows over low heat, fold in the cereal, and press the mixture lightly into a prepared pan.
The word lightly matters. One of the easiest ways to turn soft Rice Krispie treats into little marshmallow bricks is to pack them too firmly into the pan. Spread the mixture evenly, press only enough to hold everything together, and let the treats cool at room temperature before cutting.
My first test of this recipe was actually a nonstick-pan experiment. Melted marshmallow is usually the bane of kitchen cleanup, and I wanted to see whether the famously sticky mixture would slide out of the pan.
It did. Beautifully.
That original experiment is what makes this old recipe worth keeping. The pan review may have aged, but the marshmallows, butter, crispy cereal, and step-by-step photos still tell a very useful—and very delicious—story.
Why You’ll Love This Recipe
- Only 3 main ingredients: Butter, marshmallows, and crispy rice cereal.
- Quick and easy: The stovetop portion takes about 10 minutes.
- No baking required: No oven, mixer, or complicated equipment needed.
- Soft and gooey: Low heat and a light touch help prevent hard treats.
- Easy to customize: The classic recipe makes a perfect starting point for sprinkles, chocolate, candy, or seasonal variations.
- Made for sharing: Cut them large for an after-school treat or smaller for parties and dessert trays.
Ingredients for Rice Krispie Treats
You need only three main ingredients for this classic Rice Krispie treats recipe.
- 3 tablespoons butter
- 10 ounces mini marshmallows
- 6 cups Rice Krispies cereal
- Nonstick cooking spray or softened butter, for greasing the pan
Ingredient Notes
Butter: Three tablespoons add richness and help the marshmallows melt smoothly. Keep the heat low so the butter does not brown unless you are intentionally making a browned-butter variation.
Marshmallows: The recipe uses 10 ounces by weight. Mini marshmallows melt quickly and evenly, but large marshmallows also work when you measure by package weight.
Rice Krispies cereal: Measure 6 cups before you start melting the marshmallows. Once the marshmallow mixture is ready, you will want to work while it is still warm and easy to stir.
How to Make Rice Krispie Treats
Prep Time: 5 minutes
Cook Time: 5 minutes
Cooling Time: 30 minutes
Total Time: 40 minutes
Yield: 12 large or 24 small treats
Step 1: Prepare the Pan
Lightly grease a 9×13-inch pan with nonstick cooking spray or softened butter.
Have the pan ready before you begin melting the marshmallows. The cereal mixture becomes firmer as it cools, so this is one of those recipes where a little preparation makes everything easier.
Step 2: Melt the Butter
Add 3 tablespoons butter to a large nonstick saucepan, Dutch oven, or deep skillet.
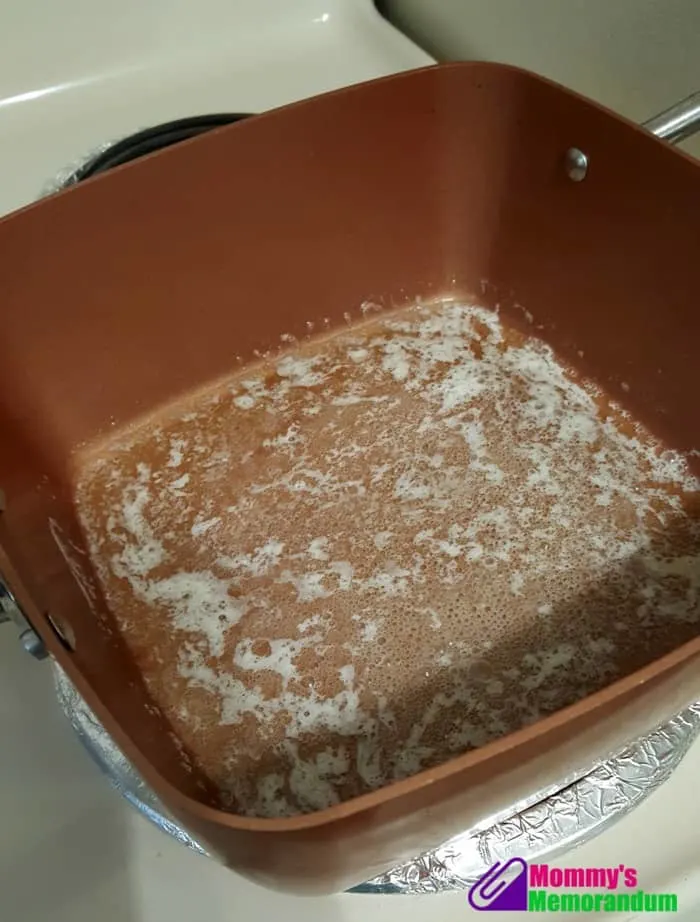
Melt the butter over low heat, about 1 to 2 minutes. Keep the heat gentle. The butter should melt without sizzling or browning.
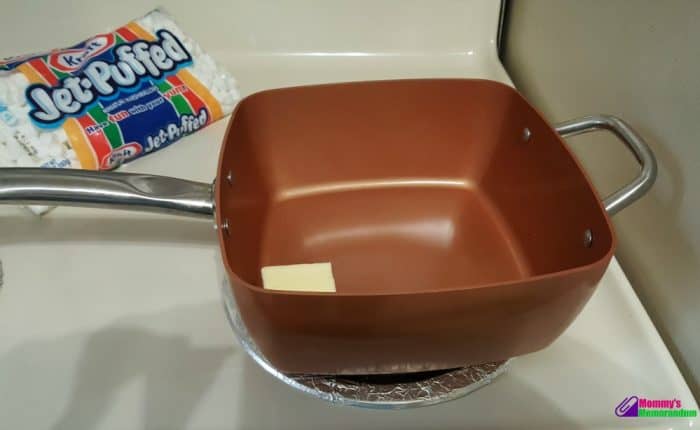
It will not take long for the butter to melt.
Step 3: Melt the Marshmallows
Add 10 ounces of mini marshmallows to the melted butter.
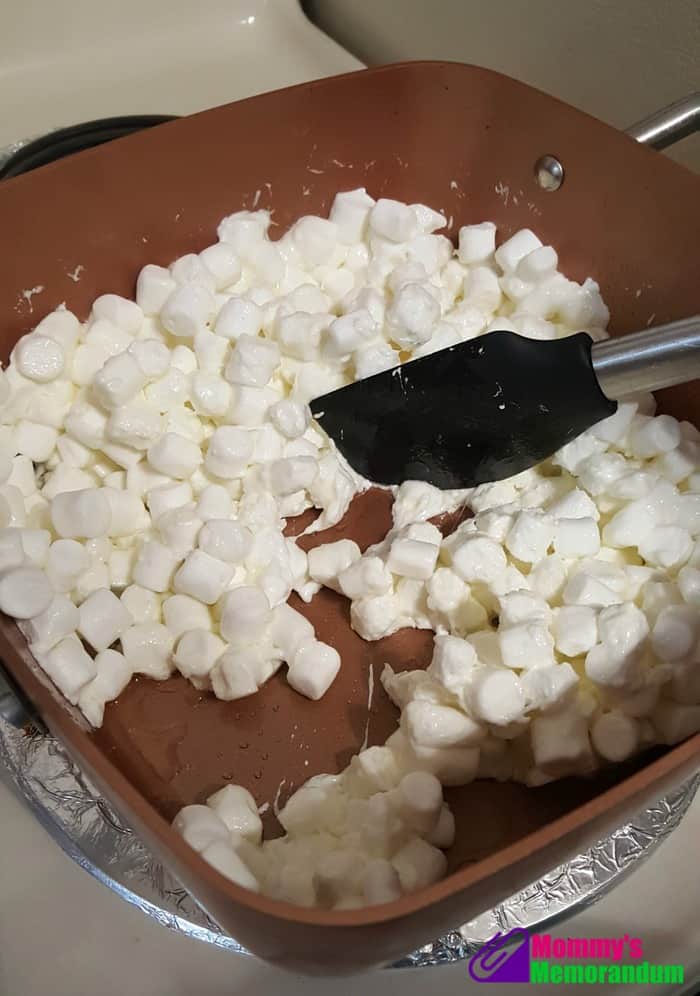
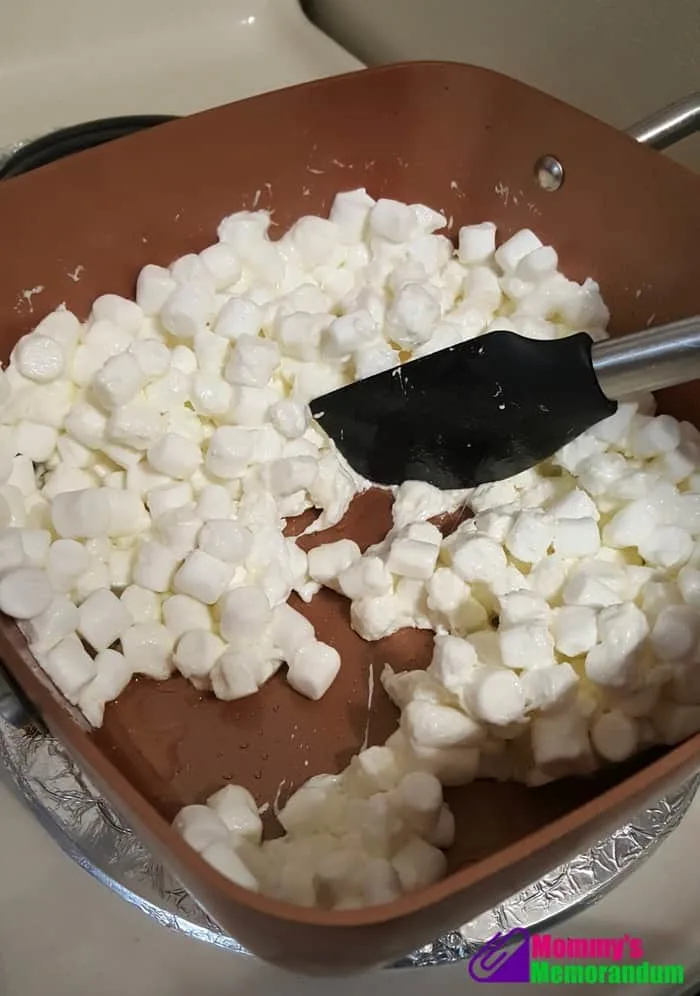
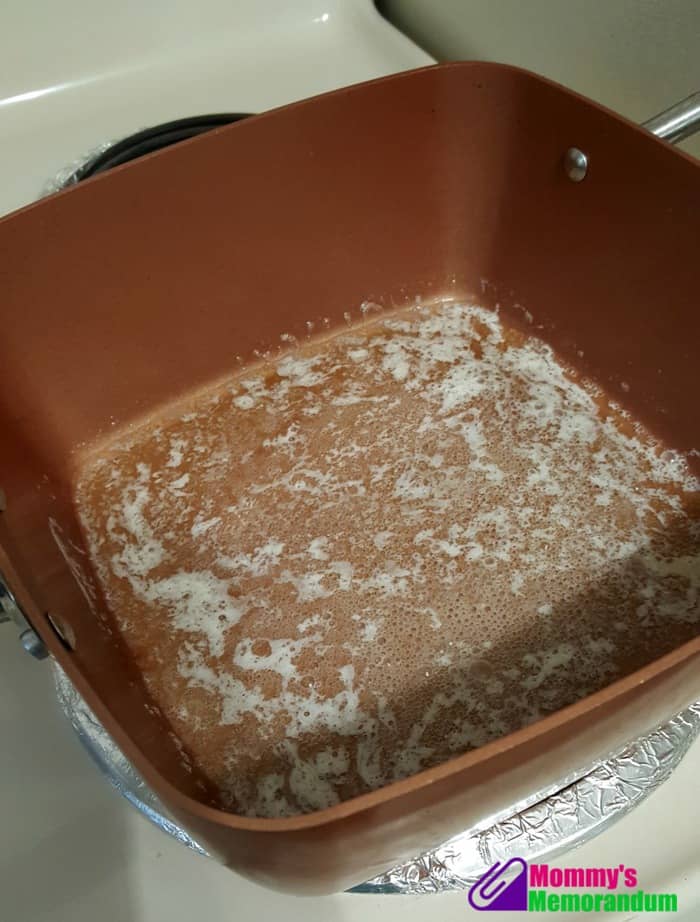
Stir gently over low heat for about 2 to 4 minutes, or until the marshmallows are almost completely melted and the mixture is smooth.
Do not let the marshmallows boil or bubble. High heat can cook the sugar and make the finished treats hard.
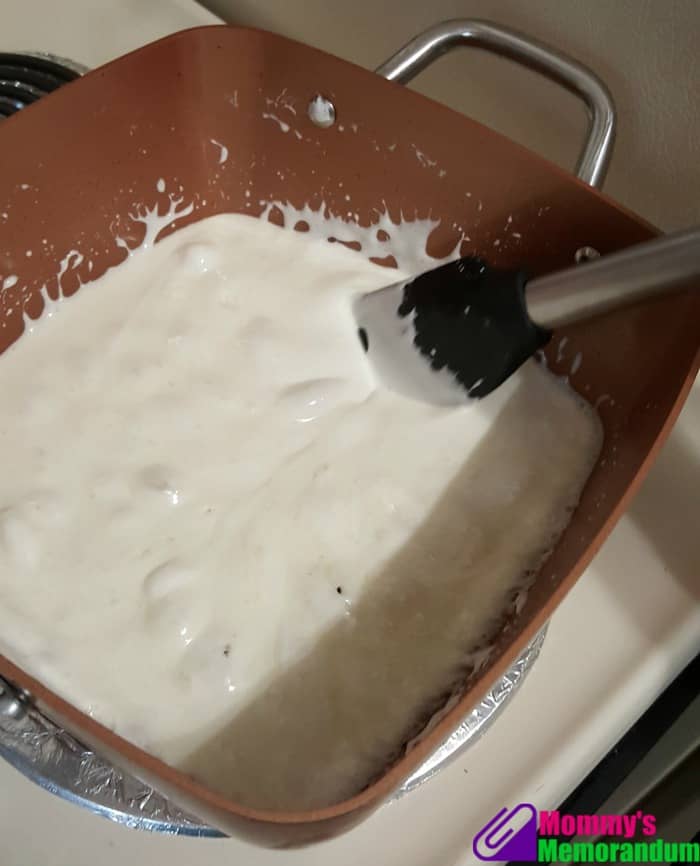
Remove the pan from the heat as soon as the marshmallows are smooth. A few tiny soft pieces are fine; the residual heat will finish melting them as you stir.
When I made the original batch, the marshmallows melted so cleanly that I barely had to scrape the pan. I still stirred them—marshmallows need a little guidance—but I did not have to fight a sticky layer glued to the bottom.
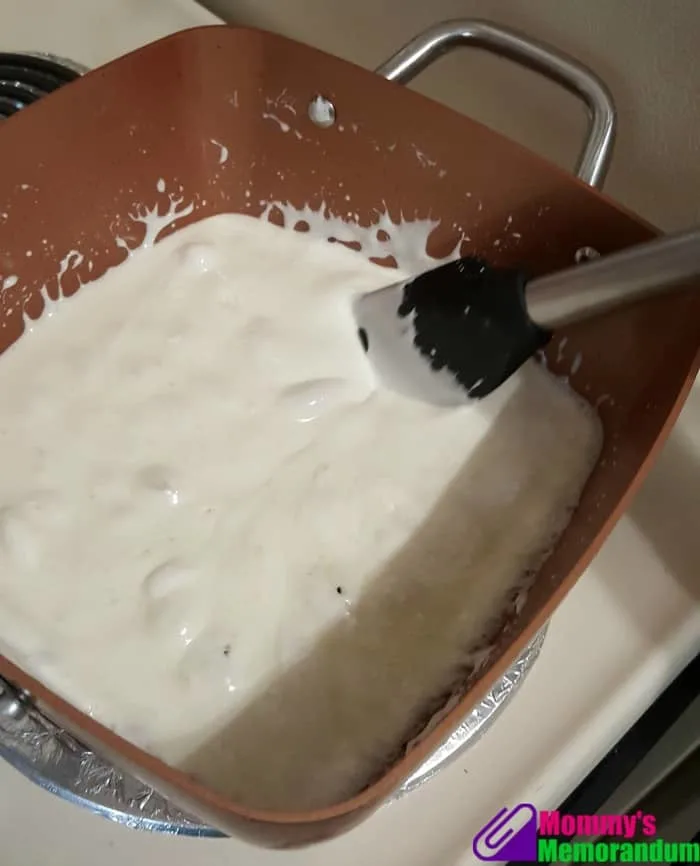
Step 4: Add the Cereal
Add 6 cups Rice Krispies cereal to the melted marshmallow mixture.
Fold and stir until every piece of cereal is evenly coated. Work quickly but gently so the mixture stays warm enough to spread easily.
This was the moment that sold me on the original pan test. With the marshmallows sliding rather than sticking, it was easy to coat the cereal evenly without leaving half the recipe behind in the pan.
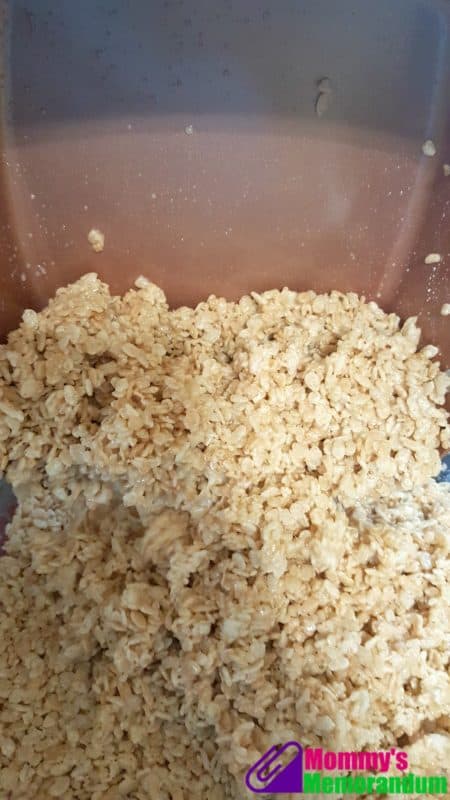
Step 5: Press the Mixture into the Pan
Immediately transfer the cereal mixture to the prepared 9×13-inch pan.
Use a buttered spatula, a piece of parchment paper, or lightly greased fingertips to spread the mixture evenly.
Press only firmly enough to create an even layer. Do not mash or tightly pack the cereal into the pan. A gentle touch helps keep Rice Krispie treats soft instead of dense and hard.
Step 6: Cool and Cut
Let the treats cool at room temperature for about 30 minutes, or until they are firm enough to cut without falling apart.
Cut into 12 large squares or 24 smaller party-size treats.
For clean cuts, lightly grease a sharp knife and make firm downward cuts instead of sawing back and forth.
Readers Also Make
Once you have the classic version mastered, my layered PEEPS Rice Krispie treats turn the same crispy, marshmallowy nostalgia into colorful pastel layers for Easter and spring celebrations.
How to Keep Rice Krispie Treats Soft
The ingredient list may be simple, but a few small details make the difference between soft, gooey treats and hard cereal squares.
Use Low Heat
High heat is the biggest troublemaker. Melt the butter and marshmallows gently. As soon as the marshmallows are smooth, remove the pan from the heat.
Do Not Overcook the Marshmallows
The marshmallow mixture should never boil. Overheating cooks the sugar and can make the treats hard as they cool.
Measure the Cereal Before You Start
Have all 6 cups measured and ready to go. The marshmallow mixture begins cooling quickly once it comes off the heat.
Press the Mixture Lightly
You are shaping the treats, not packing a suitcase. Press just enough to make an even layer.
The more firmly you compact the cereal, the denser the finished treats will be.
Use Fresh Marshmallows
Fresh marshmallows melt more smoothly. Older, dried-out marshmallows can stay lumpy and may produce firmer treats.
Why Are My Rice Krispie Treats Hard?
Hard Rice Krispie treats are usually caused by one of three things:
- The marshmallows were heated over too high a temperature.
- The marshmallow mixture cooked too long.
- The cereal mixture was pressed too firmly into the pan.
Keep the stovetop heat low, remove the marshmallows as soon as they are smooth, and use a light touch when spreading the mixture.
How to Keep the Mixture from Sticking
Melted marshmallow is sticky by nature, but you do not have to spend the rest of the afternoon chiseling it from every surface in your kitchen.
- Use a large nonstick saucepan or deep skillet.
- Keep the heat low.
- Grease the pan before you begin cooking.
- Use a buttered spatula or piece of parchment to spread the mixture.
- Wash the cooking pan before any remaining marshmallow has time to harden.
Of course, my original batch was the exception to that last rule. Nothing stuck to the pan. The mixture practically poured right out.
I could have seriously wiped the pan with a paper towel and called it clean. Of course, I washed it. I am just saying the marshmallow cleanup was almost suspiciously easy.
The Original Copper Chef Test
This recipe began life as a pan review.
We cook a lot at home, and our kitchen has always made me appreciate anything that can do more than one job. The original Copper Chef was a deep, square nonstick pan, and I decided the fairest possible test was melted marshmallow.
After all, if you want to know whether something is truly nonstick, marshmallows are willing to testify.
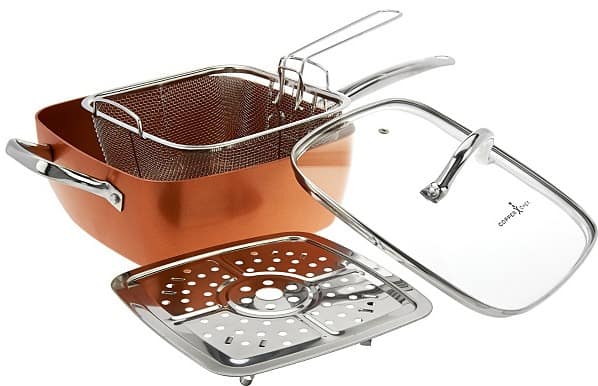
The pan did its job, but here is the important part for the recipe: you do not need a Copper Chef pan.
Any large nonstick saucepan, Dutch oven, or deep skillet that gives you enough room to fold 6 cups of cereal into the melted marshmallows will work.
That is the useful lesson worth carrying forward from the original review. A roomy pan makes the recipe easier, and a good nonstick surface makes marshmallow cleanup much less dramatic.
Perfect with a Party Dessert Table
Rice Krispie treats are one of those desserts that fit almost anywhere. Cut them into small squares for birthday parties and potlucks, make larger bars for after-school snacks, or arrange them on a platter with brownies, cookies, fruit, and other easy handheld sweets.
They are especially useful when you need a no-bake dessert that can be made ahead and served without forks, plates, or a lot of fuss.
For more simple cakes, bars, pies, and no-bake treats, browse my easy dessert recipes.
Easy Rice Krispie Treat Variations
Extra-Marshmallow Treats
For extra pockets of marshmallow, let the cereal mixture cool for about one minute, then fold in a small handful of mini marshmallows before transferring it to the pan.
Chocolate-Dipped Rice Krispie Treats
Cool and cut the treats completely, then dip one corner of each square in melted chocolate. Let the chocolate set on parchment paper.
Sprinkle Rice Krispie Treats
Add colorful sprinkles after mixing in the cereal. Fold them in quickly and gently so the colors do not melt into the warm marshmallow mixture.
Holiday Rice Krispie Treats
Use seasonal sprinkles, candy, or colored marshmallows to give the classic recipe a holiday makeover without changing the basic method.
Thick Rice Krispie Treats
For thicker squares, use a smaller pan. Remember that thicker treats may need a little longer to cool before they cut cleanly.
How to Store Rice Krispie Treats
Store the treats in an airtight container at room temperature for up to 3 days.
If you stack them, place parchment or wax paper between the layers to prevent sticking.
For the best texture, keep Rice Krispie treats at room temperature rather than refrigerating them. Refrigeration can make the marshmallow mixture firmer and the cereal less pleasantly crisp.
Can You Make Rice Krispie Treats Ahead of Time?
Yes. Make them one day before you plan to serve them and store the pan tightly covered at room temperature.
For the softest edges, you can leave the slab whole and cut the treats closer to serving time.
Can You Freeze Rice Krispie Treats?
Yes. Wrap individual treats tightly and place them in a freezer-safe container for up to 6 weeks.
Thaw the treats at room temperature while still wrapped. This helps keep condensation from settling directly on the cereal.
Frequently Asked Questions
How much marshmallow do I need for 6 cups of Rice Krispies?
Use 10 ounces of marshmallows for 6 cups of Rice Krispies cereal. This recipe also uses 3 tablespoons of butter.
Can I use large marshmallows instead of mini marshmallows?
Yes. Use 10 ounces by weight. Large marshmallows may take slightly longer to melt, so keep the heat low and stir gently.
What size pan should I use for Rice Krispie treats?
A 9×13-inch pan works well for classic Rice Krispie treats. Use a smaller pan if you prefer thicker squares.
Why do my Rice Krispie treats get hard?
The marshmallows were probably overheated or the cereal mixture was pressed too firmly into the pan. Use low heat and press lightly.
Do Rice Krispie treats need to be refrigerated?
No. Store them in an airtight container at room temperature. Refrigeration can make them firmer and drier.
How long do homemade Rice Krispie treats last?
They are best within 3 days when stored in an airtight container at room temperature.
Can I make Rice Krispie treats the day before a party?
Yes. Make them one day ahead, cover them tightly, and keep them at room temperature. Cut shortly before serving for the softest exposed edges.
Why is my Rice Krispie mixture difficult to spread?
The mixture cools quickly. Have the pan greased and the cereal measured before melting the marshmallows, then transfer the mixture immediately.
Final Thoughts
Some recipes have very glamorous origin stories.
This one began because I wanted to see whether melted marshmallows would stick to a copper-colored pan.
They did not.
But somewhere between the melting butter, the mountain of marshmallows, and 6 cups of crispy cereal, the pan stopped being the most useful part of the story.
The recipe was.
These classic Rice Krispie treats are quick, familiar, easy to make, and exactly the sort of kitchen nostalgia worth keeping. Keep the heat low, press the mixture lightly, and try not to eat the warm marshmallow-coated cereal straight from the spoon.
I said try.
More Easy Desserts to Make Next
For a colorful variation on the classic, make my layered PEEPS Rice Krispie treats. You can also browse the full easy dessert recipe collection when you need another simple, crowd-friendly sweet.
Updated July 2026: This post was originally published as a Copper Chef review. The original recipe process and step-by-step photos have been preserved, while the post has been expanded into a complete classic Rice Krispie treats recipe.
Next Recipe to Try
Once you have the classic squares mastered, turn them into a spooky party treat with these Frankenstein Rice Krispies Treats.