Ghiradelli Advent
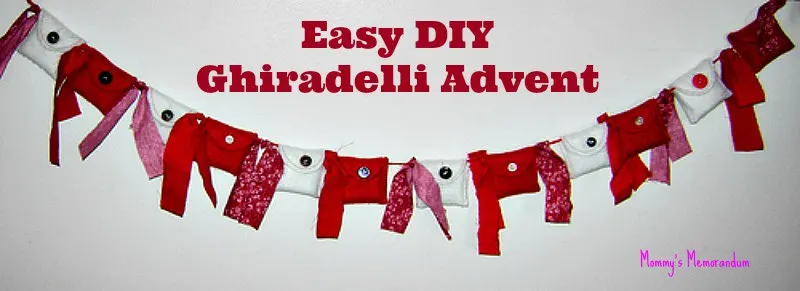
With six children, it seems we are always counting down until (insert: “birthday,” “Holiday,” etc.).
After tiring of the constant “How many more days?”
I created our Ghirardelli Advent.
It’s been a big hit and makes the long days until our “event” a delicious journey!

For this Easy #DIY Ghiradelli Advent project you will need:
Felt
thread
sewing machine or needle
buttons
scissors
paper
marking pen
about 1/2 yard fabric
Ghirardelli chocolate squares
yarn or ribbon
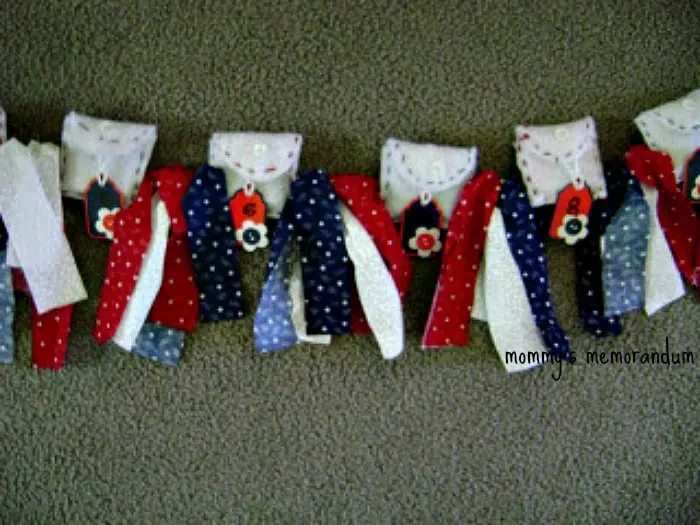
This is an easy project. Miss M made it on her own in 2011 and took first place at the Utah State Fair.
Here’s hers in a Red, White and Blue Theme:
Easy #DIY Ghiradelli Advent Instructions:
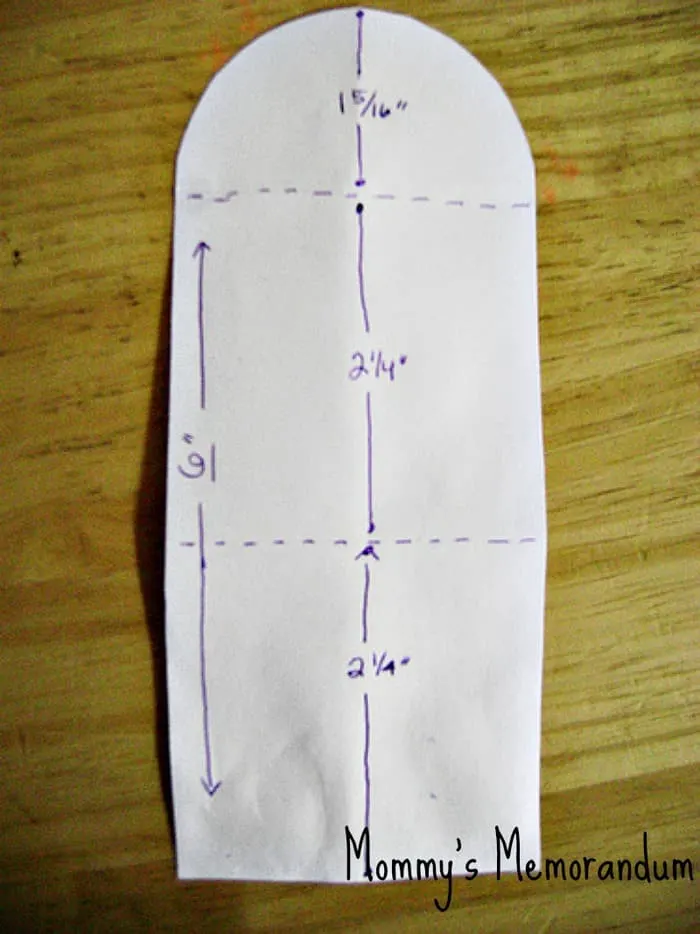
1.) Create a pattern for your felt envelopes. Measure and mark 6″x2.5.”
the rectangle on a piece of paper.
Cut out.
2.) Measure 1 and 5/16 down from the top, fold.
3.) Using scissors, round the top of the 1 and 5/16″ box.
4.) From the fold line, measure 2.25″ and fold.
Repeat.
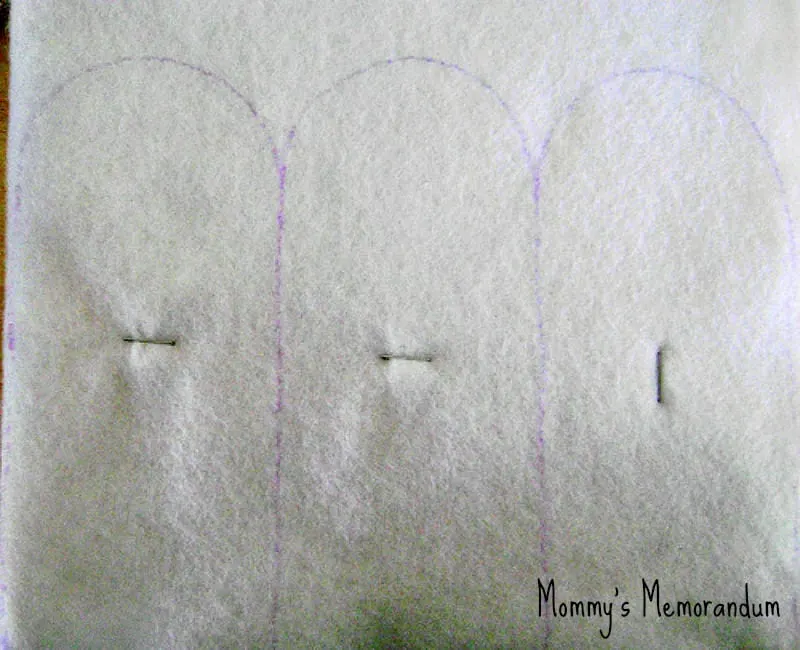
5.) Transfer the pattern onto felt.
Cut Out.
Tip: Use a staple to secure “layers” of felt, allowing you to save time in the cutting out process.
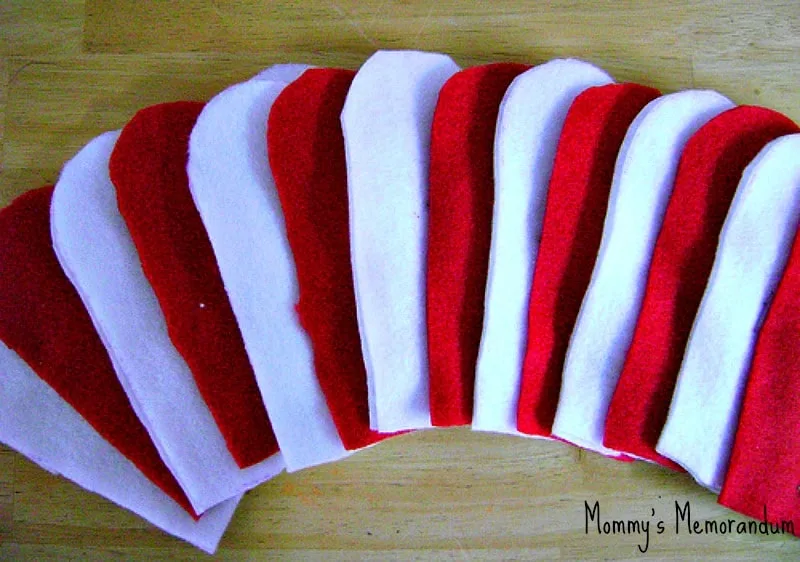
6.) Cut out enough “envelopes” to make one for each day you are counting down. (i.e. for Valentine’s I cut (7) red and (7) white. We will start our “count-down” February 1.)
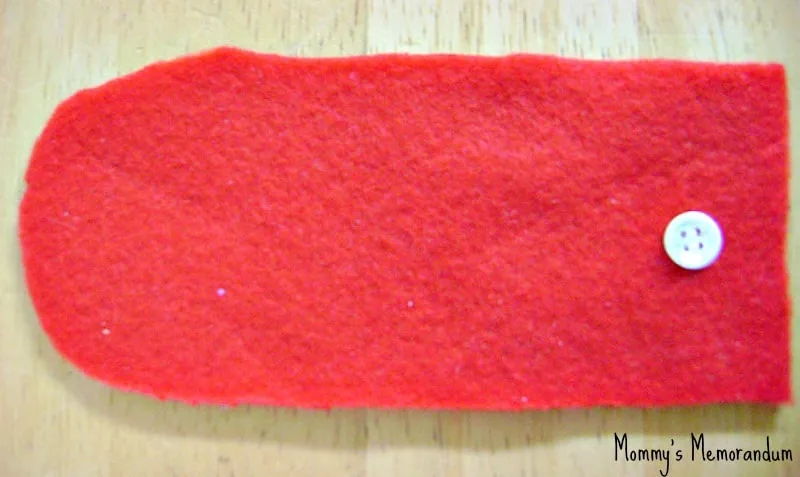
7.) Center and Sew a button approximately 1/2″ down from the straight edge of your envelope.
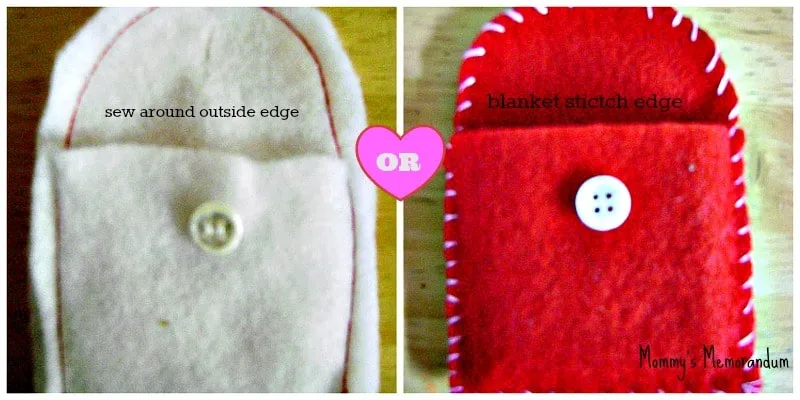
8.) Fold felt at measurements above (1 and 5/16″, 2.25″, 2.25″) and sew, with 1/8″ allowance, around edges of “envelope” OR you can use a blanket stitch and sew around edges.
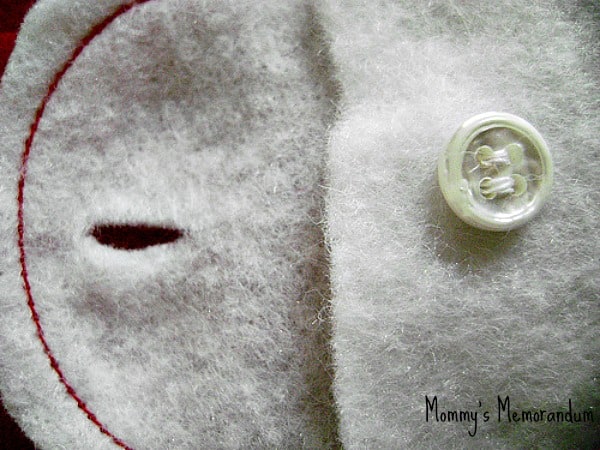
9.) Cut a slit for your button to fit through.
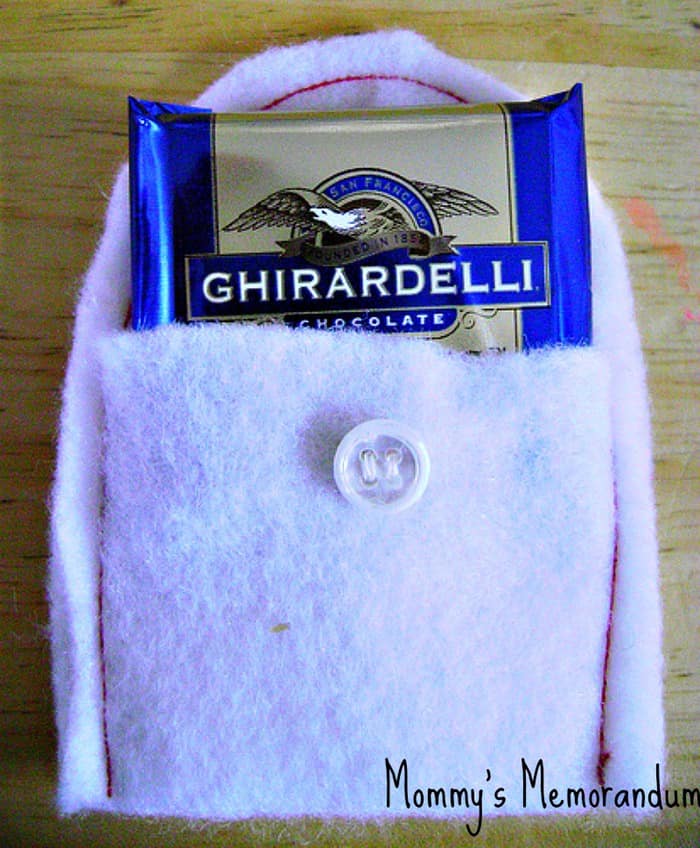
10.) Place Ghirardelli Chocolate Square inside the envelope.
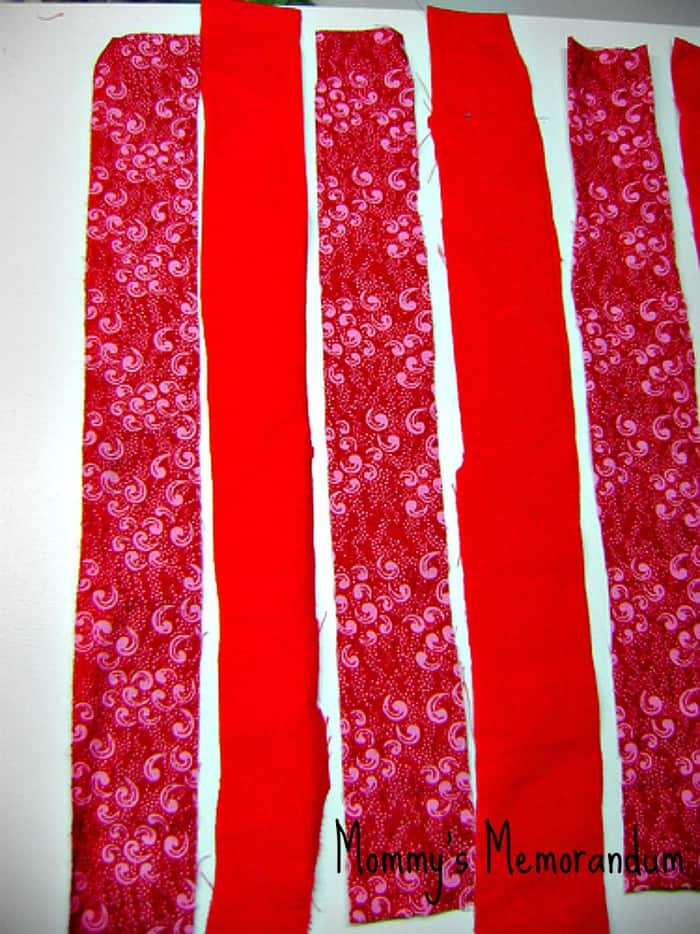
11.) Measure and mark the wrong side of your chosen fabric in 1″x10″ strips and cut out.
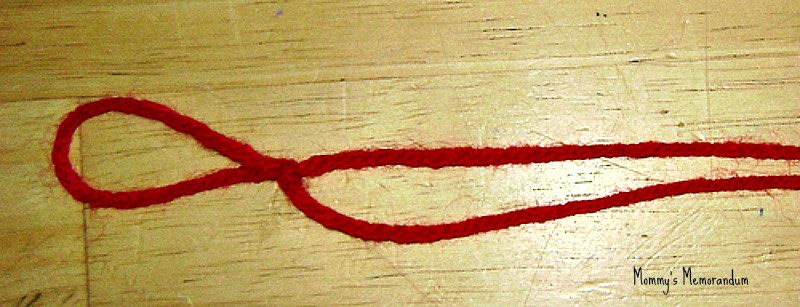
12.) Layout yarn or ribbon (determine the length by how many envelopes you are using.) Tie one end with a slip knot (for hanging) overlapping excess yarn/ribbon.
Now you are ready to assemble your Easy #DIY Ghiradelli Advent!
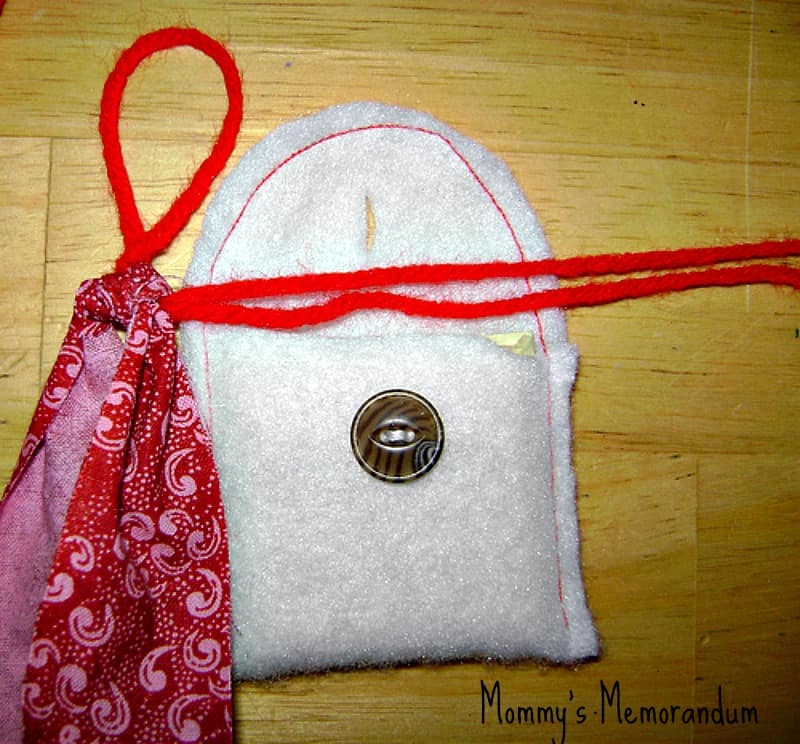
13.) Tie one fabric strip over the yarn.
14.) Place “open” envelope under yarn/ribbon so that yarn lies even with the top of the “pocket.”
15.) Repeat steps 13 and 14, alternating envelope colors and fabric until you have used all your envelopes.
16.) Cut ribbon/yard and tie a slip knot.
You’re DONE!
Just hang up your Ghirardelli Advent and open one envelope each day to find your chocolate surprise!

