Tips on Using Mod Podge Sealer
Whether you’re an avid crafter or just dipping your toes into the world of DIY, Mod Podge sealer is a must-have tool. Let’s dive into the versatile uses of this product and some essential tips to get the best results for your projects.
What is Mod Podge?
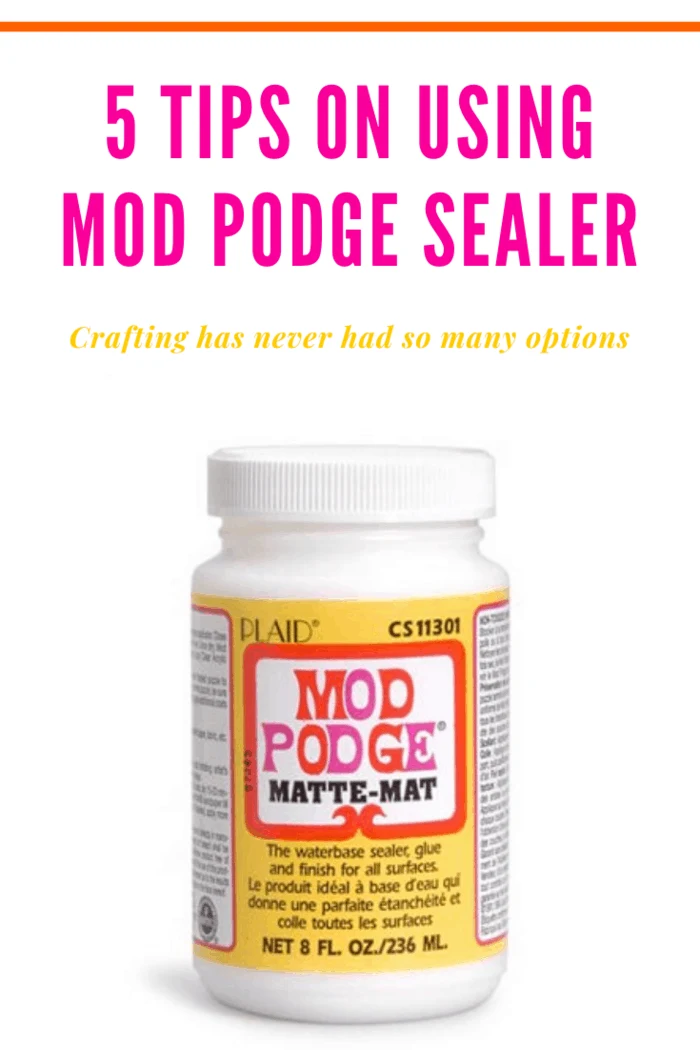
Mod Podge is a multifunctional adhesive that acts as a glue, sealer, and finish. With its origins dating back to the 1960s, this product has become a staple in the crafting community due to its versatility and ease of use.

A Quick History
The product was developed in the late 1960s by Jan Wetstone, a skilled craftswoman who wanted an all-in-one solution for her decoupage projects. Today, it’s a go-to product for crafters worldwide, simplifying the process of adhering, sealing, and finishing a wide range of materials.
Applications of Mod Podge
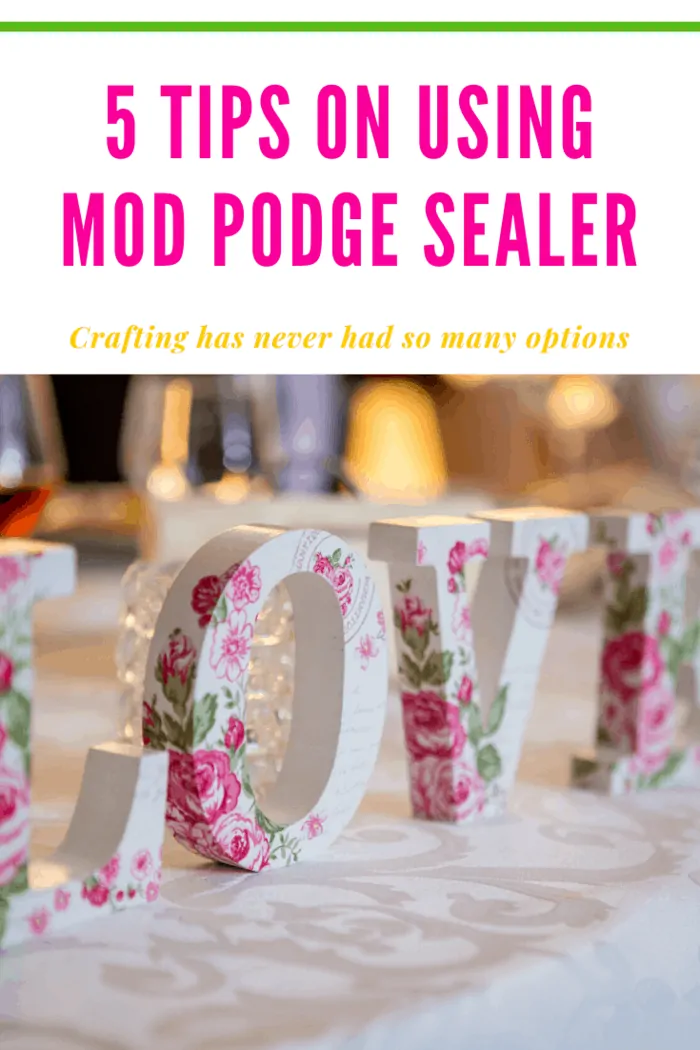
Mod Podge can be used to affix decorative elements to a variety of surfaces, including:
- Furniture pieces: Revamp an old dresser with a decoupage design.
- Wall art: Create personalized wall hangings.
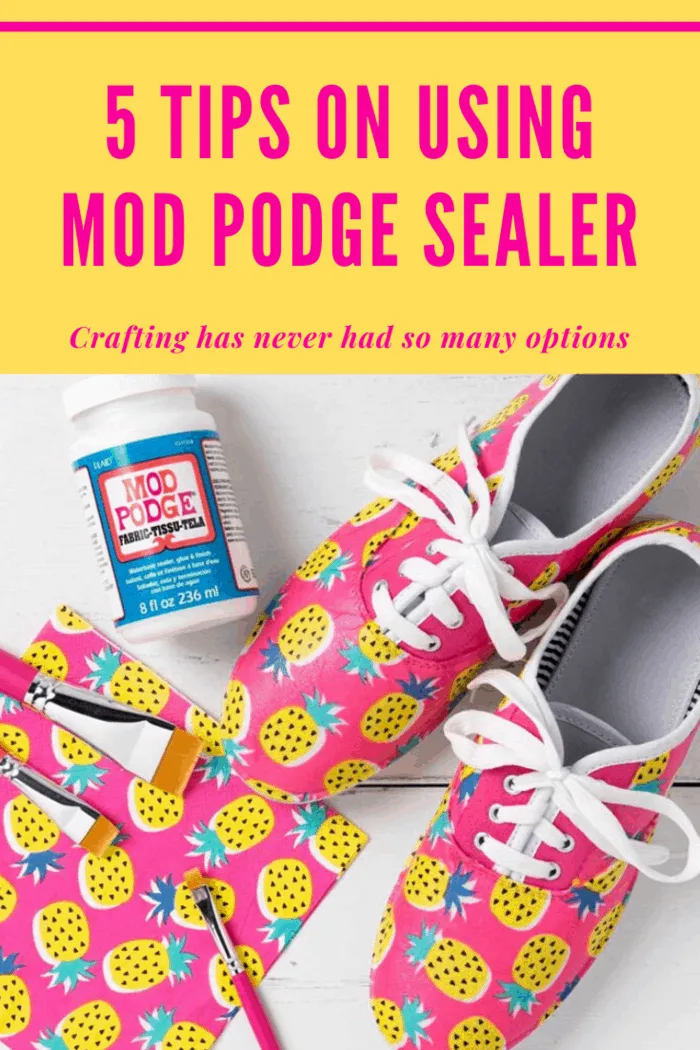
- Wearable items: Customize shoes, bags, and more.
Is Mod Podge Really Elmer’s Glue?
No, Mod Podge is not the same as Elmer’s glue. While it can act as an adhesive, this product also serves as a sealer and finish, containing ingredients that give it unique properties compared to ordinary craft or school glues.
Is Mod Podge Food Safe?
No, Mod Podge is not food-safe. There is no product formula that is safe for direct contact with food.
Ideal Candidates for Mod Podging
When choosing materials to use with Mod Podge, opt for items that are porous, thin, and flexible. Bulky and inflexible items may not seal properly, leading to crafting failures.
Great Examples of Mod Podging Candidates:
- Paper: Tissue paper, scrapbook paper.
- Small grains: Sand, glitter, Epsom salts.
- Fabric and lace
- Leaves and flowers
- Photographs: Use photocopies rather than originals.

5 Tips for Working with Mod Podge
Here are five great tips for working with the sealer like an arts and crafts professional would.
Tip #1: Apply Even Layers
Ensure an even layer of the product on both the decorative piece and the surface you’re adhering it to. This prevents parts of your project from lifting or slipping off before it’s finished.
Tip #2: Smooth Out Bubbles
Keep a squeegee or brayer tool handy to smooth out any bubbles that form during the application. Work from the center of the piece outward to eliminate air pockets and achieve a smooth finish.
Tip #3: Proper Application and Curing
Use side-to-side strokes to apply the first layer of Mod Podge. Allow it to dry for about 20 minutes before applying a second layer with up-and-down strokes. Curing times can vary by formula, so check the bottle for specific instructions.
Tip #4: Use Mod Podge Brushes
Specialized Mod Podge brushes, with their smooth, soft bristles, help create even layers when applying the sealer.
Tip #5: Use on Laser-Printed Items or Seal with Acrylic Spray
Laser-printed items work best for projects involving printed designs. If using inkjet prints, seal them with an acrylic spray before applying the product to prevent smudging.

Call to Action
Ready to start your next project? Check out the variety of Mod Podge products available on Amazon and get crafting today!
Share Your Experiences
By incorporating these tips and techniques, you’ll be well on your way to creating beautiful, durable crafts with Mod Podge. Happy crafting!
