★★★★☆4.6 from 94 votes
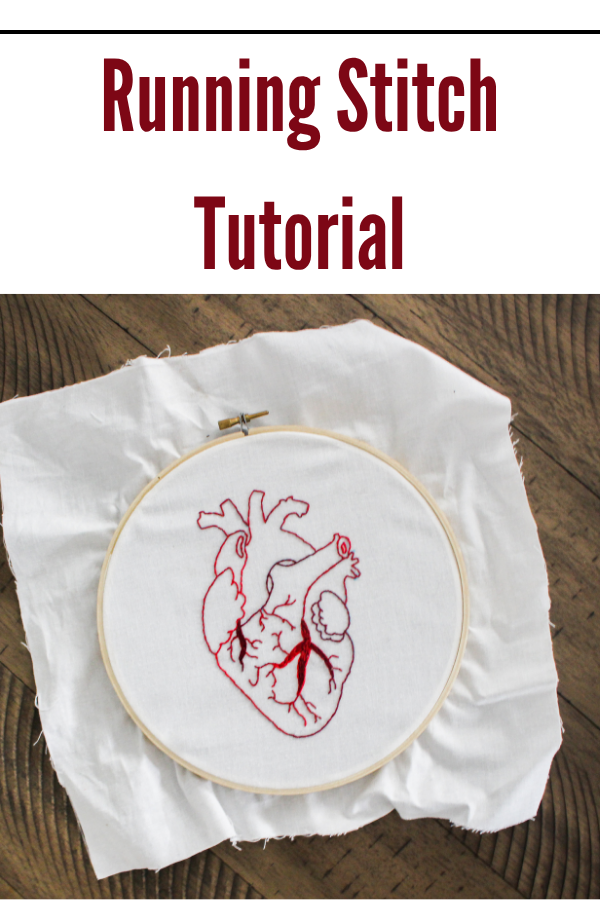
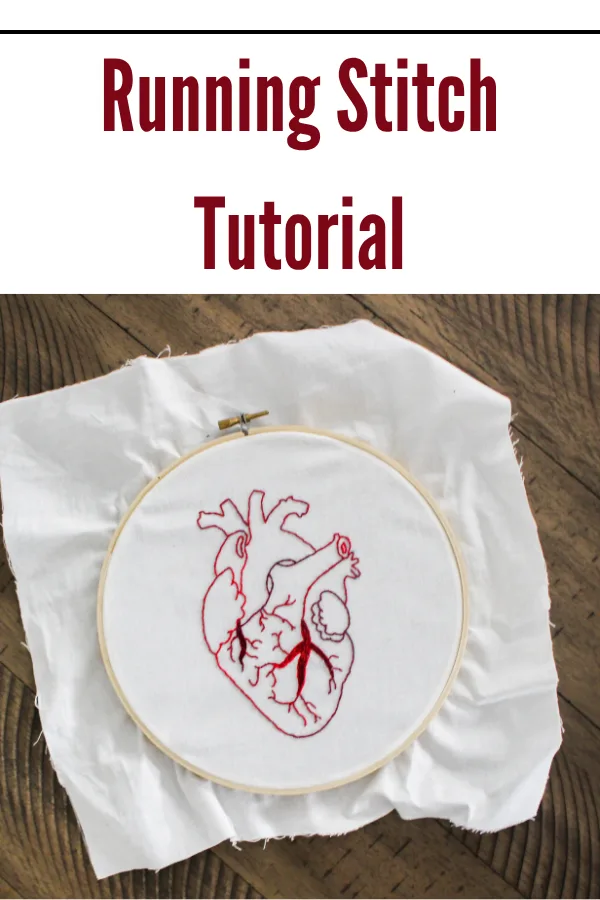
How to Do a Running Stitch by Hand
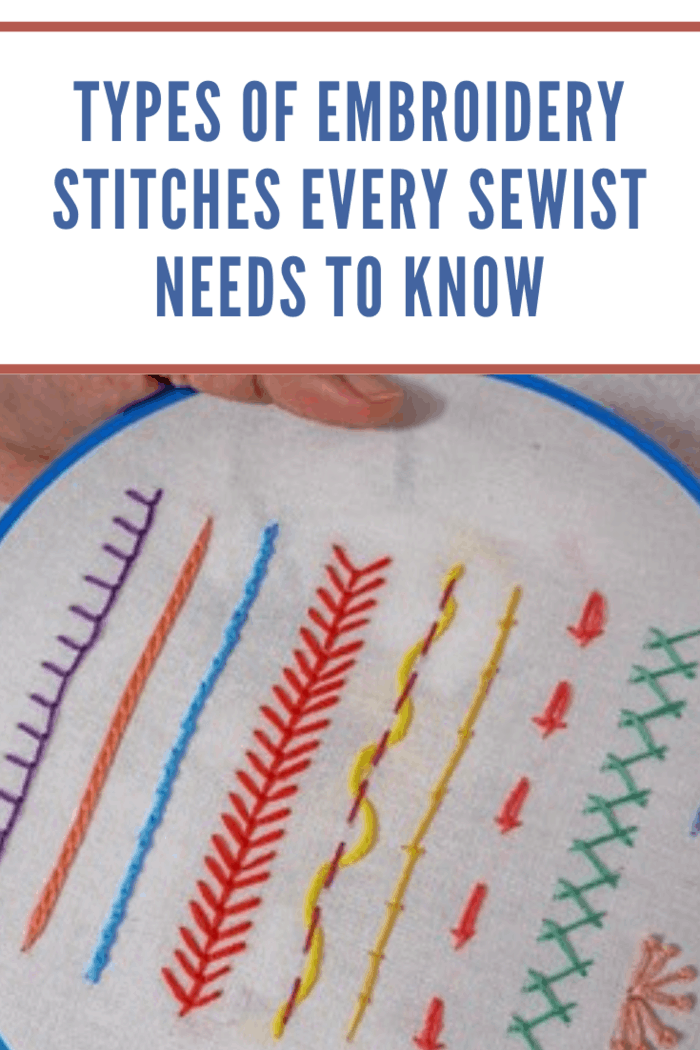

The running stitch—also called the straight stitch—is one of the most fundamental stitches in embroidery. It’s used for outlining, quilting, gathering, and even mending. Whether you’re new to hand sewing or brushing up your skills, this stitch is a must-learn.
What You’ll Need
- Embroidery hoop
- Embroidery needle
- Embroidery floss (any color)
- Cotton or linen fabric
- Sharp scissors
Step-by-Step Instructions
- Prepare your fabric: Cut your fabric and secure it in an embroidery hoop to keep it taut.
- Thread your needle: Use a strand of floss about 18″ long. Tie a small knot at the end.
- Start your first stitch: From the back of the fabric, push the needle through to the front. Move forward about 1/4″ and insert the needle back down through the fabric.
- Continue stitching: Bring the needle back up a short distance ahead and repeat. This creates a dashed line pattern. Try to keep your stitch length even.
- Secure your thread: When you’re finished, turn the fabric over and tie a small knot on the back side to secure your work. Trim any extra thread.
Tips for Success
- Use shorter stitches when sewing around curves for smoother lines.
- Mark guidelines with a water-soluble pen if needed.
- Keep your tension consistent to avoid puckering.
What Can You Make With a Running Stitch?
This versatile stitch is commonly used in:
- Quilting
- Embroidery outlines
- Gathering fabric (like ruffles)
- Adding detail to DIY crafts
Final Thoughts
The running stitch is the foundation of embroidery. It’s simple to learn and incredibly useful for a variety of sewing projects. Once you’ve mastered it, you’re ready to move on to more decorative stitches!
Next Up: Learn the Backstitch →