Learn the best ways to caulk a stainless steel kitchen sink with our step-by-step guide. Achieve a perfect seal and prevent leaks effortlessly!
The Ultimate Guide to Caulking a Stainless Steel Kitchen Sink
Protecting your kitchen from everyday mishaps can sometimes feel like a never-ending battle. From that occasional pot boil-over to spills and leaks, our kitchens often endure quite a lot. Yet, one of the most crucial issues—leaks—often remains hidden. Leaks under sinks, for instance, can be especially problematic, as they can cause damage that might go unnoticed until it’s too late. Fortunately, addressing these leaks with proper caulking can save you from future headaches.

What is Caulking, and Why is it Important?
You might wonder, what exactly is caulking, and how does it fit into protecting your kitchen? Caulking is a process of sealing gaps and joints to prevent leaks, the intrusion of insects, and the entry of dust and air. It’s an essential task that ensures your kitchen remains in top shape. For those who love a clean and functional kitchen, knowing how to caulk your sink correctly can be a game changer.
Quote: “Proper caulking is not just about aesthetics; it’s about preventing future problems that can arise from moisture and pests.” — Home Improvement Expert
The Best Ways to Caulk a Stainless Steel Kitchen Sink
Stainless steel sinks are a popular choice due to their durability and versatility, fitting seamlessly with various countertop materials, from granite to Formica. However, to keep your stainless steel sink in prime condition, you need to apply flexible caulk that can form a tight seal against your countertop and prevent moisture from seeping underneath.

Preparing Your Sink for Caulking
Before diving into the caulking process, preparation is key. Start by thoroughly cleaning the area where you’ll apply the caulk. Use an alcohol-based cleaner to remove any residues or debris that might interfere with the caulk’s adhesion. This step is crucial for ensuring a long-lasting seal.
Applying the Caulk: A Step-by-Step Guide
- Trace the Outline: Begin by tracing the outline of the sink. This will guide your application and help you achieve an even seal. If possible, lift the sink slightly to ensure you’re applying the caulk in the right spot and getting a good seal all around.
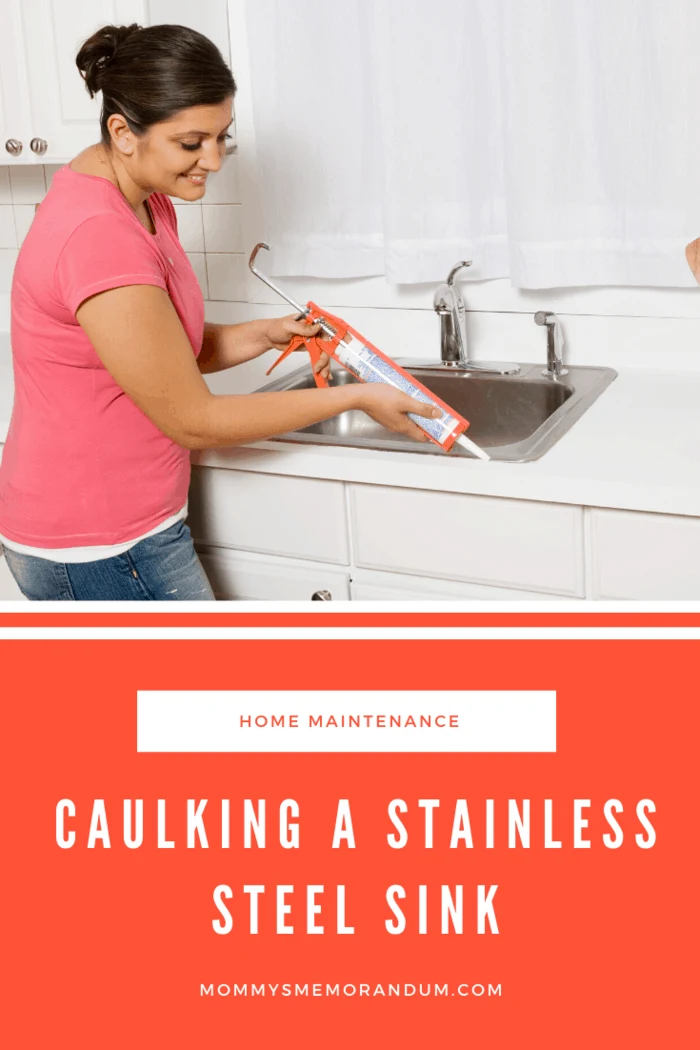
- Apply the Caulk: Using a caulking gun, apply the caulk in a steady, continuous bead around the sink. Aim for a width of just under an inch for optimal protection. Smooth out the caulk with a caulking tool or your finger to create a neat finish.
- Clean Up: Once you’ve applied the caulk, go over the area to clean up any excess. This not only enhances the appearance but also helps in achieving a tight seal.
- Let it Set: Allow the caulk to cure for at least 72 hours before using the sink. This waiting period ensures that the caulk sets properly and provides a robust seal.
Statistic: According to HomeAdvisor, improper caulking can lead to costly repairs, with average costs of fixing water damage ranging from $1,000 to $3,000.
Enhance Your Caulking Skills with the Right Tools
To achieve the best results, it’s essential to use high-quality caulk and tools. If you’re looking for reliable caulking products, check out my favorite options available on Amazon. Explore Caulking Tools Here.

Final Thoughts
Caulking your stainless steel kitchen sink might seem like a small task, but it plays a crucial role in maintaining the integrity of your kitchen. By following the steps outlined above and using high-quality materials, you can ensure a leak-free, well-protected sink.
Call-to-Action: Ready to take your kitchen maintenance to the next level? Check out the best caulking products and tools on Amazon and start your caulking project today! Shop Now.
