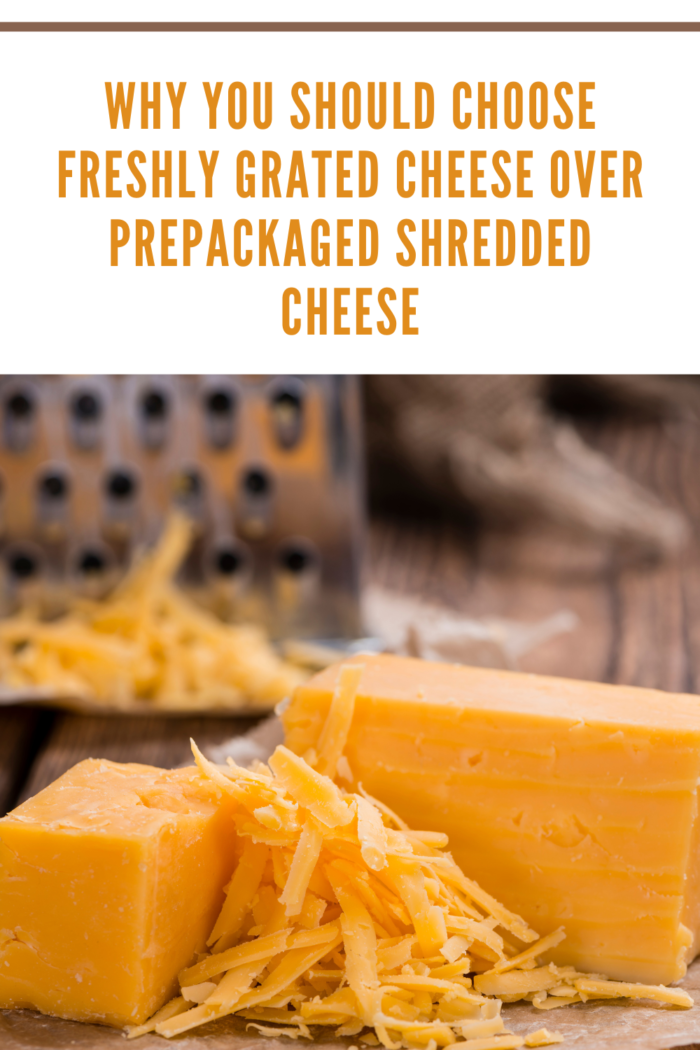
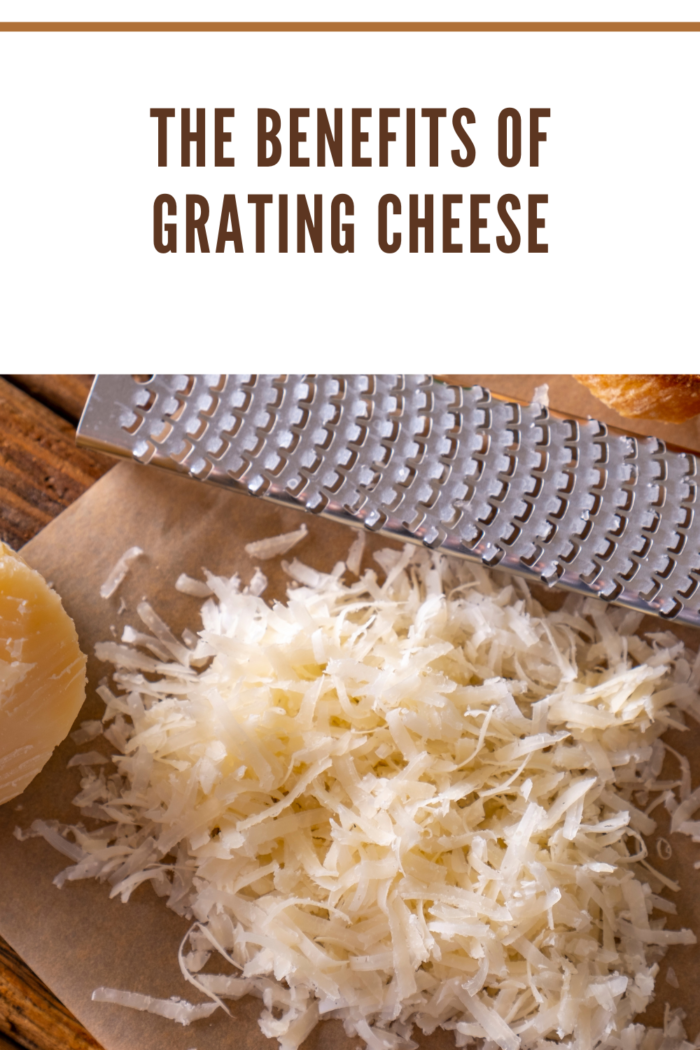
Grating your own cheese offers several advantages that can enhance the taste, texture, and overall quality of your dishes. Here are a few reasons why you should consider grating your own cheese:
Let’s talk cheese and why you should grate your own cheese over prepackaged shredded cheese.
I know.
It’s easy.
It’s already grated.
Open and use.
But.
Suppose you’re making macaroni and cheese, a cheesy casserole, a dip that stars cheese, lasagna, homemade pizzas, or any other meal that involves cheese. In that case, you want the ooey-gooey goodness of melted cheese.
There are many differences between prepackaged cheese and freshly shredded cheese.
The primary one is cellulose.
The primary ingredient keeps each shred of cheese separate from its neighbor in the bag.
It’s why prepackaged shredded cheese doesn’t clump.
It’s also the stuff that keeps the cheese from melting into an ooey-gooey state of bliss.
Cellulose is a plant fiber often included in foods to add texture and create bulk.
For the best flavor in any dish, take the time to shred your cheese.
Trust me when I tell you block cheese is better.
Let me share a few reasons why you should choose freshly grated cheese over prepackaged shredded cheese:

It melts more smoothly.
We talked about cellulose.
If it keeps the shreds from sticking together in the bag, don’t you think it works the same way when cooking?
Prepackaged shredded cheese also contains additives like natamycin and potato starch.
Freshly grated cheese does not.
Superior Texture: Freshly grated cheese tends to have a superior texture compared to pre-grated varieties. The act of grating breaks down the cheese into smaller shreds, creating a light and fluffy texture. This allows the cheese to melt more evenly and blend seamlessly into your dishes, enhancing the overall mouthfeel and appearance.

You get more for less money.
You’re paying more for convenience over quality with prepackaged cheese.
Eight ounces of block cheese makes more grated cheese shreds than an 8 oz bag of pre-grated cheese.
Much more.
Cost-effective: Buying a block of cheese and grating it yourself is often more cost-effective than purchasing pre-grated cheese. Pre-grated cheese tends to be more expensive due to the convenience factor. By grating your own cheese, you can stretch your budget further while enjoying a higher quality product.
It tastes better.
Freshly grated cheese is pure cheese.
No added preservatives.
No added chemicals.
It has a creamier taste and adds a depth of flavor.
Added carbs.
The cellulose is said to be harmless, but it does add carbs to the cheese.
Enhanced Flavor: Freshly grated cheese can offer a more pronounced and nuanced flavor profile. As you grate the cheese, its natural aromas are released, intensifying the taste experience. This is particularly noticeable with aged cheeses, where the complex flavors can be fully appreciated when freshly grated.
Fresher Product.
Freshness: When you grate cheese yourself, you ensure that you’re using the freshest product possible. Pre-packaged grated cheese may have additives or preservatives to maintain shelf life, which can affect the flavor and texture. By grating your own cheese, you have better control over its freshness, resulting in a more vibrant and enjoyable taste.
Better Texture
Superior Texture: Freshly grated cheese tends to have a superior texture compared to pre-grated varieties. The act of grating breaks down the cheese into smaller shreds, creating a light and fluffy texture. This allows the cheese to melt more evenly and blend seamlessly into your dishes, enhancing the overall mouthfeel and appearance.
It’s Versatile.
Versatility: Grating your own cheese gives you the freedom to choose the desired thickness and texture based on your specific needs. Whether you prefer fine shreds for even melting, coarser gratings for a more robust flavor, or a combination of both, you have the flexibility to customize the cheese to your liking.
No Cellulose
Reduced Additives: To prevent clumping, pre-packaged grated cheese often contains anti-caking agents, such as cellulose or potato starch. When you grate your own cheese, you can avoid these additional additives, ensuring a purer cheese flavor and eliminating any concerns about potential allergens or sensitivities.
Culinary Possibilities
Culinary Flexibility: Grating your own cheese opens up a world of culinary possibilities. You can experiment with different cheese varieties, mix and match flavors, and create unique combinations tailored to your specific recipes. This versatility allows you to explore various flavors and textures, adding depth and complexity to your dishes.
So, whether you’re topping a pizza, preparing a cheesy pasta dish, or adding a finishing touch to a salad, grating your own cheese can elevate the overall taste experience. With its enhanced freshness, texture, and flavor, freshly grated cheese adds that extra touch of deliciousness to your culinary creations.

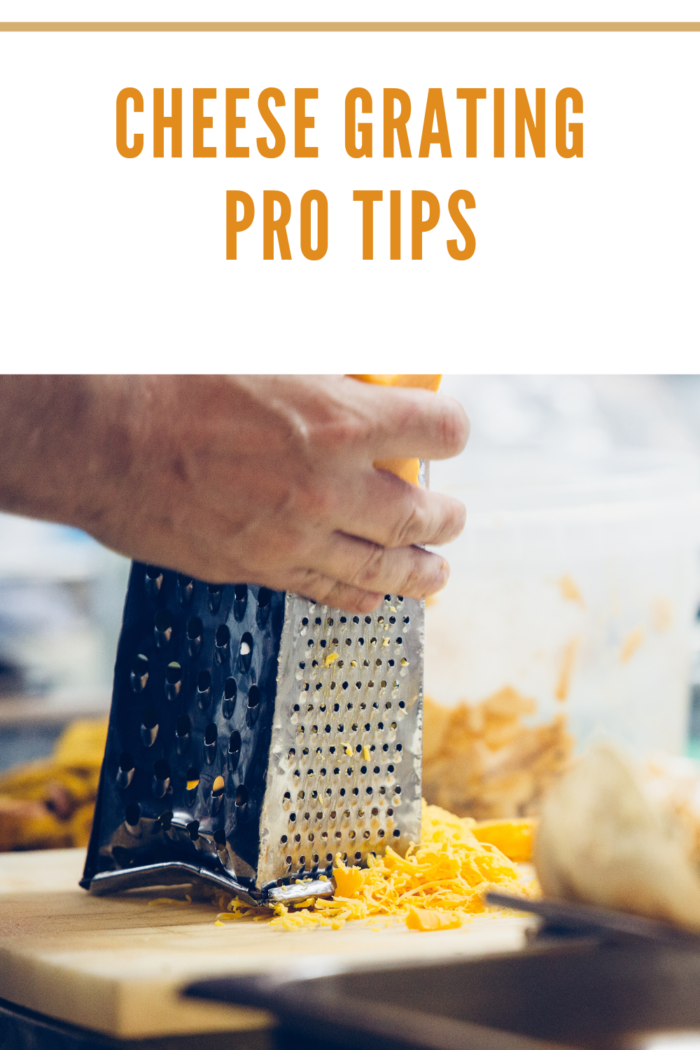
Grating Pro Tips:
Here are some pro tips to make your cheese grating experience easier and more effective:
- Choose the Right Cheese: Not all cheeses are created equal when it comes to grating. Harder cheeses like Parmesan, Pecorino Romano, Cheddar, or Gouda work best for grating, as they are firm and have less moisture content. Softer cheeses may become sticky or clumpy when grated.
- Use a Quality Grater: Invest in a high-quality grater or shredder with sharp blades. A box grater with different-sized grating surfaces or a rotary cheese grater are popular choices. Ensure the grater is sturdy and comfortable to hold for optimal control while grating.
- Chill the Cheese: Place the cheese in the refrigerator for about 15-30 minutes before grating for easier grating. Chilled cheese is firmer and less likely to clump or stick to the grater, allowing for smoother and more even shredding.
- Grate Against the Grain: When grating, go against the grain of the cheese. This means moving the cheese against the direction of the lines or striations in the cheese. This technique helps achieve finer and more consistent shreds.
- Apply Gentle Pressure: Avoid pressing too hard when grating. Apply a gentle, consistent pressure to the cheese against the grater to prevent it from slipping or getting stuck. Let the grater do the work, and allow the cheese to glide naturally for smoother and effortless grating.
- Rotate the Cheese: As you grate, rotate the cheese block to ensure even wear on the surface. This prevents uneven grating and helps maintain control over the size and consistency of the shreds.
- Watch Your Fingers: Take extra care when grating close to the end of the cheese block. To protect your fingers, use a cheese grater with a built-in handle or hold the cheese with a piece of wax paper or a clean kitchen towel to maintain a safe distance from the grater blades.
- Freeze and Store Excess: If you have more grated cheese than needed for your recipe, consider freezing the excess. Portion it into freezer-safe bags or containers and label them for future use. Frozen grated cheese can be conveniently added directly to dishes without the need to thaw, making it a handy time-saving option.
By following these pro tips, you’ll be able to grate cheese like a seasoned chef, achieving the perfect texture and consistency for your culinary creations. Enjoy the convenience and flavor of freshly grated cheese in your favorite dishes!

You don’t need anything fancy here, some knowledge of the blades of your grater.
-
-
- The smaller “grain” of the grater is for hard cheese, like parmesan.
- The medium “grain” is for a quick, even melt.
- The larger “grain” is for softer cheese like cheddar and when you need a lot of cheese.
-
When using a box grater with different blades, each side serves a specific purpose.
Here’s a breakdown of the different blades and how to use them effectively:
- Coarse Shredding Blade: This blade has larger, widely spaced holes and is ideal for quickly shredding cheese, vegetables, or fruits into larger, thicker strands. It works well for dishes that require a more rustic texture, such as salads, coleslaw, or toppings for tacos or chili.
To use the coarse shredding blade, hold the grater at an angle and apply firm but controlled pressure as you slide the cheese or other ingredients across the blade. Be cautious of your fingers and use a downward motion to prevent any accidental slips.
- Fine Shredding Blade: The fine shredding blade has smaller, closely spaced holes and is perfect for producing finely shredded cheese or ingredients. It creates thinner strands that melt and blend easily into recipes, making it ideal for dishes like pasta, soups, gratins, or garnishing.
To utilize the fine shredding blade, hold the grater upright and gently run the cheese or other ingredients up and down against the blade, applying light pressure. This will produce fine, delicate shreds that add a lovely texture and flavor to your dishes.
- Slicing Blade: The slicing blade has a flat, sharp edge that creates thin, uniform slices of cheese or vegetables. It’s excellent for making consistent slices for sandwiches, cheese platters, or decorative presentations.
To use the slicing blade, place the grater on a stable surface, position the cheese or vegetable against the blade, and apply even pressure while moving the ingredient back and forth. Maintaining a firm grip and using a smooth, continuous motion to achieve even slices.
- Zesting Blade: Some box graters come with a small, sharp blade specifically designed for zesting citrus fruits. This blade is typically located at the top of the grater and has tiny, sharp holes that remove the zest from the fruit’s outer skin.
To zest a citrus fruit, hold it firmly and rub it against the zesting blade, applying slight pressure. Move the fruit in a downward motion while rotating it to capture the zest evenly. Be cautious to only remove the colored zest and avoid the bitter white pith beneath.
Remember to exercise caution and take necessary safety precautions when using the different blades of your cheese grater. Always keep your fingers away from the blades and use a firm grip to maintain control. Enjoy the versatility and convenience that the various blades offer in creating a variety of textures and presentations in your culinary endeavors!
Finally, if you have children, grating cheese is a fun job for them and is a great way to spend time together in the kitchen.
