
How to Make a No Sew Pioneer Rag Doll
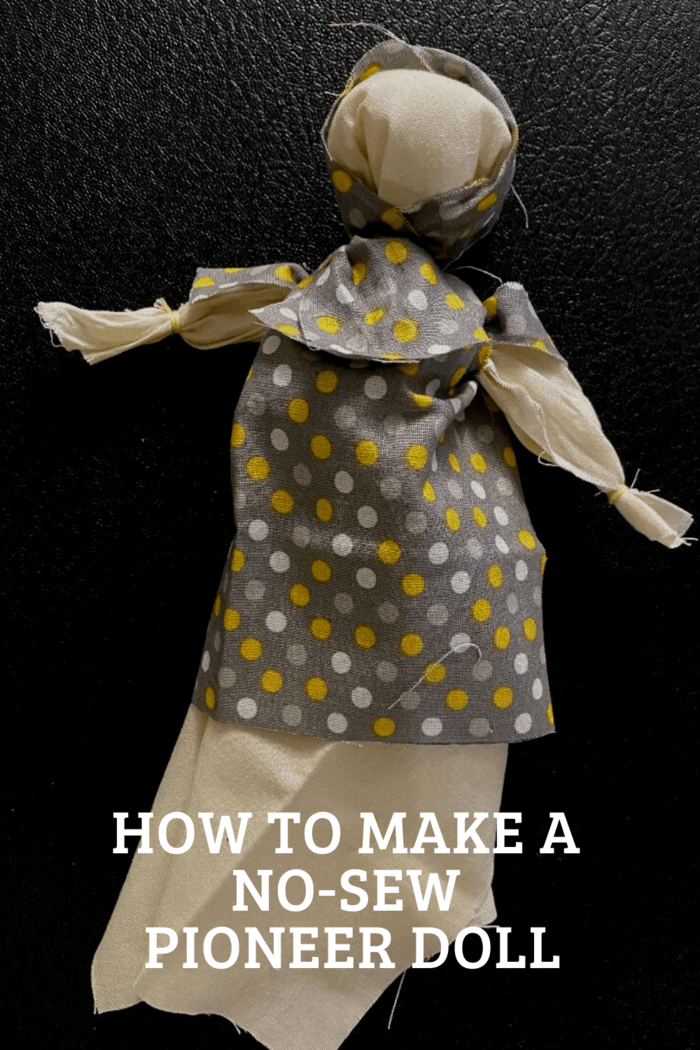
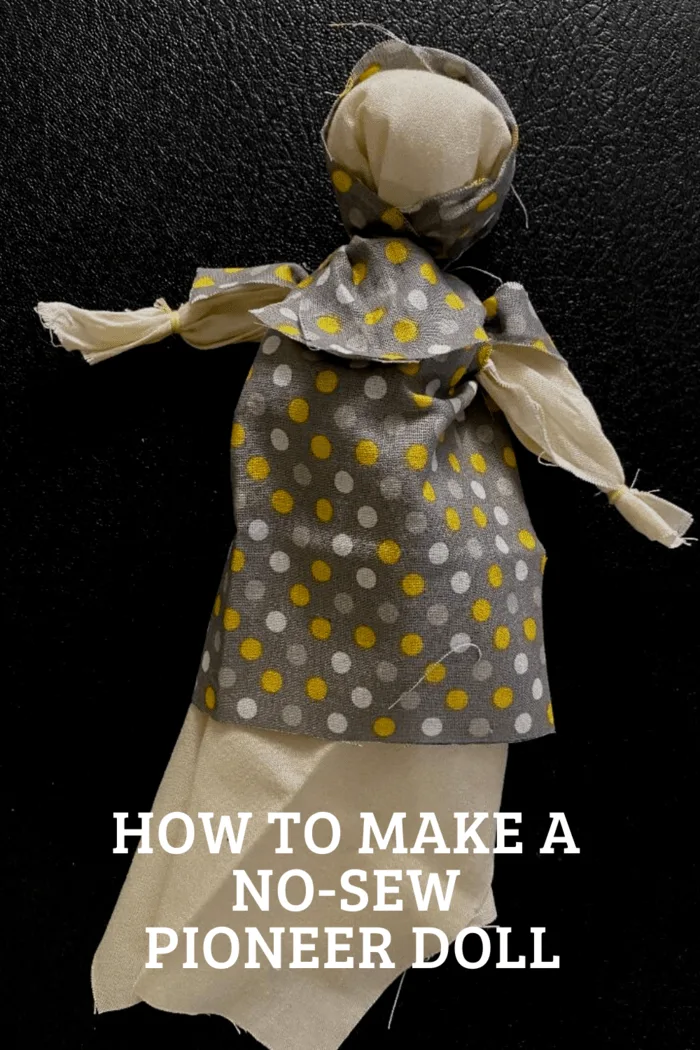
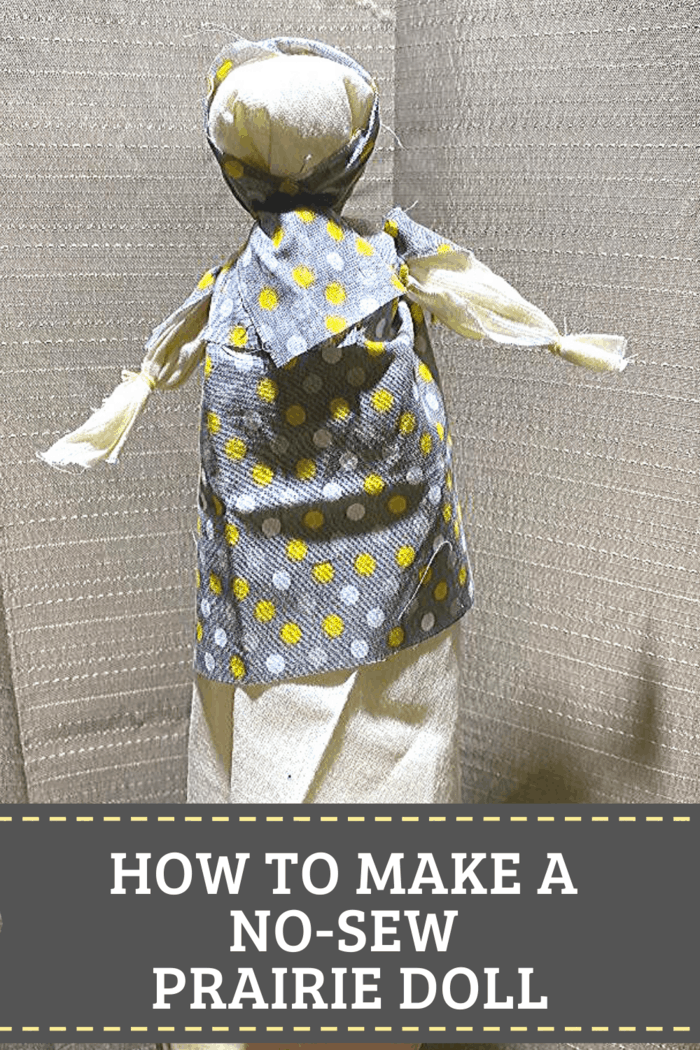
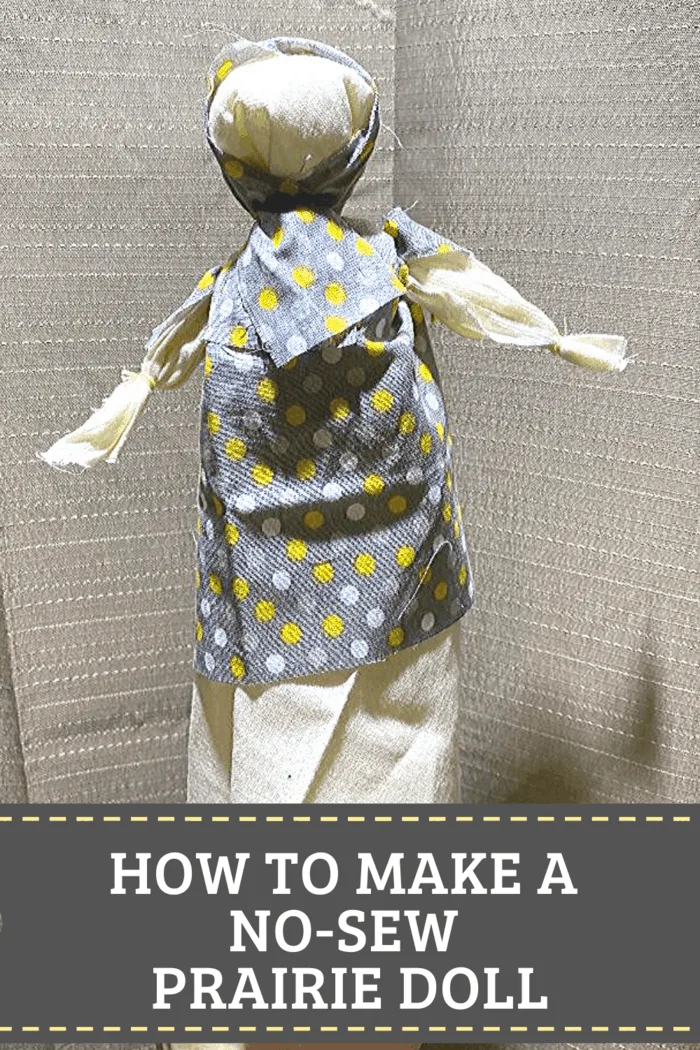
This no sew pioneer rag doll is an easy handmade doll craft made with fabric scraps, cotton balls, yarn, and simple knots, so kids can make an old-fashioned prairie doll without a needle or thread.
It is a sweet craft for homeschool history lessons, Little House on the Prairie fans, Pioneer Day, Days of ’47, Fourth of July crafting, or any afternoon when your kiddos want to make something simple, soft, and full of pretend-play charm.
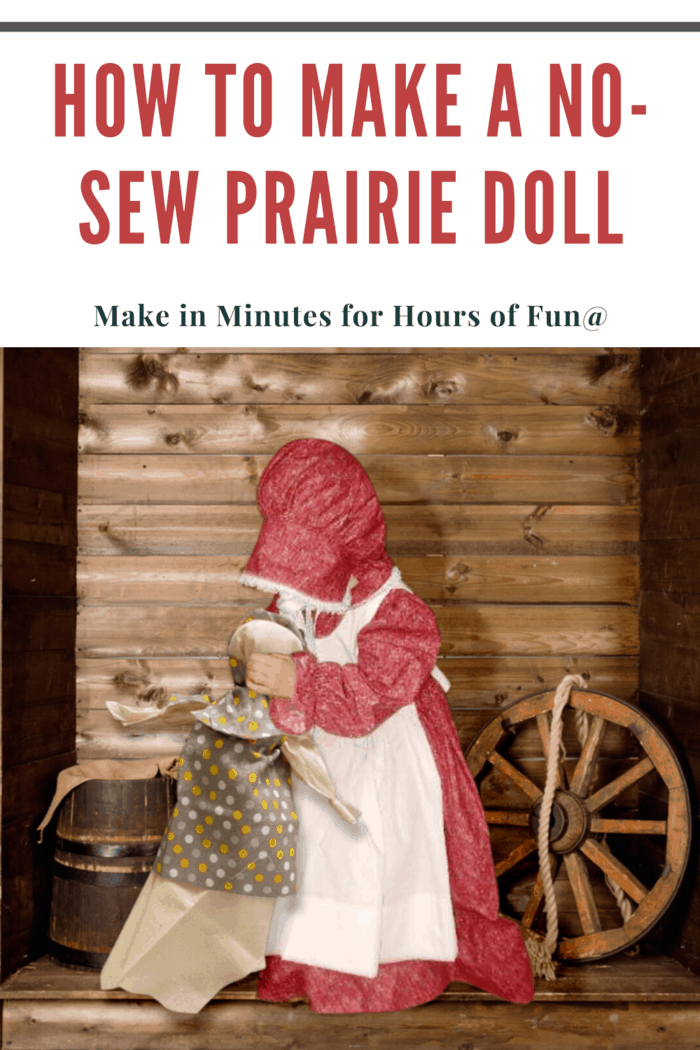
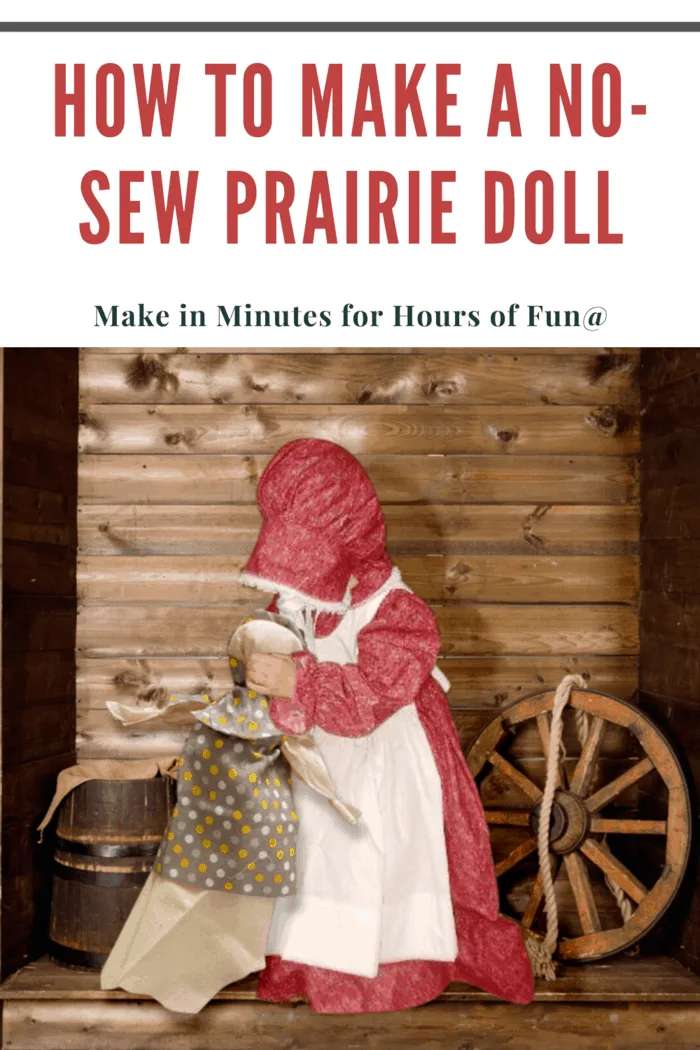
No Sew Pioneer Rag Doll Tutorial
If you have ever wondered how to make a rag doll no sew, this pioneer doll tutorial is a simple place to begin. The doll’s head is formed with cotton balls tucked inside fabric, the arms are made by tying the fabric ends, and the dress or apron is created from a small fabric swatch tied over the shoulders.
Many pioneer children had dolls fashioned out of fabric scraps, handkerchiefs, or leftover materials. This handmade prairie rag doll gives children a peek at that simpler kind of play while still feeling fun, creative, and very doable at the kitchen table.
The best part? Every doll turns out a little different. Use muslin, cotton, patriotic fabric, gingham, calico, scraps from the sewing basket, or whatever soft fabric you have on hand. A no sew rag doll does not need to be perfect. In fact, the little wrinkles, ties, and fabric choices are what give each pioneer doll its own personality.
Readers Also Make These No Sew Pioneer Rag Dolls For
This no sew pioneer rag doll is a sweet, simple craft for kids, homeschool history lessons, Little House on the Prairie fans, pioneer activities, and rainy afternoon crafting. It uses fabric scraps, cotton balls, yarn, and a few easy knots, so children can help make a handmade rag doll without needing a needle or thread.
- Homeschool history projects about pioneer life and prairie children
- Little House on the Prairie crafts for kids who love Laura Ingalls-style stories
- No sew doll making tutorials for beginners
- Quiet afternoon crafts using fabric scraps and simple supplies
- Fourth of July, Days of ’47, and Pioneer Day crafts with red, white, blue, or calico fabric
- Handmade keepsake dolls that children can name, dress, and tuck into their own stories
Why You’ll Love This No Sew Pioneer Rag Doll
- No sewing required: If you can tie a knot, you have the mad skills for this craft.
- Uses simple supplies: Fabric scraps, cotton balls, yarn, scissors, and a ruler are all you need.
- Great for kids: Children can help choose fabric, fluff cotton balls, name the doll, and tell stories once it is finished.
- Perfect for history lessons: It pairs beautifully with pioneer studies, Little House on the Prairie reading, Days of ’47, and Pioneer Day activities.
- Easy to customize: Make a girl pioneer doll with a bonnet and apron dress, or use the boy pioneer doll instructions below.
Supplies and Materials
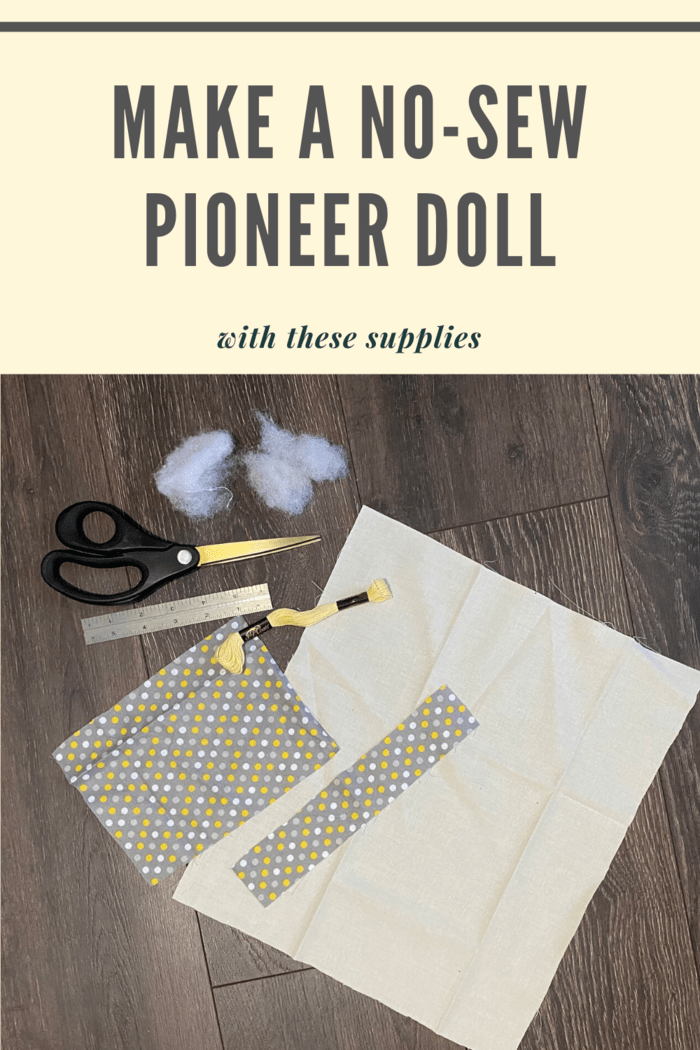
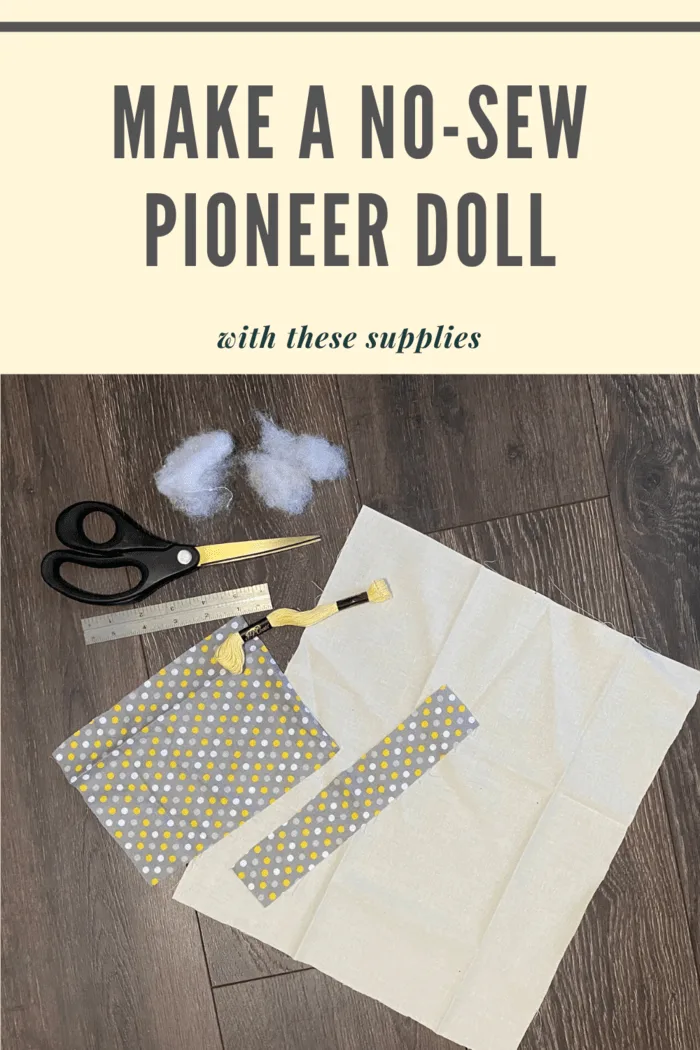
Use the measurements below to make a small prairie rag doll, or increase the measurements if you want a larger doll. We used one yard of fabric for the no sew rag doll pictured in the original post, but this craft is also a wonderful way to use leftover fabric scraps.
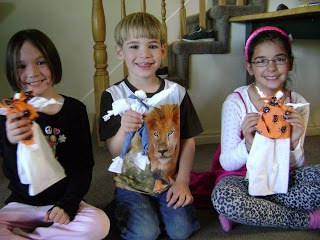
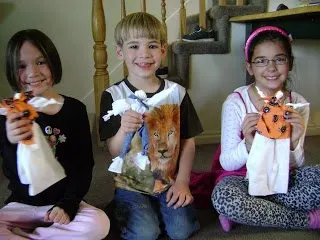
No Sew Pioneer Rag Doll Supplies
- 1 handkerchief, muslin piece, or cotton fabric piece, about 12 inches x 14 inches
- Cotton balls
- Yarn or string
- Scissors
- Ruler
Fabric Pieces to Cut
- For the bonnet: 1 fabric piece, about 1.75 inches x 9 inches
- For the dress or apron: 1 fabric piece, about 7.75 inches x 5.5 inches
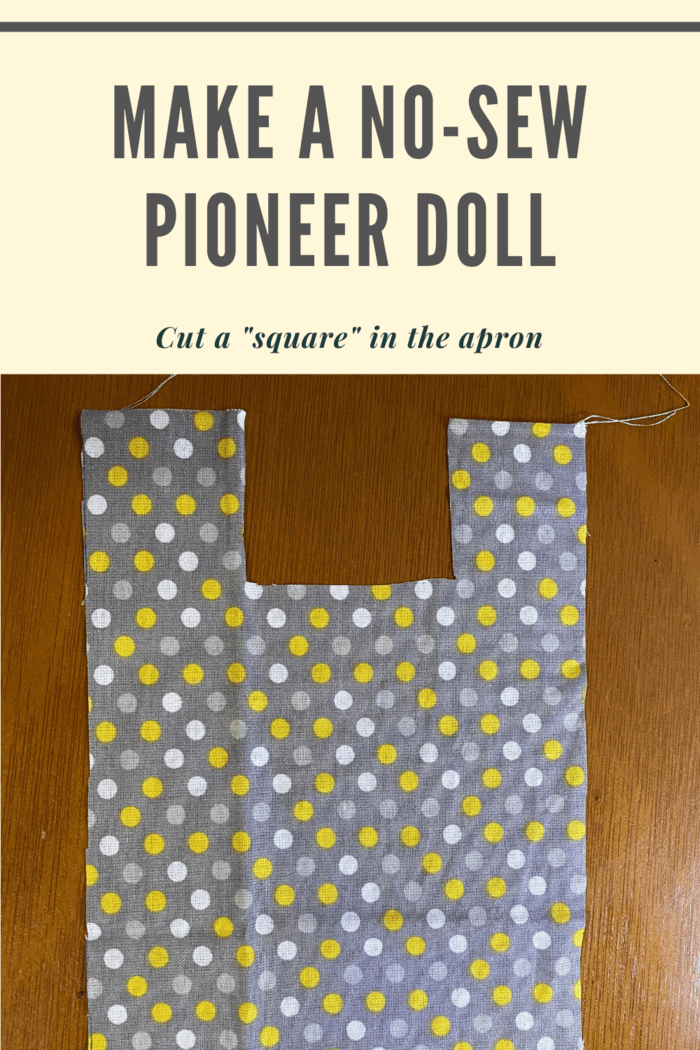
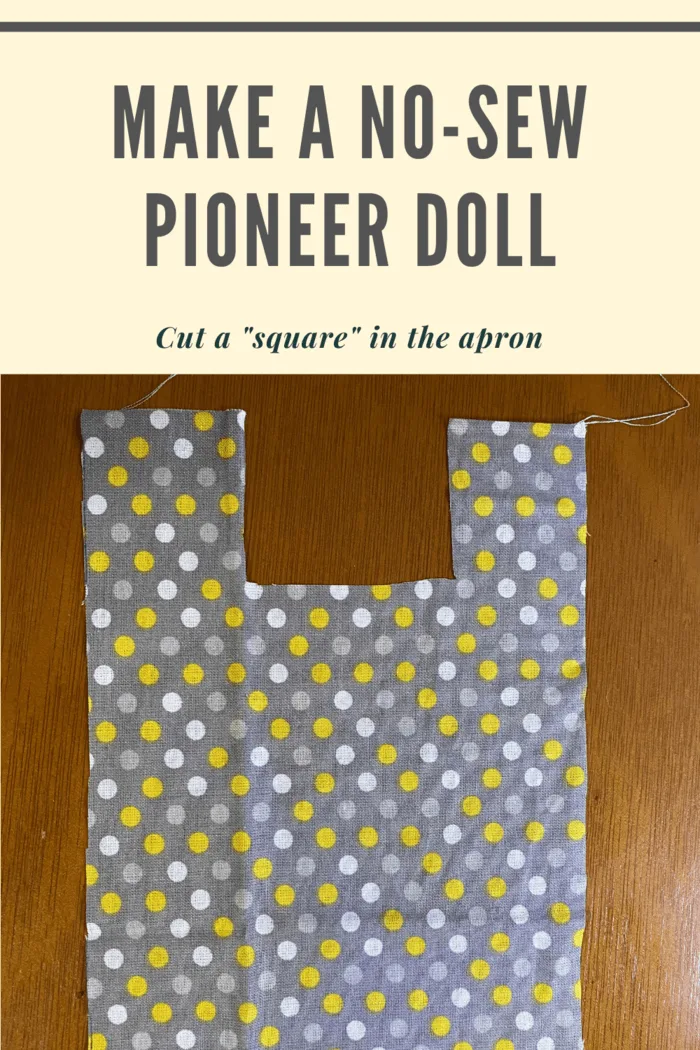
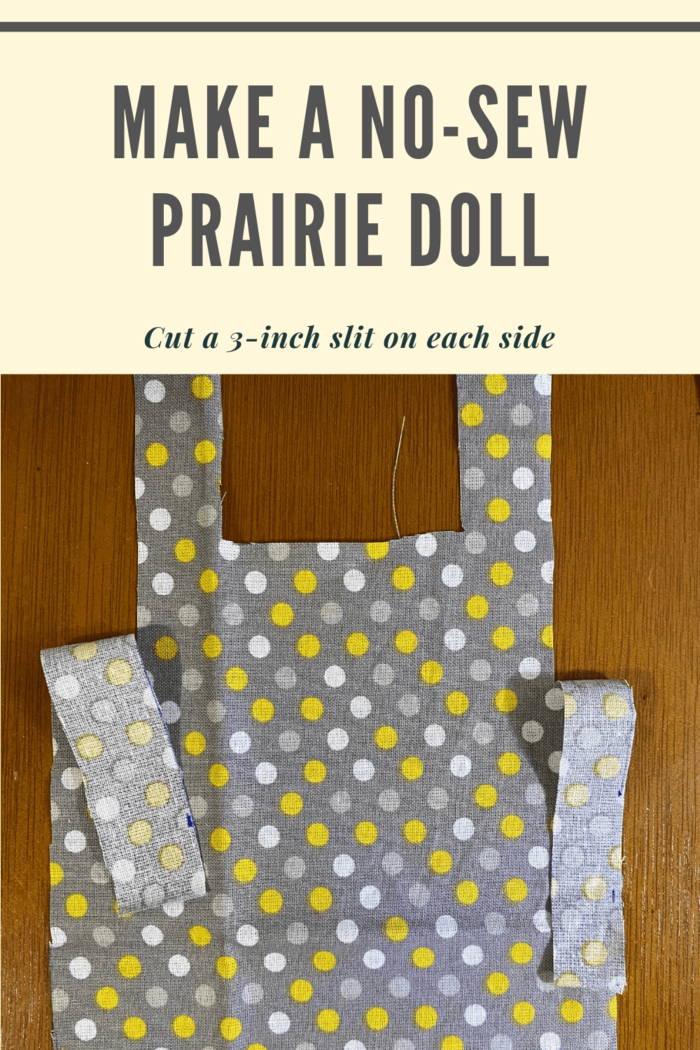
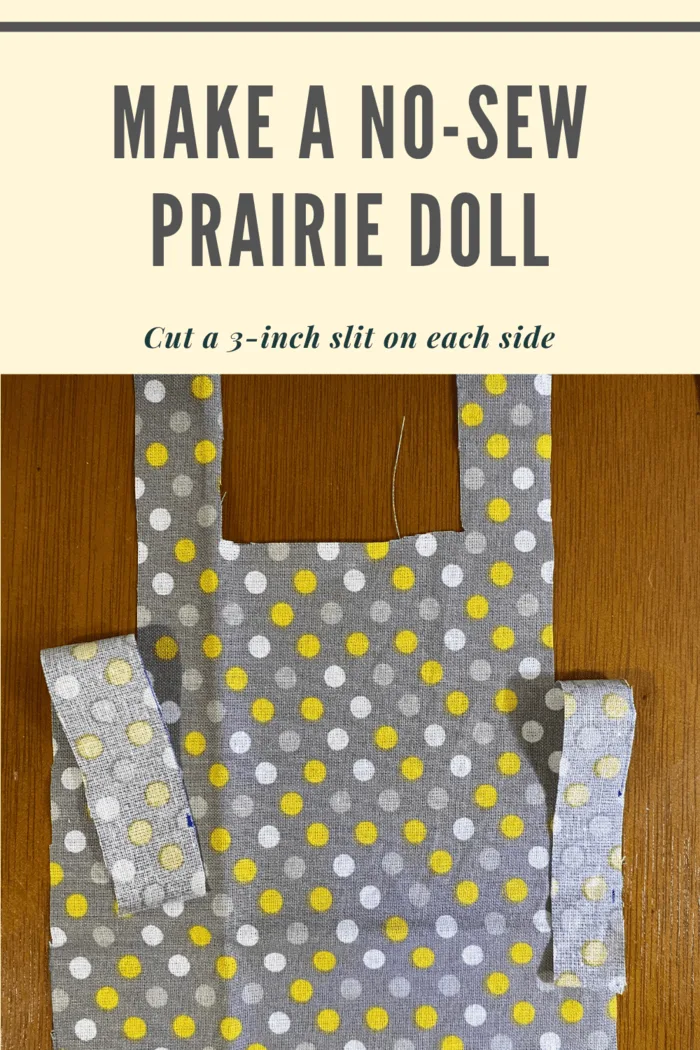
For the dress or apron piece, cut a small 2.25-inch x 1.75-inch piece from the top center. On each side of that center opening, find the middle and cut a 3-inch slit down from the top. This creates the ties that will wrap over the doll’s shoulders.
How to Make a No Sew Pioneer Rag Doll
This tutorial will show you step by step how to make a pioneer rag doll without sewing. The process is simple: form the head, tie the hands, tie the arms, add the apron dress, and finish with the bonnet.
Step 1: Fluff the Cotton Balls
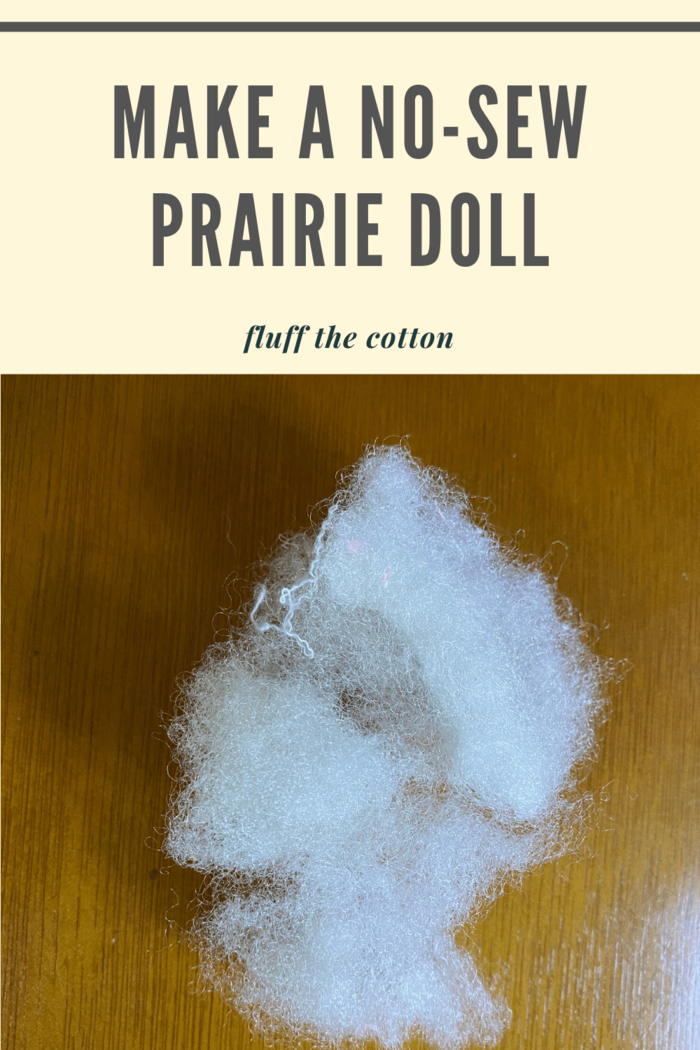
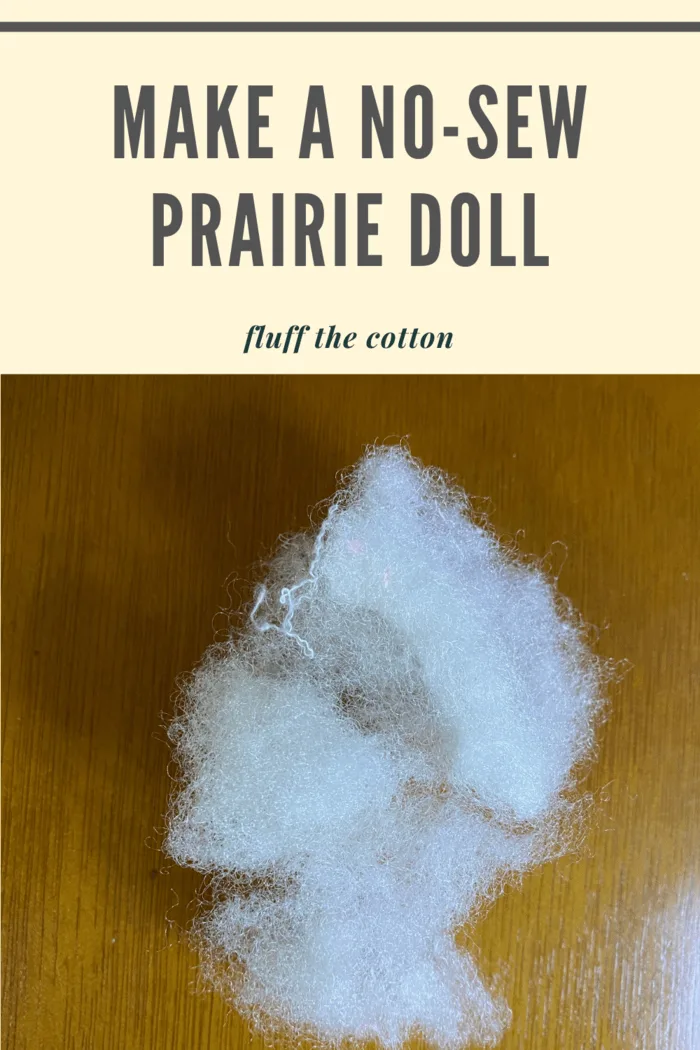
Fluff up your cotton balls. These will become the head of the pioneer doll.
Step 2: Place the Cotton in the Fabric
Lay the large piece of white material or handkerchief flat so the longest edge is at the top. Place the fluffed cotton balls in the center of the cloth, about three inches from the top edge.
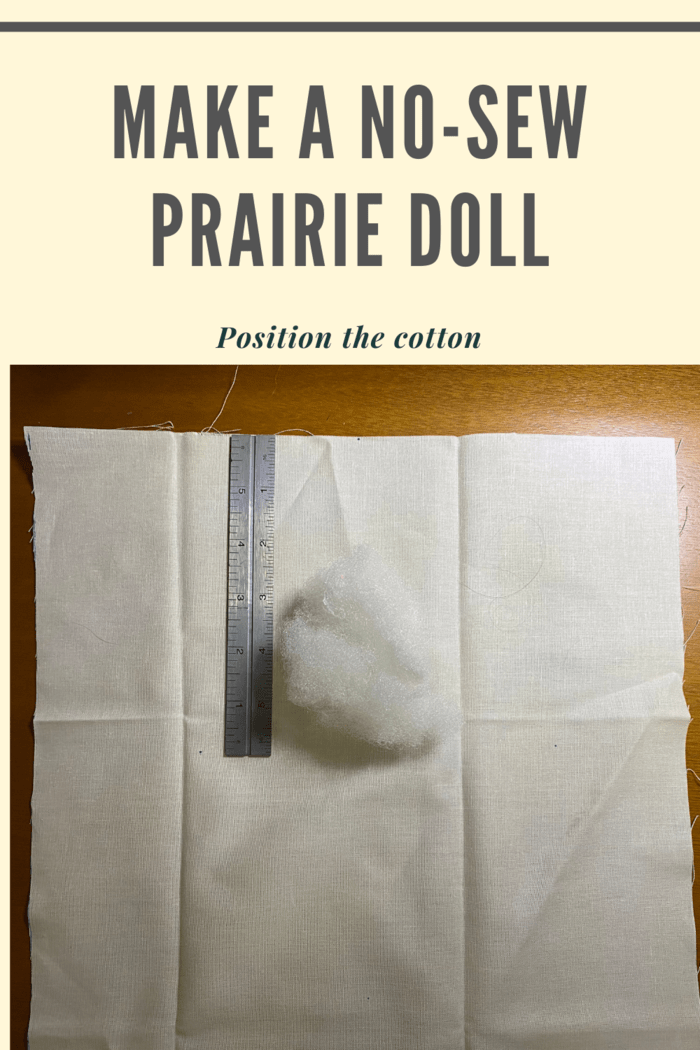
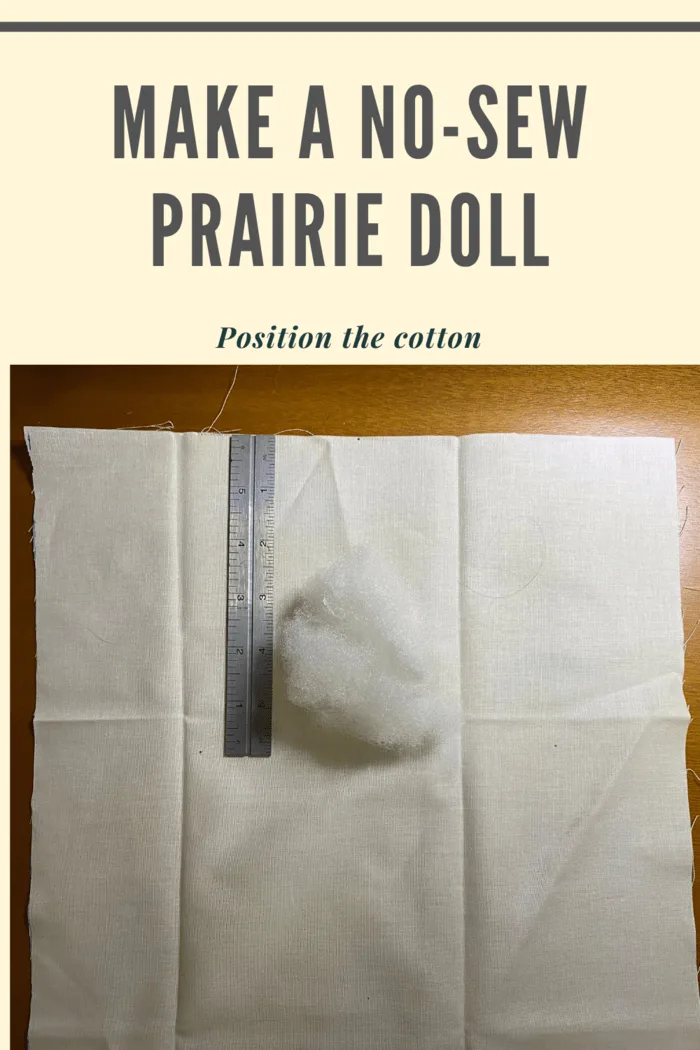
Step 3: Tie the Doll’s Head
Fold the top edge of the cloth over to cover the cotton balls. Gather the fabric together below the cotton and tie it securely with yarn or string.
Tip: Make certain the folded edge of the cloth is tucked in securely before you tie. This keeps the head neat and helps the doll hold its shape.
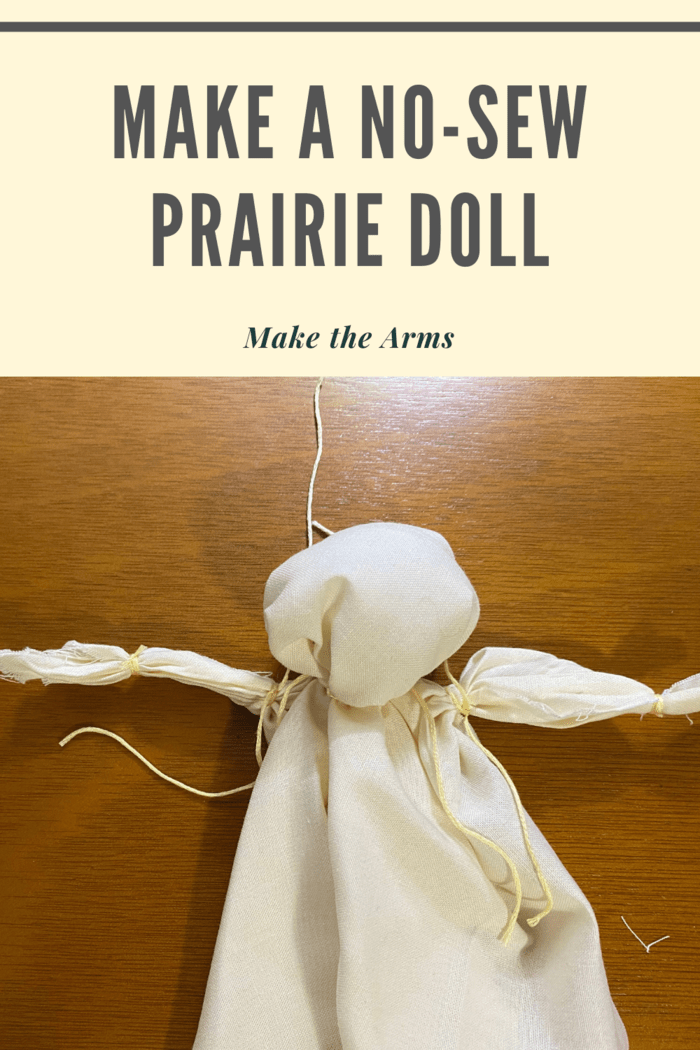
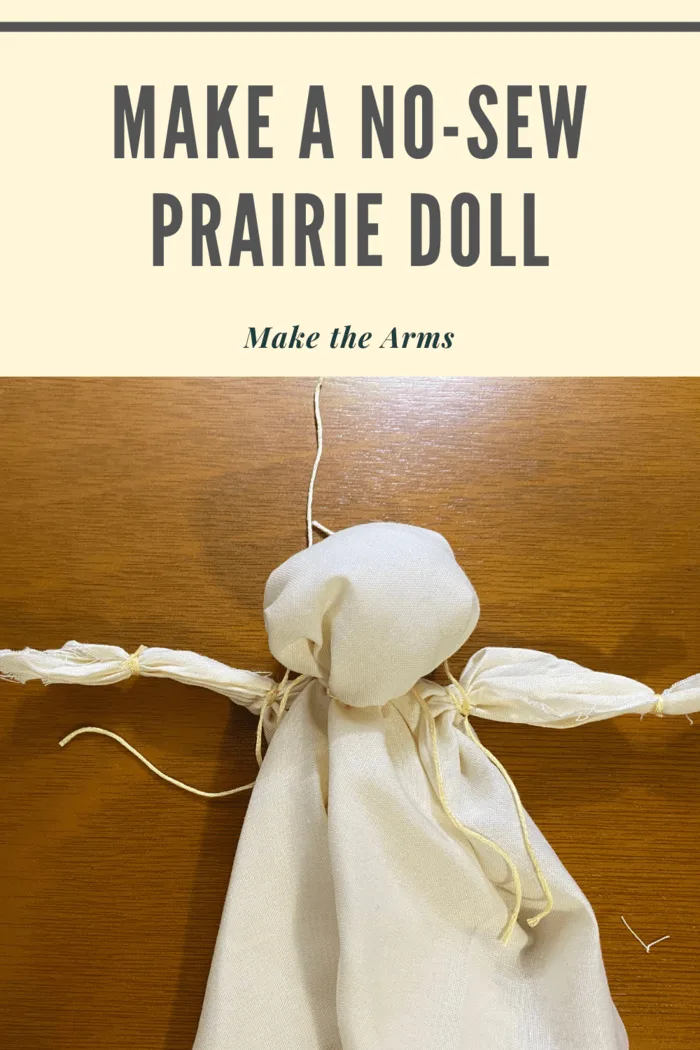
Step 4: Make the Hands and Arms
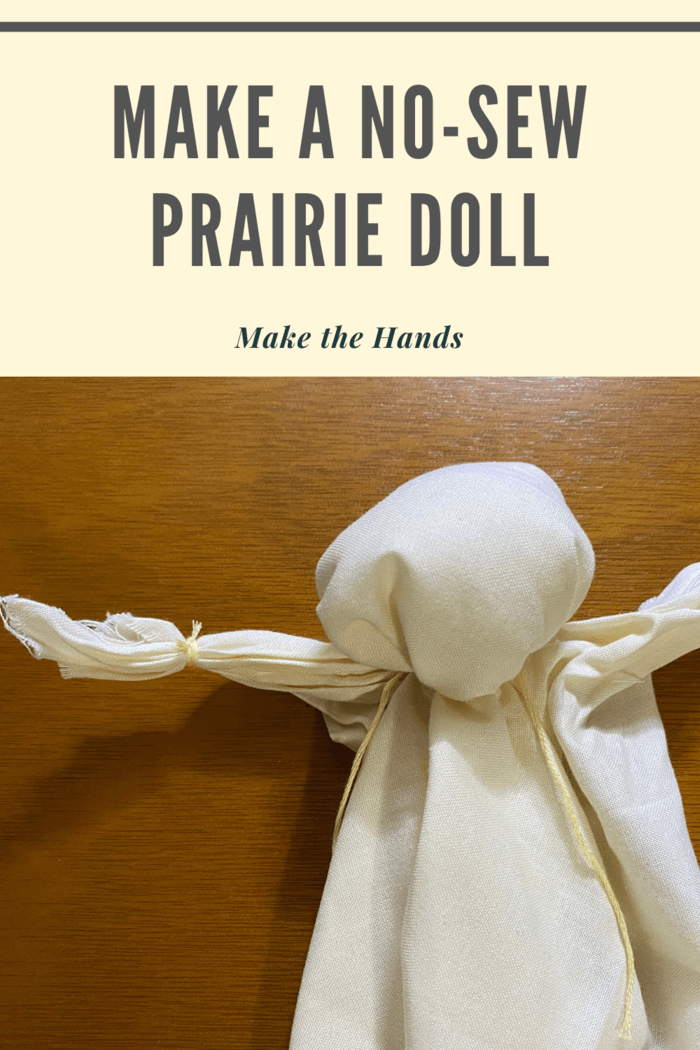
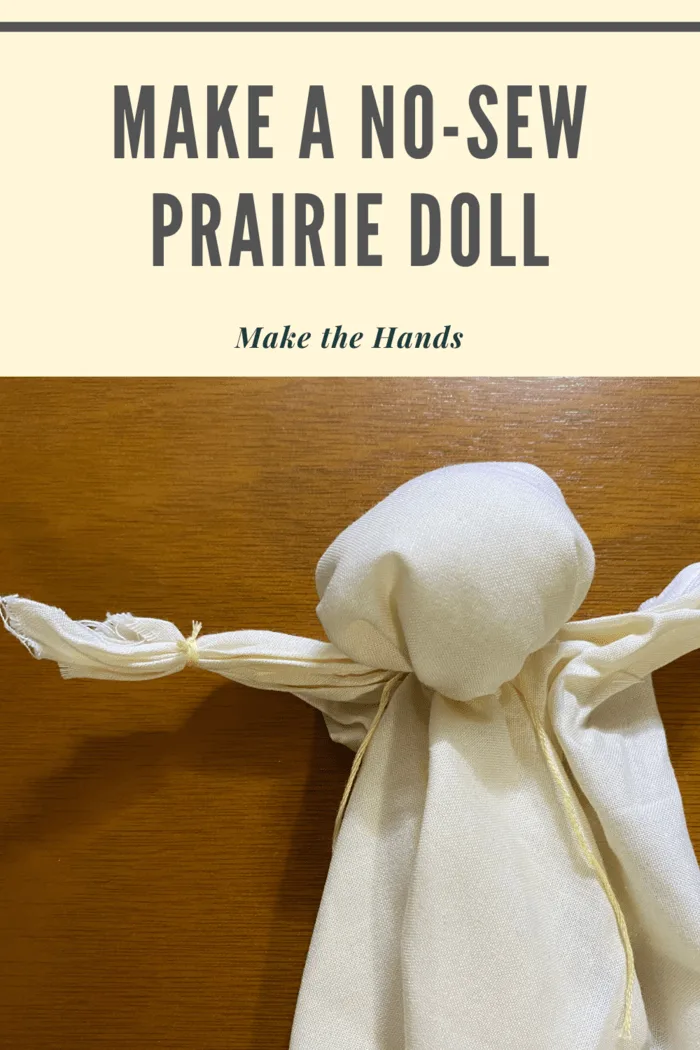
To make the arms, hold up the two short ends of the handkerchief. Working one side at a time, gather the end of the fabric and tie a knot as close to the end as possible. These knots become the doll’s hands.
Next, gather the fabric from each hand down toward the head. Tie near the head to form the arms. Repeat on the other side.
How to Make the Apron Dress
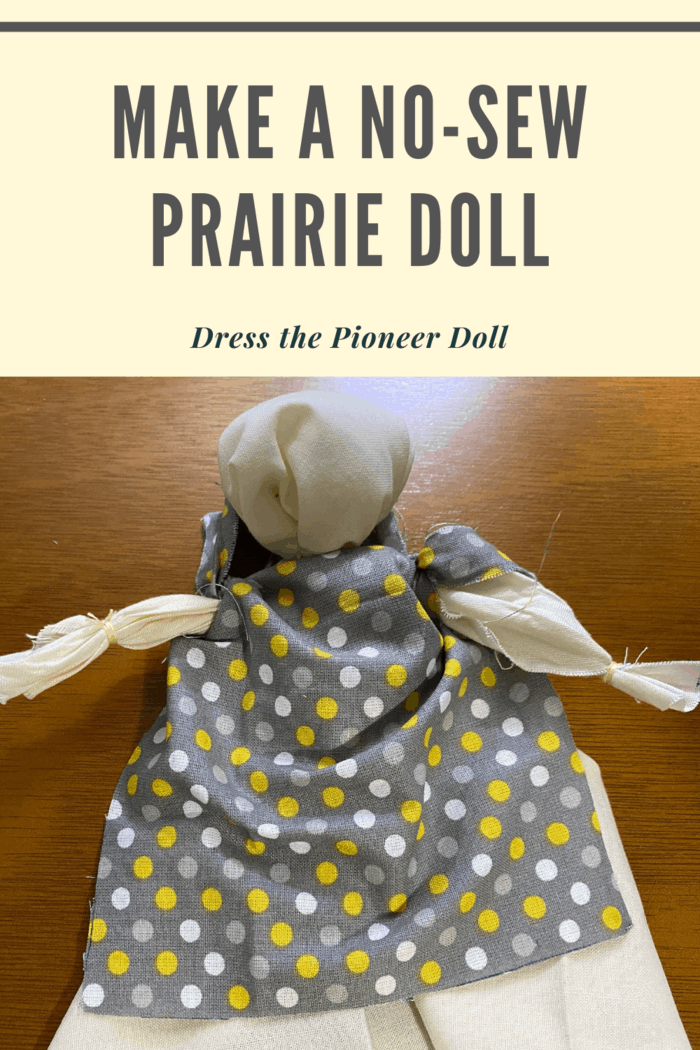
Now it is time to dress the pioneer rag doll. The apron dress is made from the printed fabric piece you cut earlier. No stitching, hemming, or fancy sewing basket required.
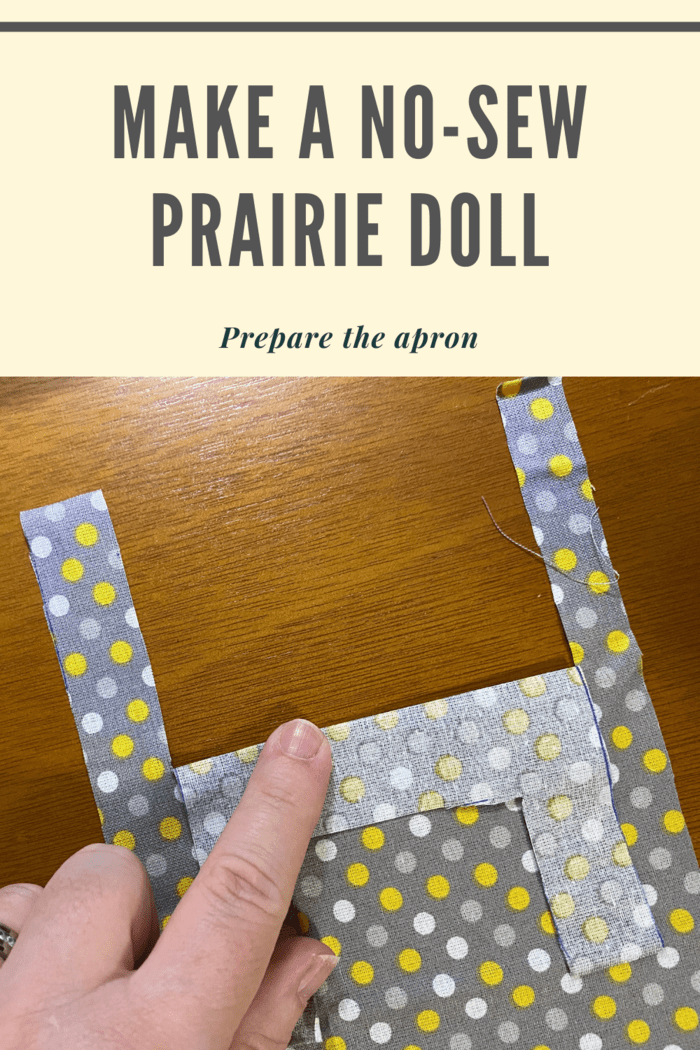
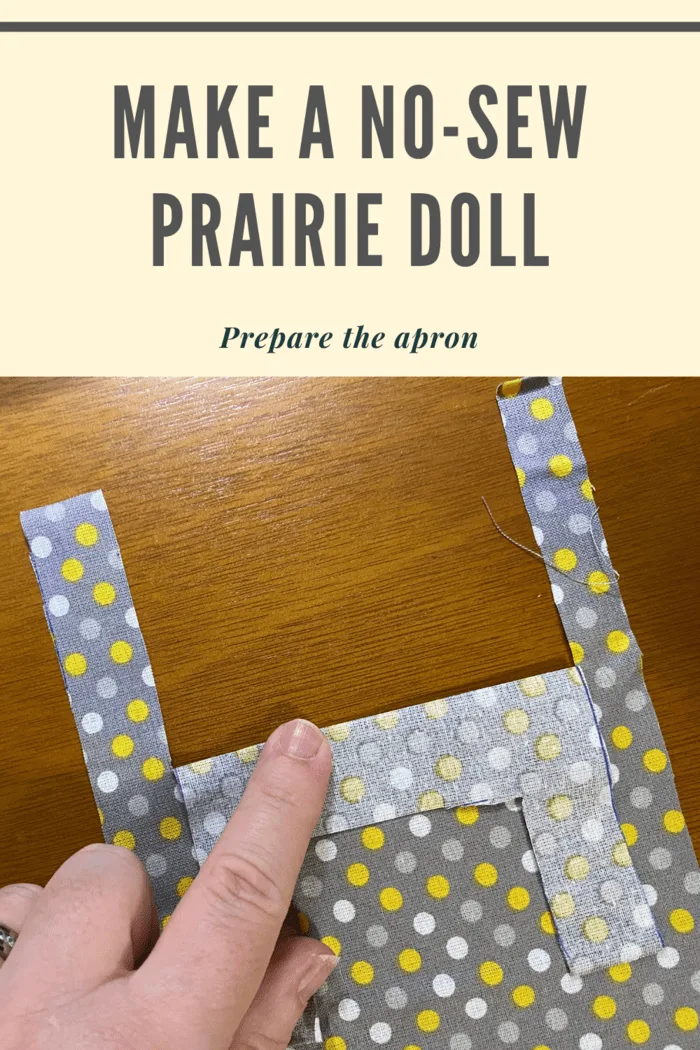
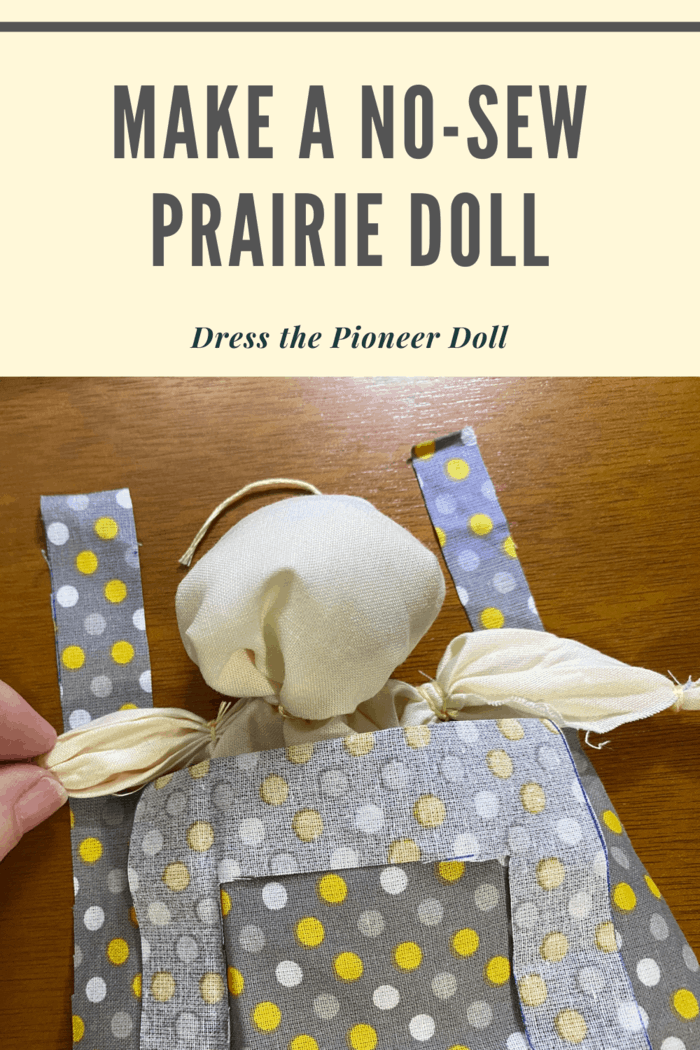
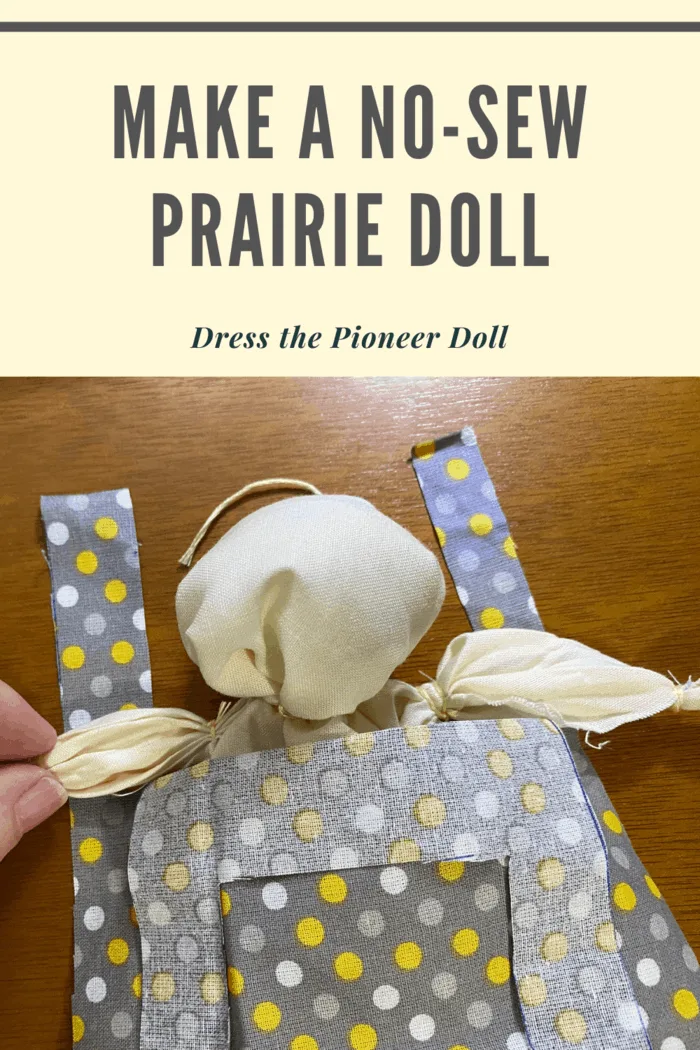
Step 5: Fold the Center Fabric
Fold the center piece of the printed fabric down and press it with your fingers.
Note: If you are making a boy pioneer rag doll, finish the head and arms, then skip down to the boy pioneer doll instructions below. If you are making a girl pioneer doll, continue with the apron dress and bonnet.
Step 6: Tie the Dress Over One Shoulder
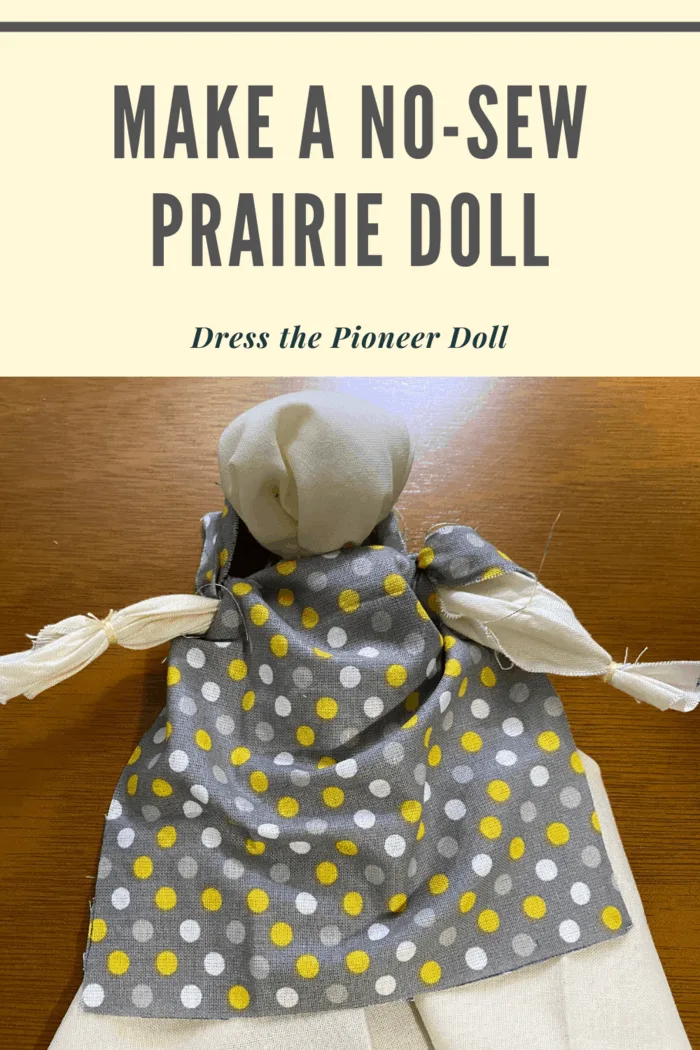
Tuck the outside tie under the doll’s arm. Pull the two ends together and tie them over the shoulder.
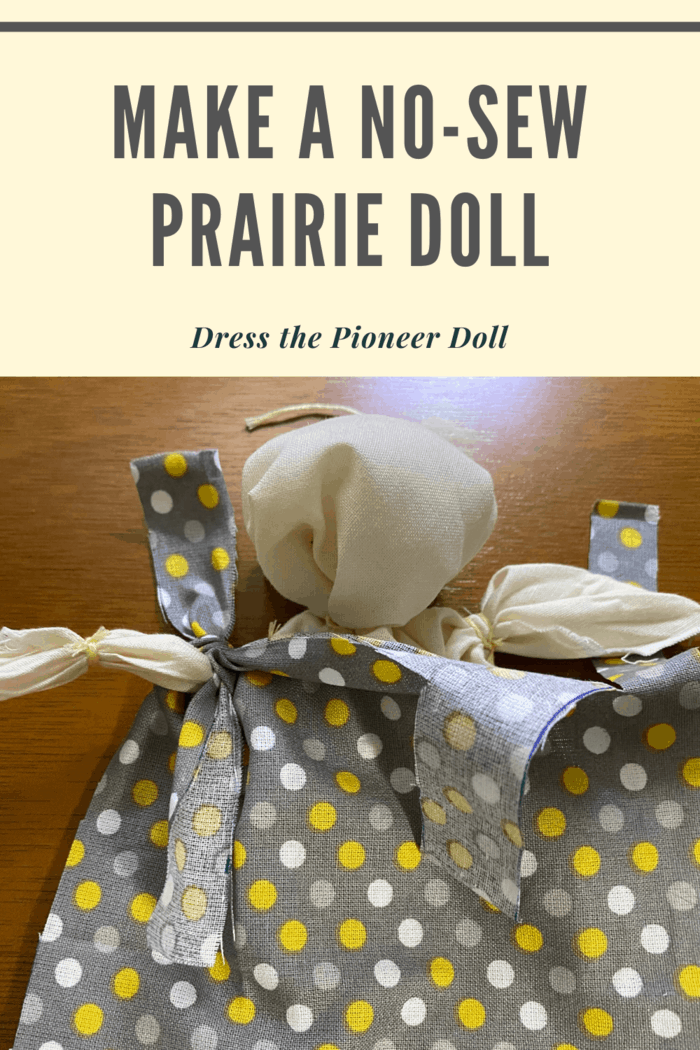
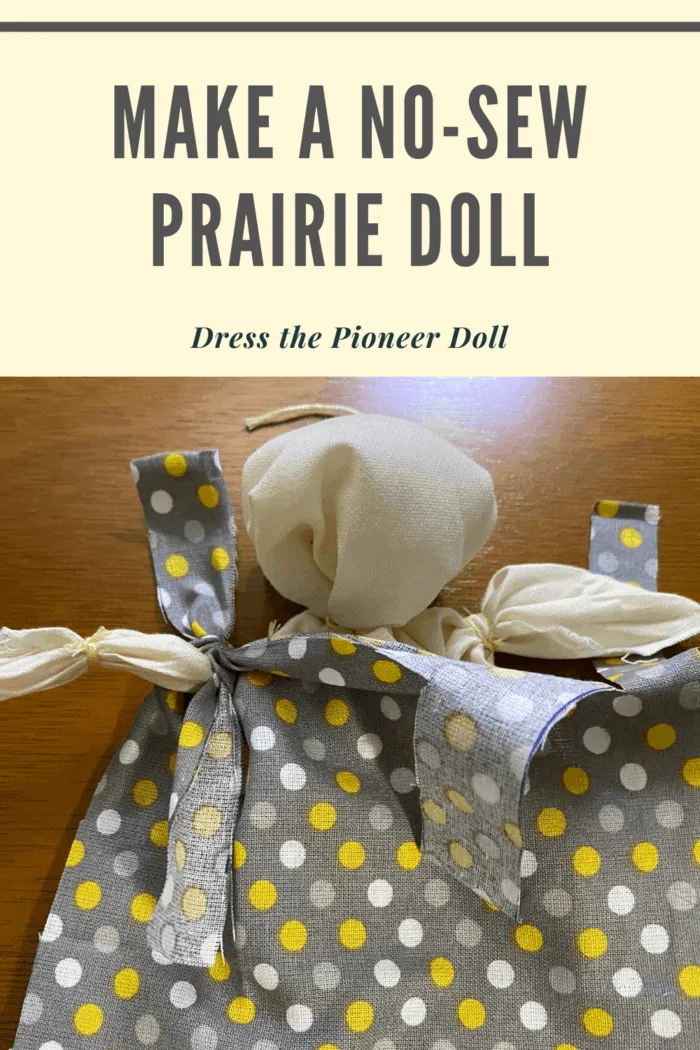
Step 7: Repeat on the Other Side
Repeat the same process on the other side so the apron dress is tied over both shoulders.
Add the Bonnet
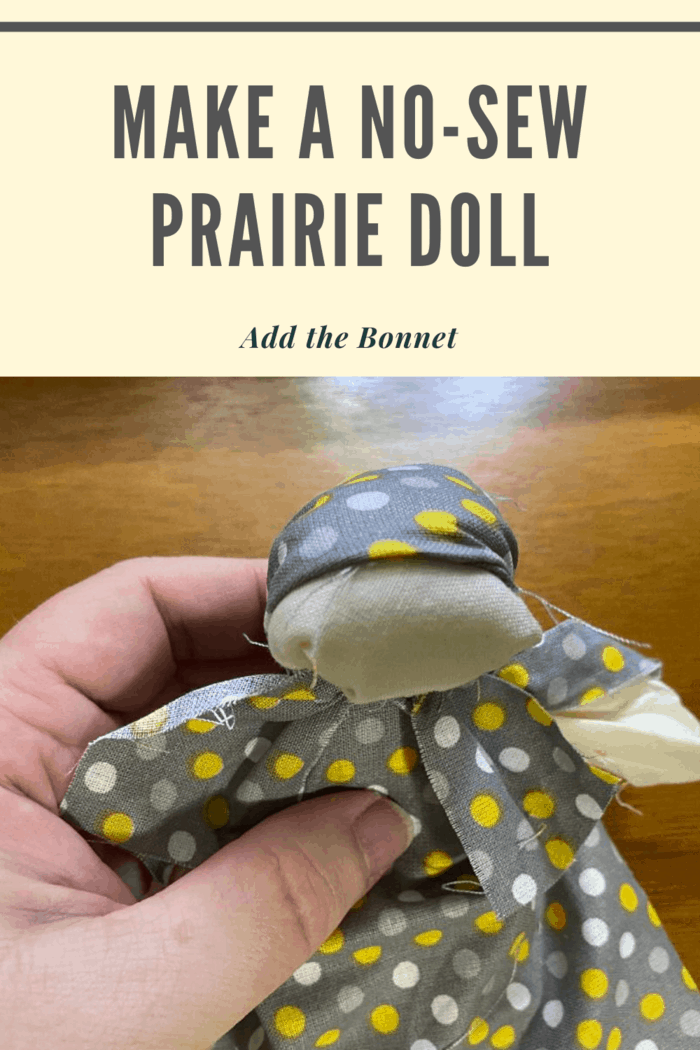
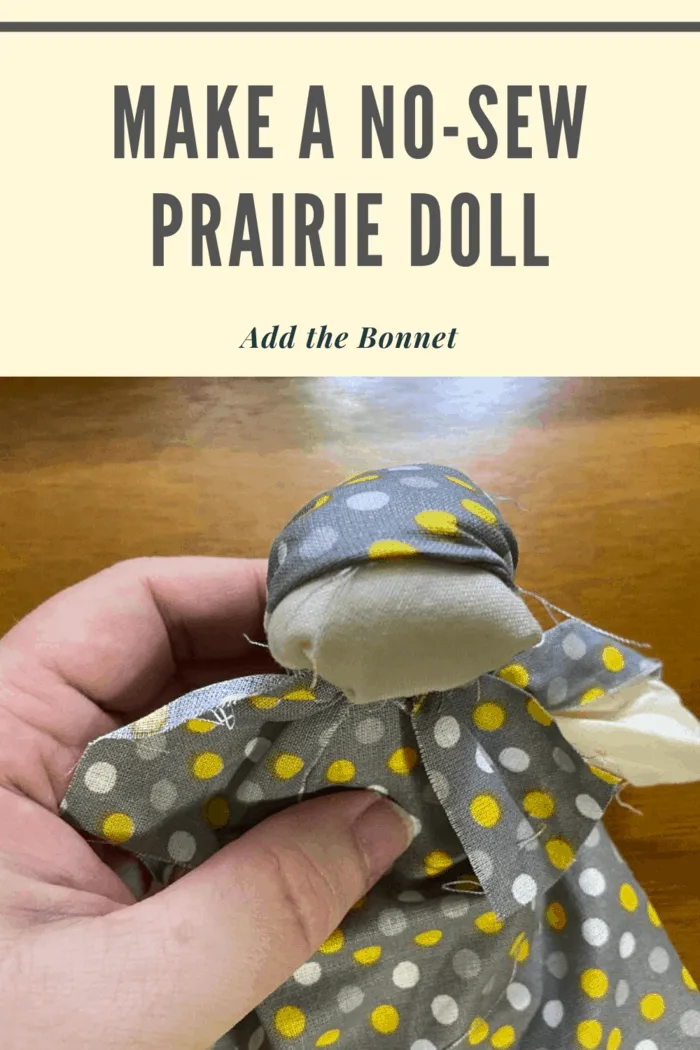
Fold the 1.75-inch x 9-inch fabric piece over the doll’s head. Tie it around the neck with yarn or string, almost like a little bandanna.
Your No Sew Pioneer Rag Doll Is Finished
Congratulations! The no sew pioneer rag doll is now finished. Give her a name, tuck her into a little pretend prairie story, and enjoy.
Make Life More Simple with a Handmade Rag Doll
It was a lazy Sunday when we first slipped into the world of simplicity with this craft. The house was quiet for once, and in celebration, I dug out fabric scraps and we sat together making these easy handmade no sew pioneer rag dolls.
They need no sewing, and if you can tie a knot, you can make one. That may be my favorite kind of craft: the kind that does not require perfection, a machine, or a trip to the store.
We are huge Little House on the Prairie fans. My children fell in love with the Little House on the Prairie books and television series, and my girls loved dreaming about being Laura Ingalls.
I thought the same about Laura Ingalls as a young girl. She was brave, funny, and gave us a glimpse into how different life was in the late 1800s.
These no sew dolls are what I imagine Caroline might have made with Mary, Laura, and Carrie. They are softer than Laura’s corncob wrapped in a handkerchief doll she affectionately called “Susan,” and they come together with the same make-do magic of childhood.
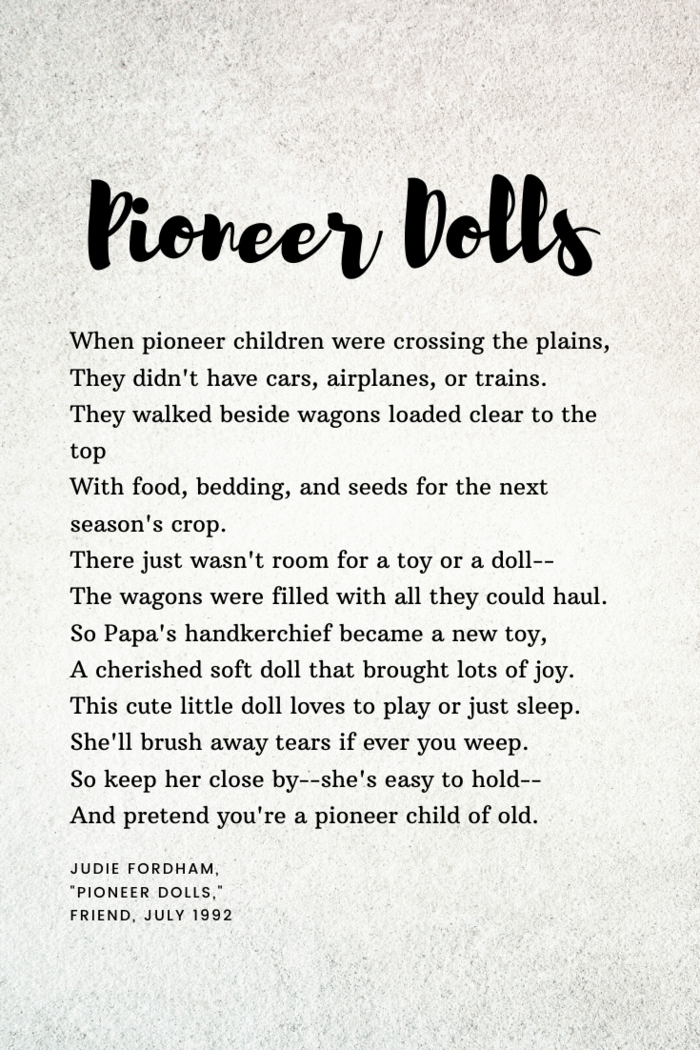
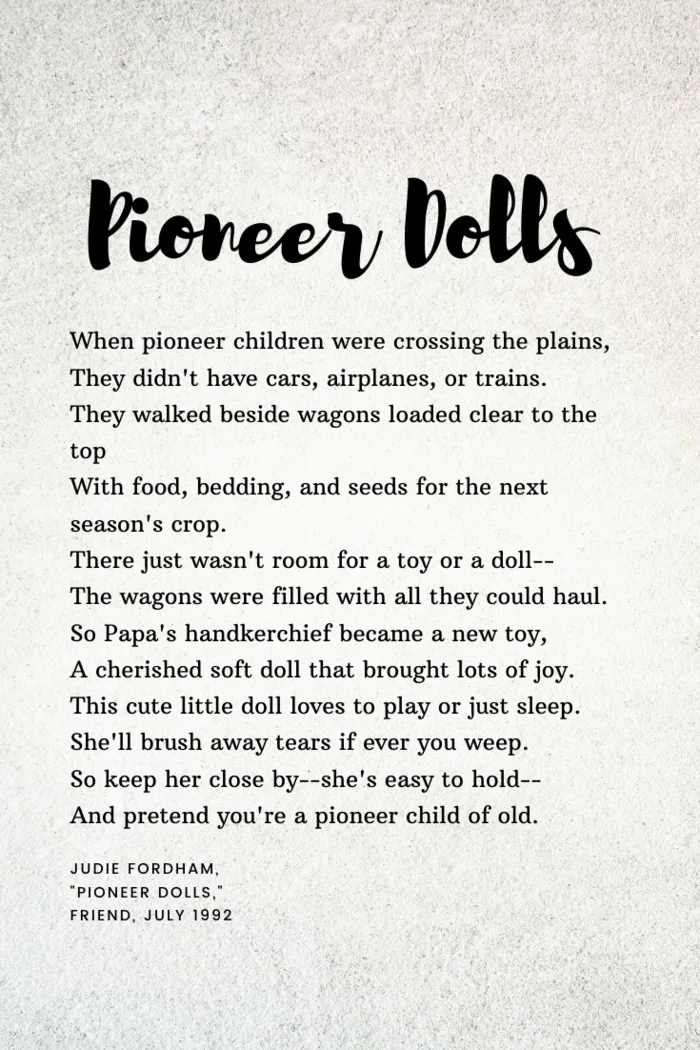
Make This No Sew Pioneer Rag Doll with Supplies You Already Have
Make this no sew pioneer rag doll without waiting for corncobs to dry, and get right to the cuddling. The supplies are similar to what pioneer families might have had on hand, and they are probably things you already have tucked away at home.
The wonderful thing about these dolls is that, like children, each one becomes its own character. Even if you use the same instructions and the same material, every doll will be one of a kind. They are as individual as we are.
This Pioneer Rag Doll Craft Is Perfect With
This easy pioneer doll project fits beautifully with hands-on history days, summer crafting, and simple family activities that feel a little old-fashioned in the best possible way.
Pair it with crafty and fun Fourth of July activities when you want a patriotic craft day, or add it to your summer fun activities for July 4 for a quieter project between the sparklers, snacks, and backyard fun.
For another hands-on project kids can personalize, try these chalkboard flower pots. They make a fun companion craft when you want something simple, creative, and kid-friendly.
How to Make a Boy Pioneer Doll
These instructions can make either one girl or one boy handmade rag doll. To make the boy pioneer doll, complete the head and arms first, then use the steps below to form the waist, legs, trousers, and neckerchief.
Step 1: Tie the Waist
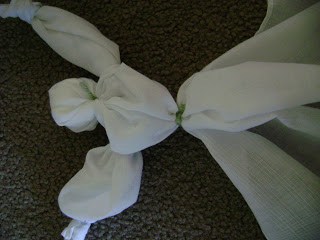
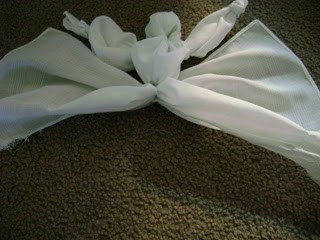
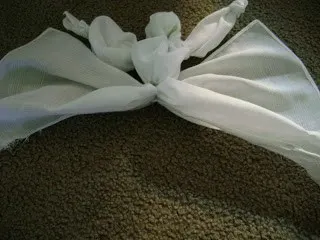
After completing the arms, tie a piece of yarn under the arms to form a waist.
Step 2: Find the Center of the Fabric
Hold the fabric from the body out to the sides, almost like a snow angel, and find the center of the fabric.
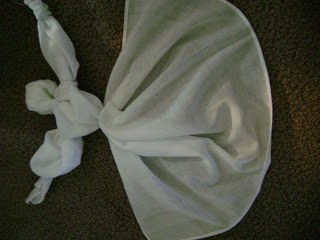
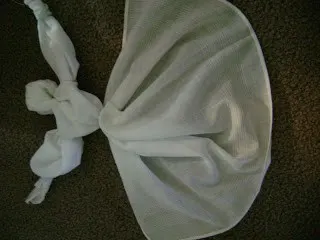
Step 3: Make a Small Cut
Make a small cut in the center of the fabric with scissors.
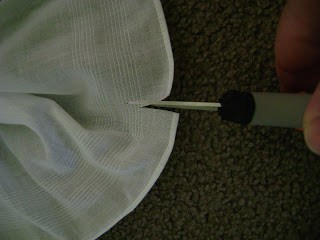
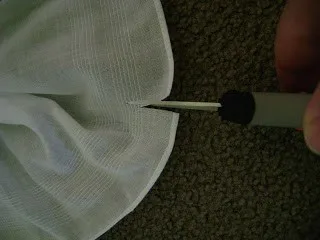
Step 4: Tear the Fabric for Legs
Tear the fabric up almost all the way to the waist. No worries, you cannot tear it too far if you stop close to the waist tie.
Step 5: Add the Trousers and Neckerchief
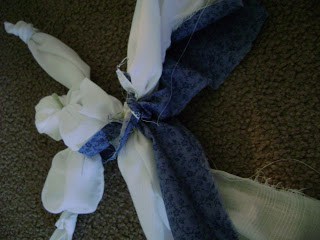
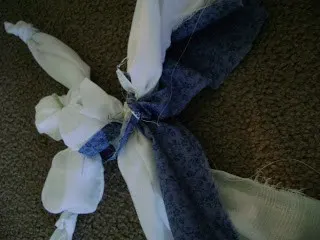
Next, make the legs and trousers using the printed fabric from the earlier step. Tie the two outside ends around the back of the waist and trim off the excess.
Cut a small snip in the center of the trouser fabric and tear up within an inch or so of the waist. Tuck in the raw edges of the legs and trousers, then use yarn to tie at the ankles. Make one more tie around the knees if you like. You may also trim any excess fabric at the feet.
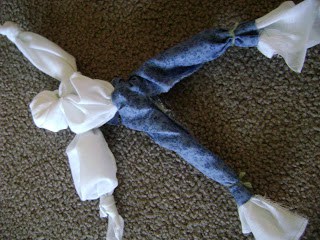
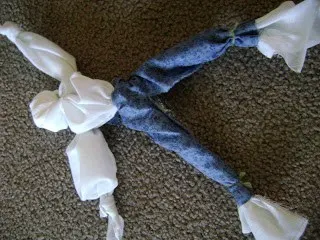
Tie the rectangular fabric piece around his neck to make a neckerchief. You did it!
Expert Tips for Making No Sew Dolls
- Use soft cotton: Lightweight cotton, muslin, handkerchiefs, and quilting scraps are easier for kids to gather and tie.
- Cut before kids begin: If younger children are helping, pre-cut the bonnet and dress pieces so they can focus on tying and decorating.
- Tie snug knots: The head, arms, and dress stay in place best when the yarn is tied tightly.
- Let the doll be imperfect: A handmade rag doll should look handmade. The little quirks are part of the story.
- Use seasonal fabric: Red, white, and blue fabric makes this a charming Fourth of July, Days of ’47, or Pioneer Day craft.
Troubleshooting a No Sew Rag Doll
Why is the doll’s head loose?
The yarn may not be tied tightly enough under the cotton balls. Retuck the folded fabric edge, gather the fabric again, and tie the yarn snugly below the head.
Why do the arms look uneven?
Handmade rag dolls are wonderfully forgiving. If one arm is longer, retie the hand knot or adjust where you tie near the head.
Why does the dress keep slipping?
Make sure the apron dress ties are tucked under the arms and tied over the shoulders. A second small yarn tie around the waist can help hold the fabric in place.
Can kids make this without help?
Older children can do most of this no sew doll craft independently. Younger children may need help with scissors, measuring, and tying tight knots.
Variations and Creative Ideas
- Fourth of July pioneer doll: Use red, white, and blue fabric, tiny stars, stripes, gingham, or bandana prints.
- Days of ’47 pioneer doll: Choose calico prints, pioneer-style gingham, or patriotic colors for a Utah-inspired celebration craft.
- Little House-inspired doll: Use soft florals, prairie prints, muslin, and a simple bonnet.
- Homeschool history doll: Let children name the doll and write a short story about pioneer life.
- Keepsake doll: Use fabric from an old shirt, baby blanket, or family fabric scrap for a sentimental version.
- Mini doll: Reduce the measurements and make a tiny pocket-size pioneer rag doll.
Storage and Display Ideas
This no sew pioneer rag doll is soft and simple, so store it gently in a basket, keepsake box, or fabric bin when playtime is over. If you use it for a homeschool history unit, tuck the doll beside books, copywork pages, or pioneer journals for a sweet display.
For Fourth of July, Days of ’47, or Pioneer Day, place the doll in a small basket with gingham fabric, tiny flags, or a handwritten tag. It makes a charming handmade touch for a kids’ craft table or summer memory basket.
Make-Ahead Tips
You can cut the fabric pieces ahead of time and place each doll kit in a small bag. Add the handkerchief or cotton fabric, bonnet piece, dress piece, cotton balls, and yarn. This makes the craft easy to set out for a group, homeschool co-op, family reunion, or holiday craft afternoon.
If you are making this as a Fourth of July or Days of ’47 activity, choose patriotic fabric ahead of time so each child can pick a favorite print.
Pinterest-Friendly Craft Ideas
This pioneer doll craft photographs beautifully with soft gingham, calico fabric, wooden tables, baskets, old books, or a small bundle of yarn. For a patriotic pin, style the finished no sew pioneer rag doll with red, white, and blue fabric, tiny American flags, berries, enamelware, and warm summer light.
For a Days of ’47 or Pioneer Day angle, use prairie prints, soft neutrals, vintage lace, old-fashioned books, and a cozy handmade backdrop.
FAQs About No Sew Pioneer Rag Dolls
Can you make a rag doll without sewing?
Yes. This no sew rag doll is made by folding fabric around cotton balls and tying the fabric with yarn or string. The head, arms, dress, bonnet, and boy doll trousers are all created with knots and simple fabric folds.
How do you make a rag doll no sew?
To make a rag doll no sew, place cotton balls inside fabric to form the head, tie the fabric under the head, knot the fabric ends for hands, tie the arms near the head, and add clothing with fabric pieces tied in place.
What is a pioneer rag doll?
A pioneer rag doll is a simple handmade doll inspired by the kind of toys pioneer children might have made from fabric scraps, handkerchiefs, yarn, and materials already available at home.
What fabric is best for a no sew pioneer doll?
Lightweight cotton, muslin, handkerchiefs, quilting scraps, calico, and gingham work well because they are easy to gather, fold, and tie.
Is this a good craft for Pioneer Day or Days of ’47?
Yes. A no sew pioneer rag doll is a natural fit for Pioneer Day and Days of ’47 because it connects to pioneer history, handmade toys, and old-fashioned family crafting.
Can this be used as a Fourth of July craft?
Yes. Use red, white, and blue fabric, stars, stripes, gingham, or bandana prints to turn this no sew pioneer doll into a Fourth of July craft with vintage Americana charm.
Can boys make this pioneer doll craft too?
Absolutely. Boys can make either version, and the tutorial includes instructions for a boy pioneer doll with fabric legs, trousers, and a neckerchief.
How long does it take to make a no sew pioneer rag doll?
Most children can make this craft in about 30 minutes, especially if the fabric pieces are measured and cut ahead of time.
How to Make a No Sew Pioneer Rag Doll

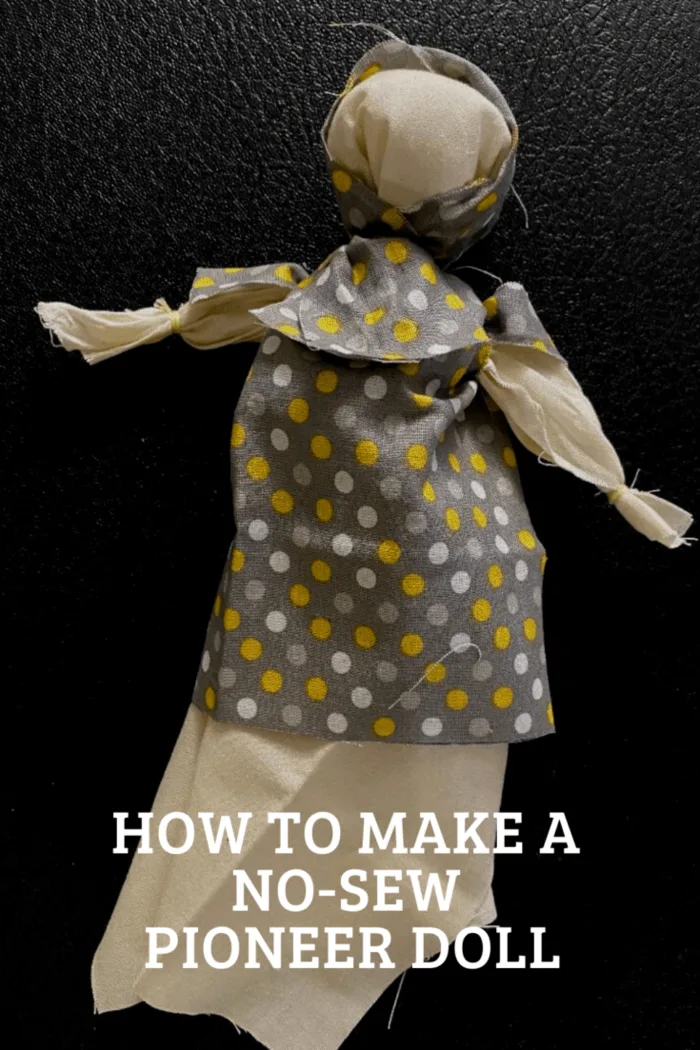
Learn how to make a no sew pioneer rag doll using fabric scraps, cotton balls, yarn, and simple knots. This easy handmade rag doll craft is perfect for kids, homeschool history lessons, Little House on the Prairie activities, and old-fashioned pretend play.
Materials
- 1 12-inch x 14-inch handkerchief, muslin, or cotton fabric
- Cotton balls
- Yarn or string
- 1 fabric piece, 1.75 inches x 9 inches, for the bonnet
- 1 fabric piece, 7.75 inches x 5.5 inches, for the dress or apron
Tools
- Scissors
- Ruler
Instructions
1. Fluff the cotton balls. These will become the head of the pioneer rag doll.
2. Lay the 12-inch x 14-inch handkerchief or cotton fabric flat with the longest edge at the top.
3. Place the fluffed cotton balls in the center of the cloth, about 3 inches from the top edge.
4. Fold the top edge of the cloth over the cotton balls to cover them.
5. Gather the fabric around the cotton balls and tie securely with yarn or string to form the doll’s head. Make sure the folded edge is tucked in and tied tightly.
6. To make the arms, hold up the two short ends of the handkerchief.
7. Gather one end of the fabric and tie a knot close to the end to make one hand. Repeat on the other side.
8. Gather the fabric from one hand down toward the head and tie near the head to form an arm. Repeat on the other side.
9. To make the apron dress, fold the center piece of the printed dress fabric down and press it with your fingers.
10. Place the dress fabric over the doll’s body.
11. Tuck the outside tie under the doll’s arm and tie it over the shoulder.
12. Repeat on the other side so the dress is tied over both shoulders.
13. To add the bonnet, fold the 1.75-inch x 9-inch fabric piece over the doll’s head.
14. Tie the bonnet around the doll’s neck with yarn or string, like a little bandanna.
15. Give your no sew pioneer rag doll a name and enjoy.
Notes
Notes:
Use fabric scraps, old handkerchiefs, muslin, or lightweight cotton for this no sew rag doll. Every doll will look a little different, which is part of the charm.
For a larger pioneer rag doll, increase the fabric measurements while keeping the same basic tying method.
If making this craft with younger children, an adult should help with measuring, cutting, and tying tight knots.
This is a sweet craft for Little House on the Prairie fans, pioneer day activities, homeschool history lessons, and simple no sew doll making.
Optional Boy Doll Instructions
To make a boy pioneer doll, complete the head and arms first.
Tie a piece of yarn under the arms to form a waist.
Hold the body fabric out to the sides and find the center of the lower fabric.
Make a small snip with scissors, then tear the fabric up toward the waist to create two legs.
Use the printed fabric to make trousers. Tie the outside ends around the back of the waist and trim any excess.
Cut a small snip in the center of the trouser fabric and tear up within about an inch of the waist.
Tuck in the raw edges of the legs and trousers.
Use yarn to tie around the ankles and knees.
Tie the rectangular fabric piece around the neck to make a neckerchief.
No sew pioneer rag doll made with fabric scraps, cotton balls, and yarn for an easy handmade prairie doll craft for kids
Final Thoughts
This no sew pioneer rag doll is one of those simple crafts that feels like stepping back into a quieter afternoon. A few scraps of fabric, a handful of cotton balls, some yarn, and suddenly there is a little handmade doll with a name, a story, and a whole pretend world waiting for her.
Whether you make it for homeschool history, Little House on the Prairie fun, Fourth of July, Days of ’47, Pioneer Day, or just because the fabric basket is calling your name, this is a sweet reminder that childhood magic does not need batteries, screens, or anything fancy.