How to Do a Lazy Daisy Stitch
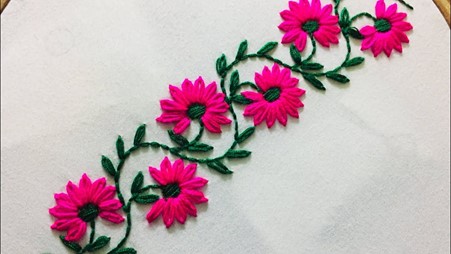
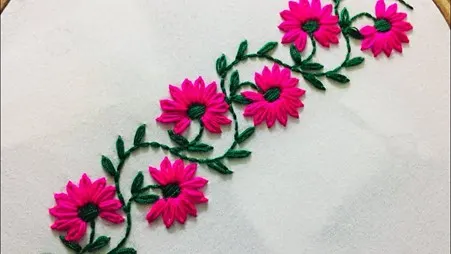
The Lazy Daisy stitch is a simple embroidery technique that creates adorable petal-like loops — perfect for flower designs. It’s quick to learn and adds playful detail to everything from tea towels to hoop art.
This stitch is part of our essential types of embroidery stitches and pairs beautifully with the running stitch and stem stitch for outlining or stems.
Why Use the Lazy Daisy Stitch?
- Ideal for flower and petal embroidery
- Quick and easy to learn
- Adds charm and texture to your work
What You’ll Need
- Embroidery hoop
- Embroidery needle
- Embroidery floss
- Fabric (cotton or linen)
- Scissors
Step-by-Step Instructions
- Prepare your fabric: Place it inside the embroidery hoop and pull it tight.
- Thread your needle: Use 1–2 strands of floss and tie a knot at one end.
- Start your loop: Bring the needle up through the fabric, then down right next to it. Bring the needle up a short distance away while catching the loop with the needle.
- Secure the loop: Make a tiny straight stitch over the top of the loop to hold it in place.
- Repeat: Continue creating petals around a central point to form a full flower.
Pro Tips
- Keep loops loose enough to form full, soft petals.
- Use contrasting floss to highlight each petal.
- Mix lazy daisy petals with stem stitch lines for detailed flower patterns.
Project Ideas with Lazy Daisy Stitch
- Floral embroidery hoops
- Children’s clothing embellishment
- Custom napkins and handkerchiefs
- Spring-themed embroidery samplers
Final Thoughts
The Lazy Daisy stitch brings joy to embroidery with its ease and elegance. Whether you’re adding daisy petals or whimsical detail, it’s a fun stitch to have in your toolbox.
Ready for more? Try the stem stitch or running stitch, or explore all types of embroidery stitches.
★★★★☆4.6 from 88 votes