Decorating cookies can be a delightful and creative activity that transforms simple treats into works of edible art. Whether you’re a beginner or looking to refine your skills, this step-by-step guide will help you decorate cookies like a pro. With a few essential tools, some basic techniques, and a dash of creativity, you’ll be on your way to crafting beautiful and delicious cookies that are sure to impress.
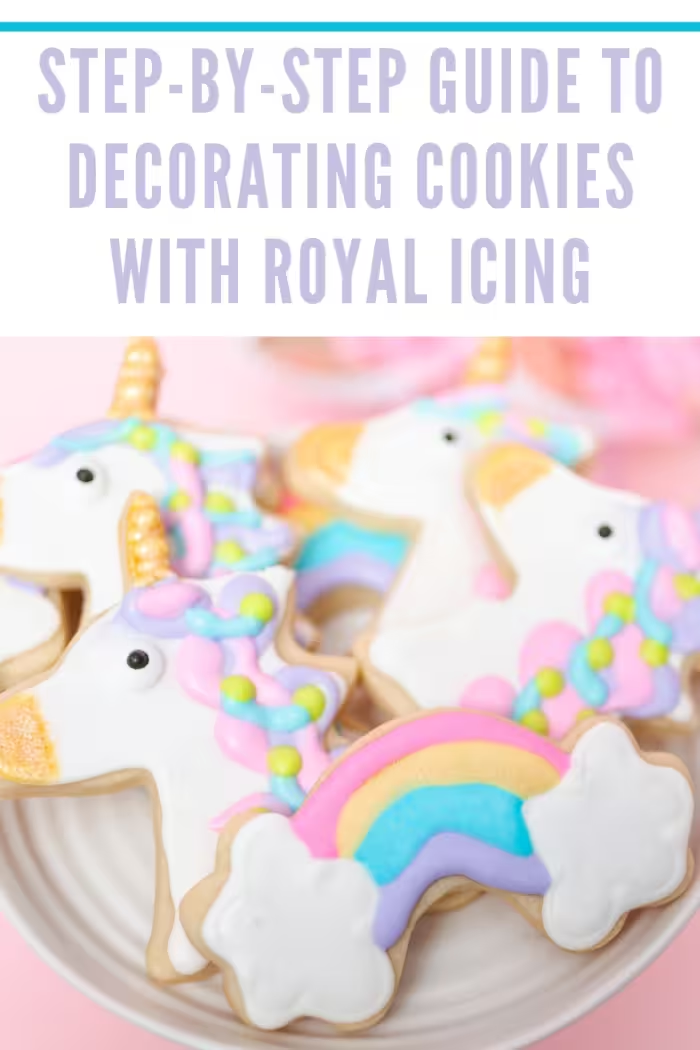
How to Decorate Cookies Like a Pro
Materials Needed:
- Sugar Cookie Recipe:
- Begin with a reliable sugar cookie recipe that holds its shape during baking. You can use your favorite recipe or find one online.
- Royal Icing:
- This smooth and hard-drying icing is perfect for decorating. You can make your own royal icing using powdered sugar, meringue powder, and water.
- Gel Food Coloring:
- Gel colors provide vibrant hues without altering the consistency of the icing.
- Piping Bags and Tips:
- Invest in quality piping bags and a variety of tips for different decorating effects.
- Toothpicks or Scribe Tool:
- Useful for fine details and fixing mistakes.
- Sprinkles, Edible Glitter, and Decorations:
- Enhance your designs with an assortment of edible decorations.
- Parchment Paper or Silicone Baking Mat:
- Prevent cookies from sticking to the surface and make cleanup easier.
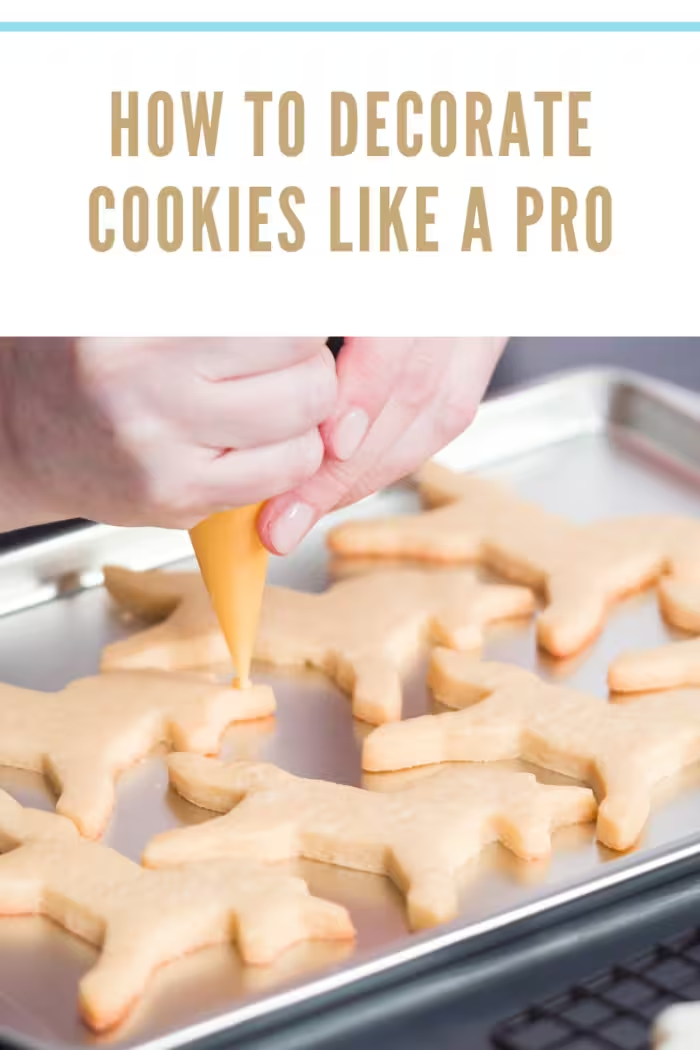
A Step-by-Step Guide to Decorating Cookies like a Pro
Step 1: Bake Perfect Sugar Cookies
- Roll out your cookie dough evenly and use cookie cutters for consistent shapes.
- Follow the recommended baking time and temperature to achieve a golden-brown finish.
Step 2: Prepare Royal Icing
- Mix royal icing according to your recipe, achieving different consistencies for outlining and flooding. Thicker icing is for outlining, and slightly thinner icing is for flooding.

Step 3: Outline Cookies
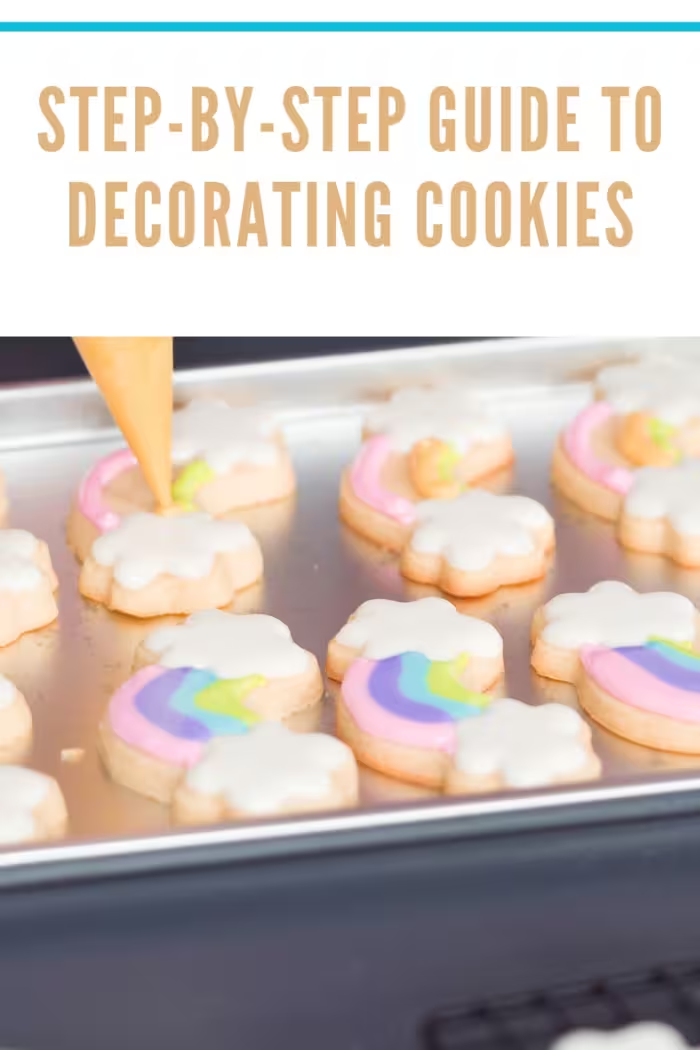
- Fill a piping bag with thick icing and carefully outline the shapes of your cookies.
Step 4: Flood the Cookies
- Use the thinner icing to flood the outlined areas, spreading it evenly with a toothpick or scribe tool.
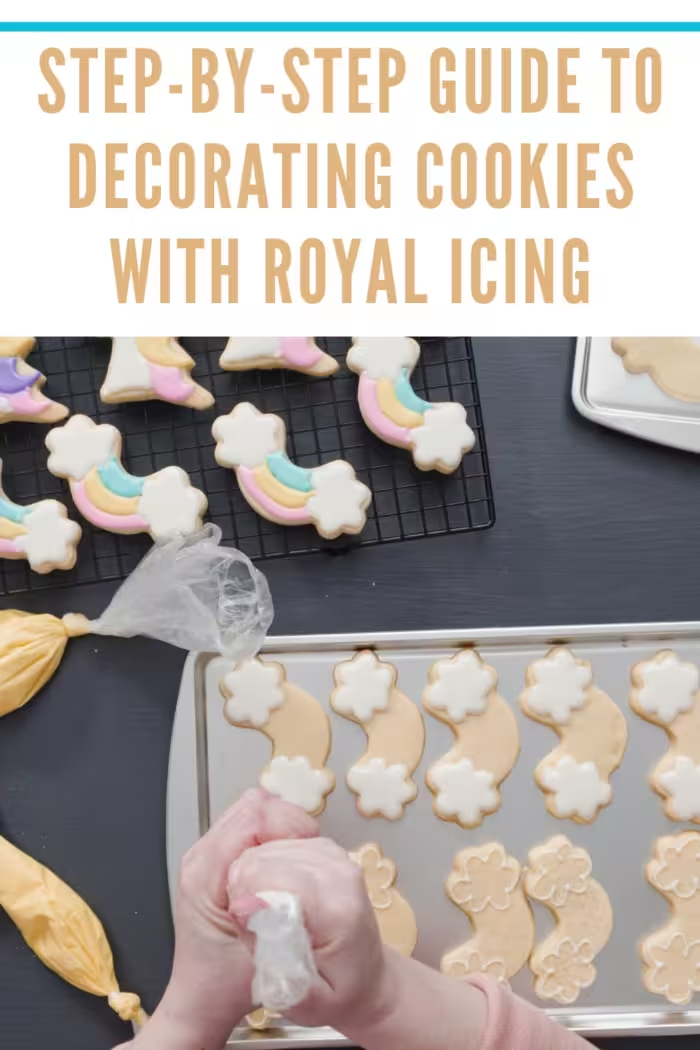
Step 5: Create Texture and Designs
- While the flood icing is still wet, add textures or designs using different colored icings. Experiment with marbling or blending techniques.
Step 6: Add Details
- Once the base layer is dry, use thicker icing to add intricate details, such as borders, lines, and embellishments.
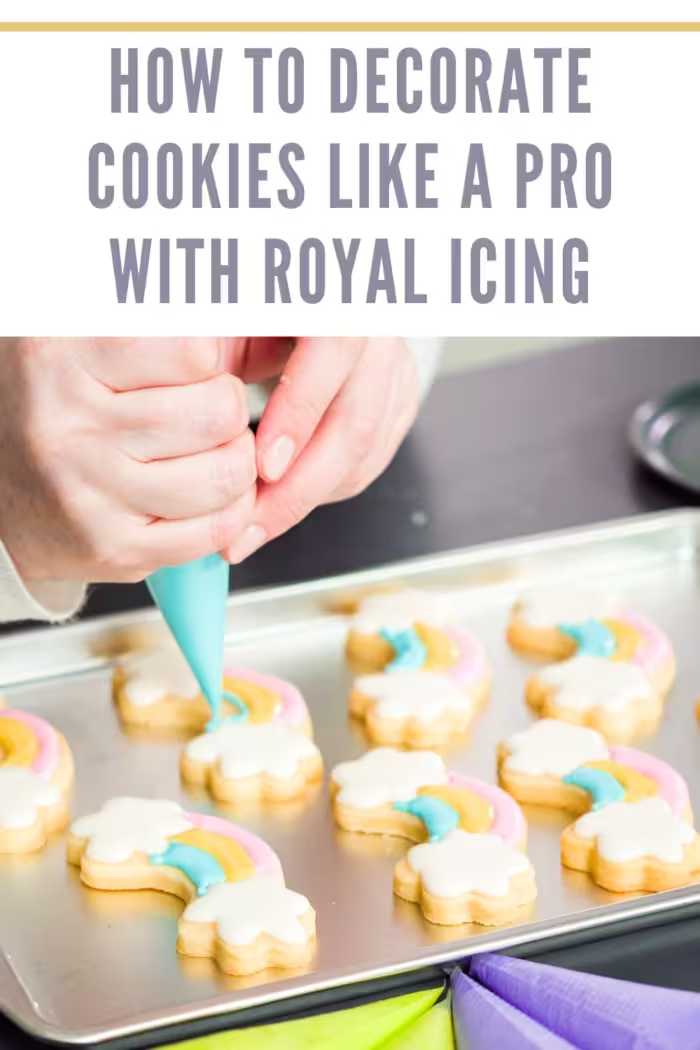
Step 7: Incorporate Edible Decorations
- While the icing is still wet, sprinkle edible decorations or apply edible glitter for extra flair.
Step 8: Allow Cookies to Dry
- Let your decorated cookies dry completely before handling or packaging. This may take several hours or overnight.
Step 9: Store and Share
- Once the icing is set, store your beautifully decorated cookies in an airtight container. Share with friends and family or use them as delightful party favors.
Conclusion:
With a bit of practice and a touch of imagination, you can decorate cookies like a pro. Don’t be afraid to experiment with colors, patterns, and designs to create unique and personalized treats that are as delightful to the eyes as they are to the taste buds. Happy decorating!
