Royal Icing with Meringue Powder (The Foolproof, Glossy Cookie Icing You’ll Use Forever)
Because every cookie deserves to dress up for the occasion.
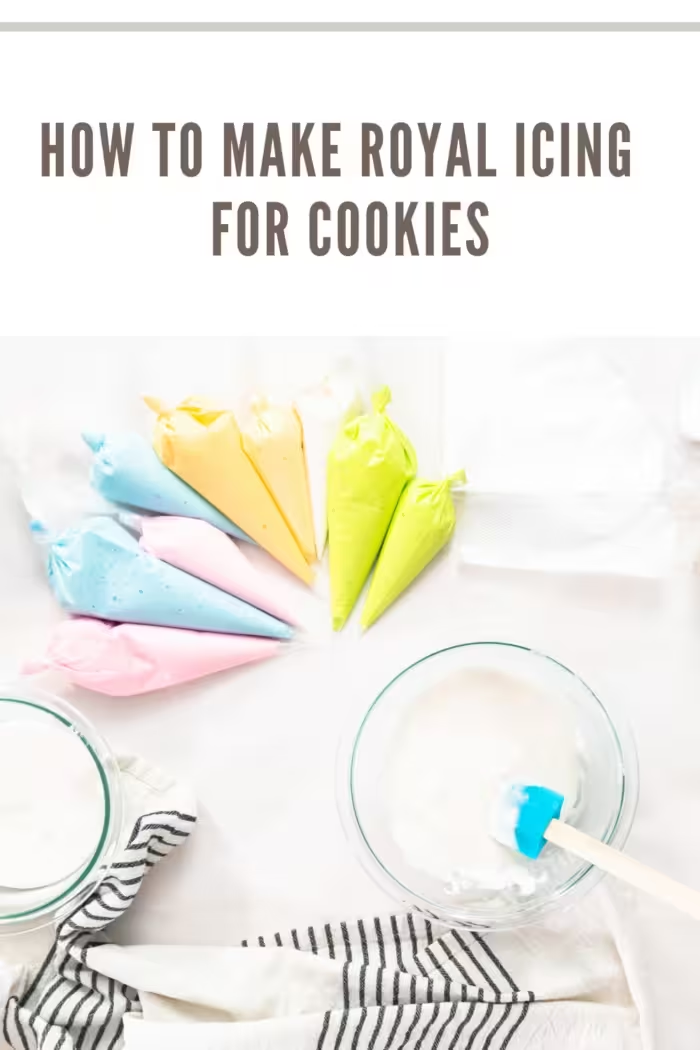
If you’ve ever admired those picture‑perfect bakery cookies—the ones with smooth, glossy icing that looks like it was painted on by tiny sugar fairies—you’re about to unlock the secret. Spoiler alert: it’s not magic… it’s royal icing with meringue powder.
This easy royal icing recipe is the decorating workhorse every home baker needs in their spring baking toolkit. With just three simple ingredients, you can outline, flood, swirl, marble, and detail cookies like a pro. Whether you’re decorating spring sugar cookies, building a gingerbread house, or prepping for a cookie‑decorating party, this icing dries firm, smooth, and smudge‑proof—aka cookie perfection.
And the best part? No raw eggs. No complicated steps. No fancy equipment. Just mix, pipe, decorate, and watch your cookies glow up.
Once you master this royal icing recipe for cookie decorating, you’ll never look at plain cookies the same way again.
Why You’ll Love This Royal Icing Recipe
This icing is a favorite among home bakers because it’s reliable, beginner‑friendly, and incredibly versatile. It’s the kind of recipe you’ll print, pin, and keep forever.
Here’s why it works so well:
- Uses only three ingredients
- Creates a smooth icing perfect for outlining and flooding cookies
- Dries firm, glossy, and smudge‑proof
- Made with meringue powder instead of raw egg whites
- Easily adjustable for different decorating consistencies
- Ideal for holiday cookies, spring cookies, gingerbread houses, and more
- Perfect for beginners but loved by seasoned decorators
If you’re planning a cookie‑decorating party, a spring baking day, or prepping for holiday cookie trays, this icing is your decorating secret weapon.
Ingredients for Royal Icing with Meringue Powder
Ingredients:
- 4 cups (about 1 lb.) powdered sugar (confectioners’ sugar)
- 5 tablespoons warm water
- 3 tablespoons meringue powder
Expand Your Knowledge:
Tools You’ll Need
Having the right tools makes cookie decorating smoother and more fun.
- Electric mixer
- Large mixing bowl
- Rubber spatula
- Small spoon
- Piping bags or squeeze bottles
- Piping tips (optional but helpful)
How to Make Royal Icing with Meringue Powder
Follow these simple steps to create a smooth, glossy icing perfect for decorating cookies.
Step 1: Combine the Ingredients
Add the powdered sugar, warm water, and meringue powder to a large mixing bowl.
Step 2: Beat the Icing
Using an electric mixer, beat the mixture until it forms stiff peaks.
- Stand mixer: low speed for 7–10 minutes
- Hand mixer: high speed for 10–12 minutes
The icing should look smooth, glossy, and thick.
Step 3: Adjust the Consistency
Royal icing can be customized depending on your decorating technique.
- Stiff icing (3‑D decorations): Use 1 tablespoon less water
- Outlining icing: Add ⅛ teaspoon water per cup of icing
- Flooding icing: Add 1 teaspoon water per cup of icing
Step 4: Perform the 10‑Second Test
Drop a small amount of icing onto the surface. If it smooths out in about 10 seconds, it’s perfect for flooding.
Step 5: Remove Air Bubbles
Let the icing rest 15 minutes to 1 hour so air bubbles rise to the surface. Or tap the bowl lightly and stir gently.

Expert Tips for Perfect Royal Icing
These pro‑level tips help ensure smooth, professional‑looking cookies every time.
- Keep bowls and utensils completely grease‑free
- Avoid over‑mixing to reduce air bubbles
- Cover piping tips with a damp towel while decorating
- Use a fan to speed up drying time
- Stir icing gently to avoid incorporating air
Variations & Creative Decorating Ideas
Once you master the basic recipe, the fun really begins.
Colorful Cookie Designs
Use gel food coloring to create vibrant shades for holidays, birthdays, or seasonal cookies.
Marbled Cookies
Swirl two icing colors together for beautiful marble patterns.
Metallic Accents
Brush edible gold or silver dust onto dry icing for elegant designs.
Textured Flooding
Use a toothpick to create hearts, polka dots, or swirls.

Serving Suggestions
Royal icing works beautifully for decorating:
- Sugar cookies
- Gingerbread houses
- Holiday cookie platters
- Birthday cookies
- Spring and Easter cookies
Decorated cookies also make wonderful edible gifts, party favors, and dessert table showstoppers.
More Ideas
This icing pairs perfectly with my Sugar Cookie Recipe and is a must‑have for festive projects like Gingerbread House Decorating or Holiday Cookie Decorating Ideas. For spring baking inspiration, explore my Easter Dessert Recipes.
Storage Tips
Royal icing stores well when handled correctly.
- Store in an airtight container at room temperature for up to 2 weeks
- Re‑whip before using to restore texture
- Dried icing decorations can be stored up to 6 months
Avoid freezing royal icing—freezing can affect its structure.
FAQs
How long does royal icing take to dry?
Usually about 2 hours, depending on humidity and thickness.
Can I substitute egg whites for meringue powder?
It’s not recommended. Meringue powder is safer, more stable, and easier to use.
Can royal icing be made ahead?
Yes! Store it in an airtight container and re‑mix before decorating.
Why is my royal icing runny?
Too much water. Add powdered sugar gradually until the consistency thickens.
Final Thoughts
Mastering royal icing with meringue powder opens the door to endless cookie‑decorating possibilities. With just three ingredients and a few simple techniques, you can transform ordinary cookies into beautifully decorated treats that look bakery‑worthy.
Whether you’re decorating holiday cookies, birthday treats, or spring sugar cookies, this foolproof icing recipe ensures smooth piping, glossy finishes, and designs that hold their shape. Once you try it, you’ll understand why this royal icing recipe is a must‑have for home bakers and cookie decorators alike.