
Homemade Stain Remover
This homemade stain remover is a 4-ingredient laundry spray made with blue dish soap, ammonia, baking soda, and warm water to help lift everyday clothing stains before they go into the wash.
It takes about 5 minutes to mix, costs less than many store-bought stain sprays, and is especially handy for busy family laundry, school clothes, work shirts, towels, and those mystery stains that appear with no explanation.
It works like that famous stain spray with the loud black lettering and rainbow target on the bottle. You know the one — the laundry aisle legend moms grab when spaghetti sauce, grass stains, and mystery kid messes show up uninvited.
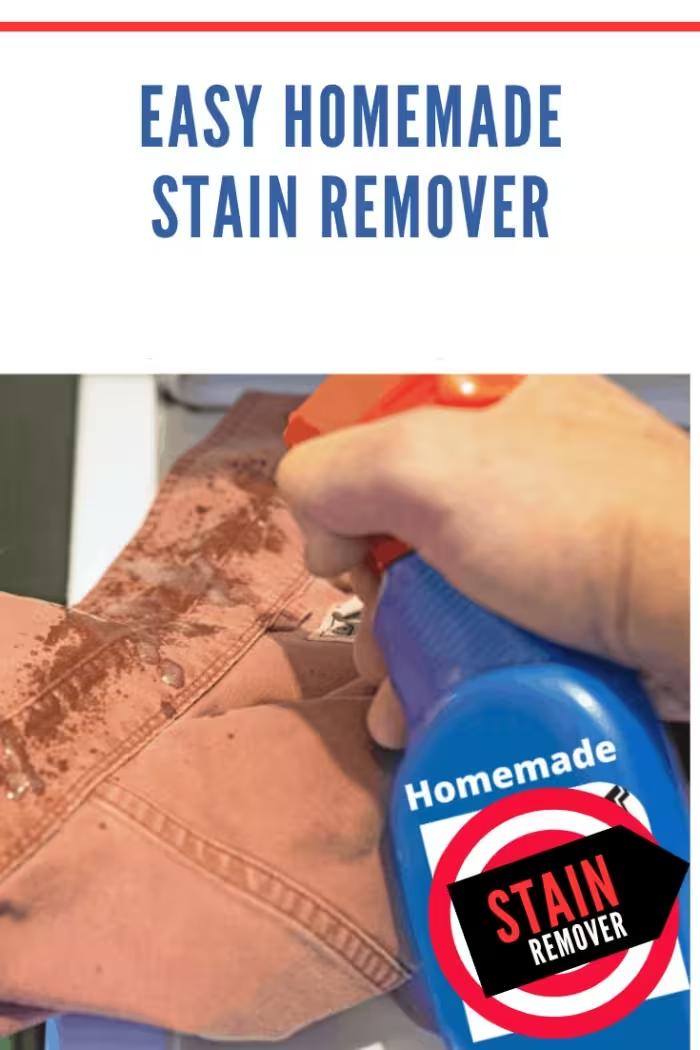
This easy homemade stain remover mixes in minutes and is made for real-life laundry stains, from food spills to grass marks and mystery kid messes.
Homemade Stain Remover Recipe
If you are looking for a homemade stain remover that works, this is the one I keep coming back to. It is the kind of practical laundry-room recipe that feels a little like a secret passed from one mom to another: simple ingredients, no fancy equipment, and a bottle that sits ready when spaghetti sauce, grease, grass, blood, or red wine decides to make an entrance.
This version is made with Original blue dish soap, ammonia, baking soda, and warm water. The dish soap helps cut greasy residue, the ammonia helps tackle stubborn soil and protein-based stains, the baking soda gives the mixture a little extra cleaning boost, and the warm water helps everything dissolve so it can be sprayed or squeezed onto fabric before washing.
Use this as a DIY laundry stain remover before washing sturdy, washable fabrics. It is helpful for family laundry, kids’ clothes, sports uniforms, kitchen towels, cloth napkins, and everyday cotton or polyester blends. Always test first, especially on bright colors, dark fabrics, or anything you would be heartbroken to lose.
The most important safety note: never use this homemade stain remover with chlorine bleach. This recipe contains ammonia, and ammonia should never be mixed with bleach. Keep the bottle clearly labeled and stored away from children and pets.
Why You’ll Love This Recipe
- It uses 4 simple ingredients. You only need blue dish soap, ammonia, baking soda, and warm water.
- It is budget-friendly. A batch makes about a 30-ounce bottle, which can stretch much farther than many store-bought sprays.
- It is made for real family laundry. Think school clothes, food spills, grass stains, grease, towels, and those “what even is this?” marks.
- It works as a pre-treater. Spray it on before washing so the stain has time to loosen.
- It is easy to keep on hand. Mix, label, store, shake before using, and treat stains as they happen.
Ingredients
You only need four ingredients for this homemade laundry stain remover:
- 2/3 cup Original blue dish soap
- 2/3 cup ammonia
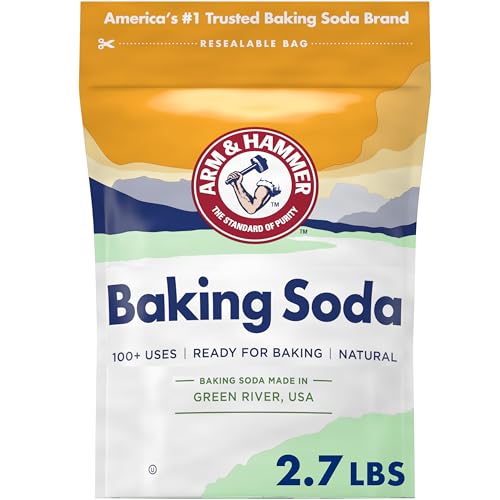
- 6 tablespoons baking soda
- 2 cups warm water
Yield: About one 30-ounce bottle
Prep time: About 5 minutes
How to Make Homemade Stain Remover
- Add the blue dish soap, ammonia, baking soda, and warm water to a mixing bowl.
- Stir well until the baking soda is fully dissolved.
- Pour the mixture into a clean spray bottle or squeeze bottle.
- Label the bottle clearly.
- Shake before each use.
- Test on a hidden area of fabric before using on clothing.
To use it, apply the stain remover directly to the stain, gently work it into the fabric if needed, let it sit for at least 5 minutes, and then wash according to the garment care label. For older or tougher stains, let it sit longer before washing, but do not let it dry on delicate fabrics or fabrics you have not tested.
Readers Also Make…
If you are building a simple DIY laundry shelf, readers also love my homemade laundry detergent recipe, DIY homemade fabric softener, and how to clean your washing machine. Together, they make laundry day feel a little more old-fashioned, a little more thrifty, and a whole lot more manageable.
Best Stains to Use This On
This homemade stain remover is best for sturdy, washable fabrics and everyday laundry stains. It can help with:
- Grease spots
- Grass stains
- Food stains
- Blood stains
- Red wine stains
- Kitchen towel stains
- School clothes
- Work shirts
- Sports uniforms
- Mystery kid messes
It is not meant for silk, wool, leather, suede, dry-clean-only clothing, or delicate vintage fabrics. When in doubt, test first or use the gentlest option recommended on the care label.
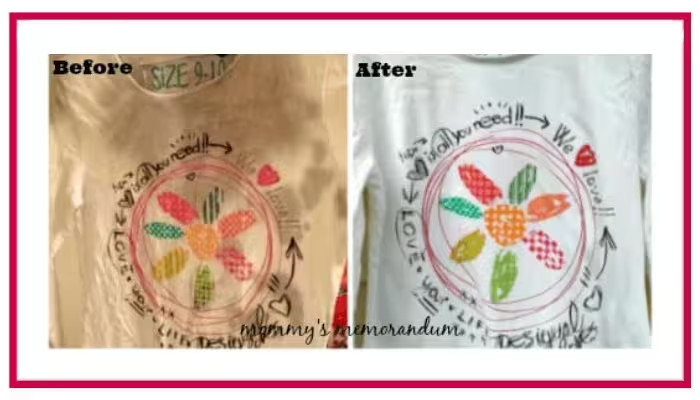
The White Birthday Shirt That Sold Me
I first started making this stain remover back in 2014, when the price of store-bought stain sprays kept creeping up and our family laundry was not slowing down one bit. I was spending close to five dollars a bottle, and with a busy household, I needed something I could use generously without feeling like I was spraying quarters onto every shirt cuff.
Then came the white birthday shirt.
It was my daughter’s 10th birthday, and we had celebrated at the Ballantyne Hotel. Grandma had gifted her a beautiful white birthday shirt, and my daughter loved it. But when we got home, we discovered that Grandma had unknowingly wrapped a bottle of red wine inside the shirt. The bottle broke during the trip, and that sweet white shirt was soaked in red wine.
My daughter was devastated. I was determined.
I treated the shirt with this homemade stain remover, soaked it overnight, and washed it according to the care instructions. When it came out, the red wine stain was gone. Completely gone. When I handed the shirt back to her, she thought I had bought her a new one.
That is the kind of laundry-room victory a mom remembers.
Important Safety Warning: Do Not Mix with Bleach
This recipe contains ammonia. Do not use this homemade stain remover with chlorine bleach, bleach-containing detergents, or bleach-based laundry boosters. Ammonia and bleach can create dangerous fumes.
Label the bottle clearly, store it away from children and pets, and avoid using it on items that have already been treated with bleach. If your regular laundry routine includes bleach, keep this stain remover as a separate pre-treating step and wash treated items without chlorine bleach.
Tips for the Best Results
- Treat stains as soon as possible. Fresh stains are usually easier to lift than stains that have been washed, dried, and heat-set.
- Shake the bottle before each use. Homemade mixtures can settle between uses.
- Use warm water when mixing. It helps the baking soda dissolve more smoothly.
- Do not oversaturate delicate areas. A little goes a long way on collars, cuffs, and seams.
- Check before drying. Heat from the dryer can set stains. If the stain is still there, treat and wash again before drying.
Troubleshooting Homemade Stain Remover
The baking soda settled at the bottom. Is that normal?
Yes, some settling can happen. Shake the bottle well before each use. If the sprayer clogs, switch to a squeeze bottle or mix the batch again with warmer water so the baking soda dissolves more fully.
The stain did not come out the first time. What should I do?
Do not put the item in the dryer yet. Treat the stain again, let it sit longer, and wash again according to the care label. Older stains may need more than one treatment.
Can I use this on colored clothes?
Often, yes, but test first. Apply a small amount to an inside seam or hidden area, wait a few minutes, and blot with a white cloth to check for color transfer.
Can I use this on carpet or upholstery?
This recipe was written for washable laundry. Carpet and upholstery can be trickier because they are not rinsed the same way clothing is. Always check the manufacturer’s cleaning instructions and spot test carefully before using any homemade cleaner outside the laundry room.
Variations and Creative Ideas
I do not recommend changing the core recipe too much because the balance of dish soap, ammonia, baking soda, and water is what makes it useful as a laundry pre-treater. But you can adjust how you store and apply it:
- Use a squeeze bottle if baking soda clogs your spray bottle.
- Keep a small bottle in the laundry room and a second bottle near the kitchen for napkins, aprons, and dish towels.
- Add a handwritten label so everyone in the house knows what it is and that it should never be mixed with bleach.
- Make a laundry caddy with stain remover, a soft brush, detergent, and a small towel for blotting fresh spills.
Perfect With…
This stain remover is especially useful during back-to-school season, sports season, holiday baking, summer cookouts, and busy weeknights when dinner somehow ends up on everyone’s shirts. It pairs naturally with a simple laundry routine, a clean washing machine, and a shelf stocked with the basics.
My Simple Laundry Routine
If you are new to making your own laundry helpers, this is the basic routine that has worked for our family:
- Treat stains early. Apply the homemade stain remover as soon as you notice the stain and let it sit for at least 5 minutes.
- Sort laundry well. I like to separate whites, bright colors, towels and sheets, and jeans.
- Wash with your usual detergent. I often use my homemade laundry detergent, but you can use your regular laundry detergent too.
- Check stains before drying. If the mark is still there, treat it again before the dryer has a chance to set it.
- Dry carefully. Line drying is gentle on clothes when time and weather allow.
Storage Tips
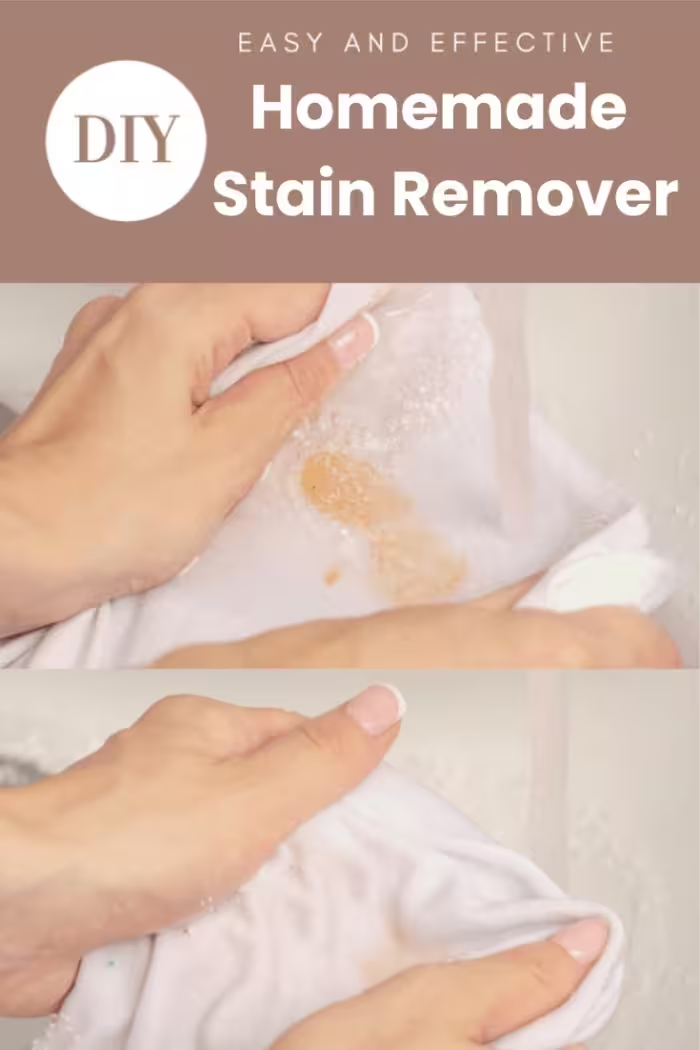
Store homemade stain remover in a clean, clearly labeled spray bottle or squeeze bottle. Keep it tightly closed and away from children and pets.
I prefer making one bottle at a time rather than mixing huge batches. Since the baking soda can settle, shake it before each use and replace the batch if it changes smell, texture, or appearance.
Make-Ahead Tips
This is a great make-ahead laundry helper because it only takes a few minutes to mix and keeps well when stored properly. Make a bottle before school starts, before sports season, or before a stretch of holidays and family gatherings when spills are practically part of the schedule.
For a practical Pinterest-worthy laundry station, place the bottle in a small basket with a soft cleaning brush, a white cloth for blotting, clothespins, and your favorite laundry detergent. It makes the whole chore feel a little more like Grandma’s sunny laundry room and a little less like a Tuesday night emergency.
Homemade Stain Remover FAQs
What is the best homemade stain remover?
The best homemade stain remover is one that matches the stain and fabric. This 4-ingredient version uses blue dish soap, ammonia, baking soda, and warm water as a laundry pre-treater for sturdy, washable fabrics.
How do you make homemade stain remover with Dawn?
Mix 2/3 cup Original blue dish soap, 2/3 cup ammonia, 6 tablespoons baking soda, and 2 cups warm water. Stir until dissolved, pour into a labeled bottle, shake before using, and test fabric first.
Can I make homemade stain remover without bleach?
Yes. This recipe does not use bleach. It does contain ammonia, so it should never be mixed with chlorine bleach or bleach-based laundry products.
Does homemade stain remover work on old stains?
It can help with some old stains, especially if they have not been heat-set in the dryer. Treat the stain, let it sit longer, wash, and check before drying.
Can I use homemade stain remover on white clothes?
Yes, this recipe can be used on many washable white fabrics. Test first, follow the care label, and do not combine it with chlorine bleach.
Can I use homemade stain remover on colored clothes?
Use it carefully on colored clothes and always test a hidden area first. If color transfers or fades during the test, do not use it on that garment.
Why does this stain remover use ammonia?
Ammonia helps cut through certain stubborn laundry stains and soil. Because it is strong, the bottle should be labeled clearly and kept away from bleach, children, and pets.
Why use Original blue dish soap?
Original blue dish soap is commonly used in homemade laundry stain removers because it helps cut grease and food residue. I have tried other versions, but I always come back to the blue one.
Can I use this on silk or wool?
No. This homemade stain remover is best for sturdy, washable fabrics. Do not use it on silk, wool, leather, suede, dry-clean-only clothing, or delicate vintage fabrics.
How long should homemade stain remover sit before washing?
For most fresh stains, let it sit at least 5 minutes before washing. For tougher stains, let it sit longer, but do not let it dry on untested or delicate fabrics.
Final Thoughts
This homemade stain remover is one of those little recipes that earns its spot in the laundry room. It is simple, inexpensive, and useful in the kind of everyday messes that make up family life: a little spaghetti sauce, a little grass, a little grease, and the occasional dramatic red wine rescue.
Mix it, label it, test first, and keep it ready. Laundry day may never be glamorous, but it can be a whole lot easier.
Homemade Stain Remover Just 4 Ingredients
Conquer tough stains with this easy, budget-friendly homemade stain remover! Simple ingredients, powerful results—say goodbye to stains for good!
Materials
- 2/3 cup Dawn liquid Soap
- 2/3 cup ammonia
- 6 Tablespoons baking soda
- 2 cups warm water
Tools
- large mixing bowl
- spray or squeeze bottle
Instructions
- Mix all ingredients together and mix well
- Pour into a spray bottle, or squeeze bottle
- Use just like the real thing
Notes
Saturate the stain with the homemade stain remover.
For best results, treat the stain as quickly as possible.
After waiting for about five minutes, machine wash the stained garment as you normally would.
Always launder an item of clothing according to the instructions on the garment label.
Important Note:
Do not use this on anything that will be washed with chlorine bleach due to the ammonia!


Next Recipe to Try
Next, try my DIY homemade fabric softener for a cozy, budget-friendly laundry routine that keeps right on working after the stains are handled.