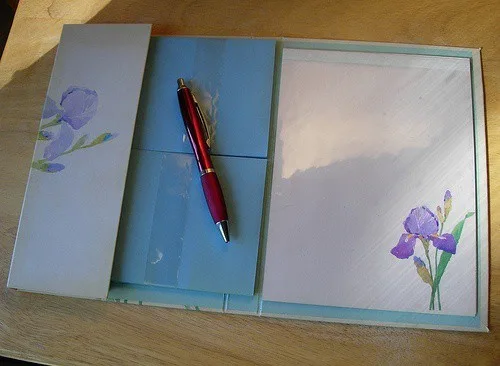
Designing your own stationery can be a fun and creative process. You could go out and buy your stationery; after all, that’s what stationery stores are for! But it isn’t as much fun as designing and printing your own; which lends a personal touch when you send out thank you cards, appreciation notes, or even just a friendly “Hello!” in a handwritten letter for no particular reason. Plus you get to flex those creative muscles that too often remain dormant. Here are the steps you can take to pave your way to your exciting new hand-crafted new stationery!

How to Design Your Own Stationery #DIY
Here are some steps to help you get started designing your own stationery:
- Determine the Purpose: Consider the purpose of your stationery. Are you designing letterhead, notecards, invitations, or something else? Understanding the intended use will help guide your design choices. One option you might employ involves creating the images or motif you will utilize in your stationery by hand.
- Choose a Theme or Style: Select a theme or style that aligns with your personal taste or the purpose of the stationery. Whether it’s minimalist, floral, vintage, modern, or something entirely unique, having a consistent theme will give your stationery a cohesive look.
- Select Colors: Choose a color palette that complements your theme and evokes the desired mood. Try Coolors for options. Consider the occasion, your personal preferences, and the overall aesthetic you want to achieve. Limiting your color choices to two or three main colors can help create a visually appealing design.
- Experiment with Typography: Typography plays a crucial role in stationery design. Experiment with different fonts, sizes, and styles to find a combination that reflects your personality or the tone of the stationery. Pairing a bold font with a more delicate one can create an interesting contrast.
- Incorporate Graphics or Illustrations: Consider incorporating graphics or illustrations into your design if you want to add visual interest. This could be anything from simple icons, borders, or patterns to more elaborate illustrations. Use these elements sparingly to enhance your stationery without overwhelming the design.
- Layout and Composition: Pay attention to the layout and composition of your stationery. Ensure that the elements are organized visually and that there is enough white space to allow the design to breathe. Consider the placement of your logo, text, graphics, and any other elements to create a balanced composition.
- Use High-Quality Images and Materials: If you plan to include images on your stationery, make sure they are high-resolution and suitable for printing. Additionally, choose high-quality materials for your stationery, whether paper or digital, to ensure a professional and polished final product. Purchase high-quality bond paper on which to print. It doesn’t have to be white – cream, taupe, gray, or light pastels allow your messages to be colorful yet readable. Be sure that you have enough ink to suffice, then print out a test sample.
- Test and Refine: Before finalizing your design, print a sample or test it digitally to see how it looks in its intended format. Make any necessary adjustments or refinements to ensure the design is visually appealing and meets your expectations.
- Consider Professional Help: If you’re not confident in your design skills or want a more polished result, you can also seek the assistance of a professional graphic designer who specializes in stationery design. They can bring your ideas to life and ensure a high-quality and professional outcome.
Remember, designing your own stationery is a chance to let your creativity shine. Enjoy the process, experiment with different elements, and create something that truly reflects your style and personality.
You can also surprise your friends and family by creating stationery for them, personalized by using images and color schemes that you know from experience that they will adore!
