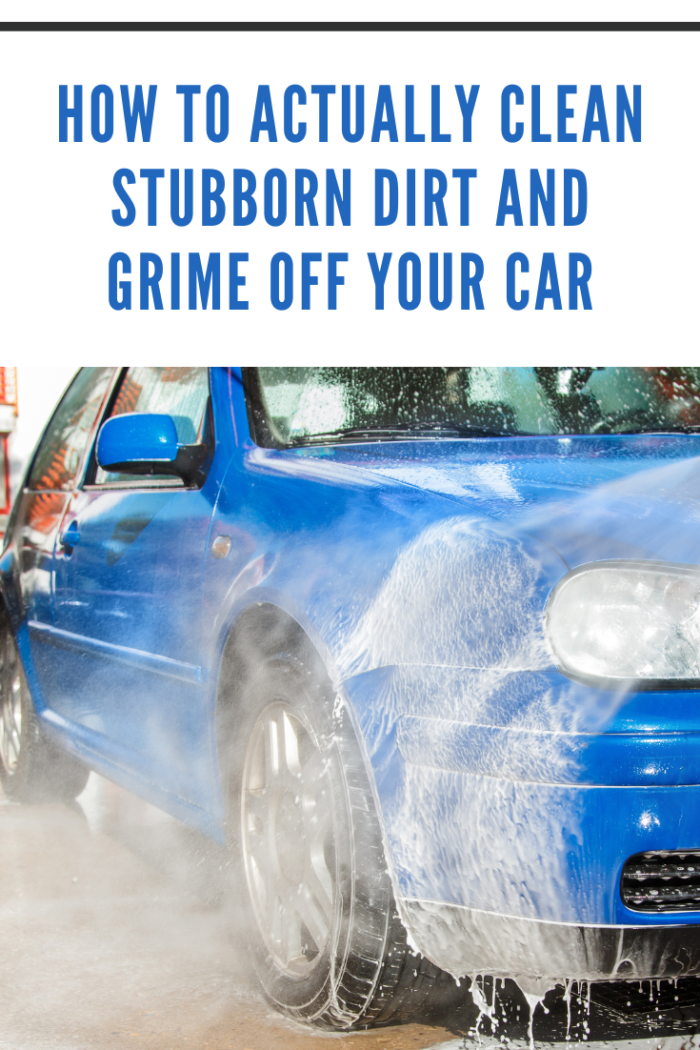
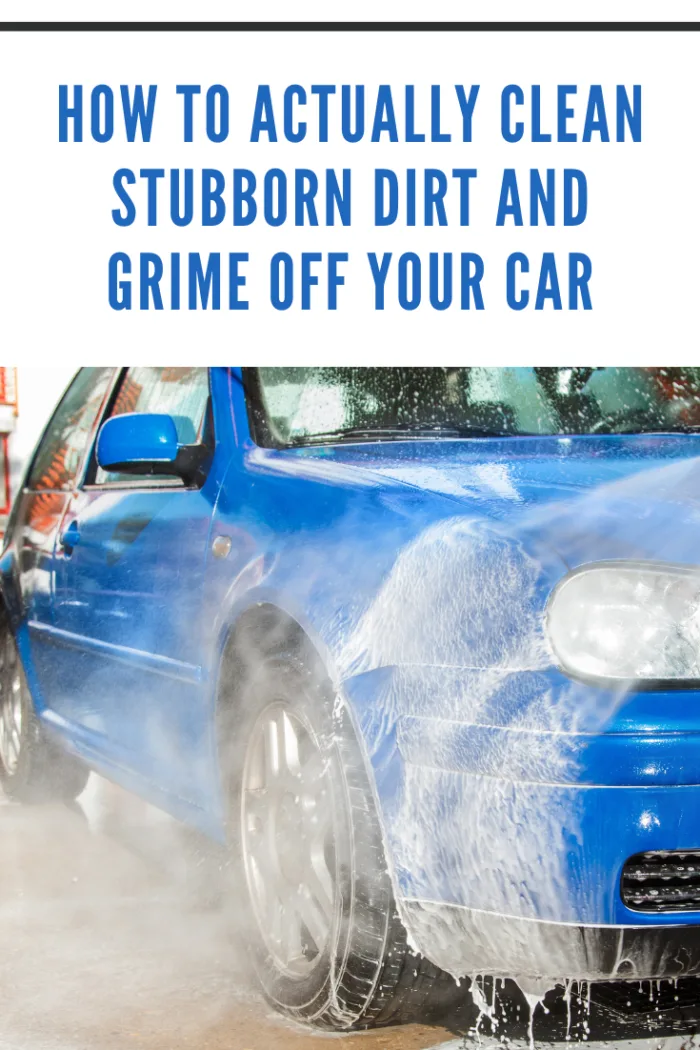
How to Deep Clean Stubborn Dirt and Grime Off Your Car (Without Damaging the Paint)
Want to know how to actually clean stubborn dirt and grime off your car without damaging the paint? Whether it’s road tar, brake dust, or baked-on bugs, this guide will show you easy, safe ways to get your car sparkling clean—no fancy tools or harsh chemicals required.
From choosing the right car shampoo to using a clay bar the right way, here’s everything you need to deep-clean your car like a pro—without the detail shop price tag.
Tired of That Grimy Film? Here’s How to Restore Your Car’s Shine
Grime builds up fast—but knowing how to clean grime off your car helps protect your paint and resale value. Whether it’s spring pollen, winter salt, or just everyday buildup, that gunky film can silently eat away at your vehicle’s finish and resale value.
But here’s the good news: You don’t need a professional detailer to restore that showroom shine. With the right tools, techniques, and budget-friendly products, you can deep clean your car safely—right from your driveway.
In this no-fluff, step-by-step guide, we’ll show you exactly how to clean your car without damaging the paint, strip old wax, or waste hours scrubbing. Affiliate links included below point to recommended products that make it easier (and more affordable) than ever.
Why Stubborn Dirt Is More Than Just Ugly
Grime isn’t just a cosmetic issue—it’s corrosive. Road salt can oxidize metal, bird droppings are acidic enough to etch clear coats, and brake dust bakes onto your wheels like grease on a grill. The wrong tools (or no protection at all) can make the damage permanent.
Over-scrubbing with harsh materials or household soap can strip wax, cause micro-scratches, and dull your car’s finish.
Let’s fix that the right way.
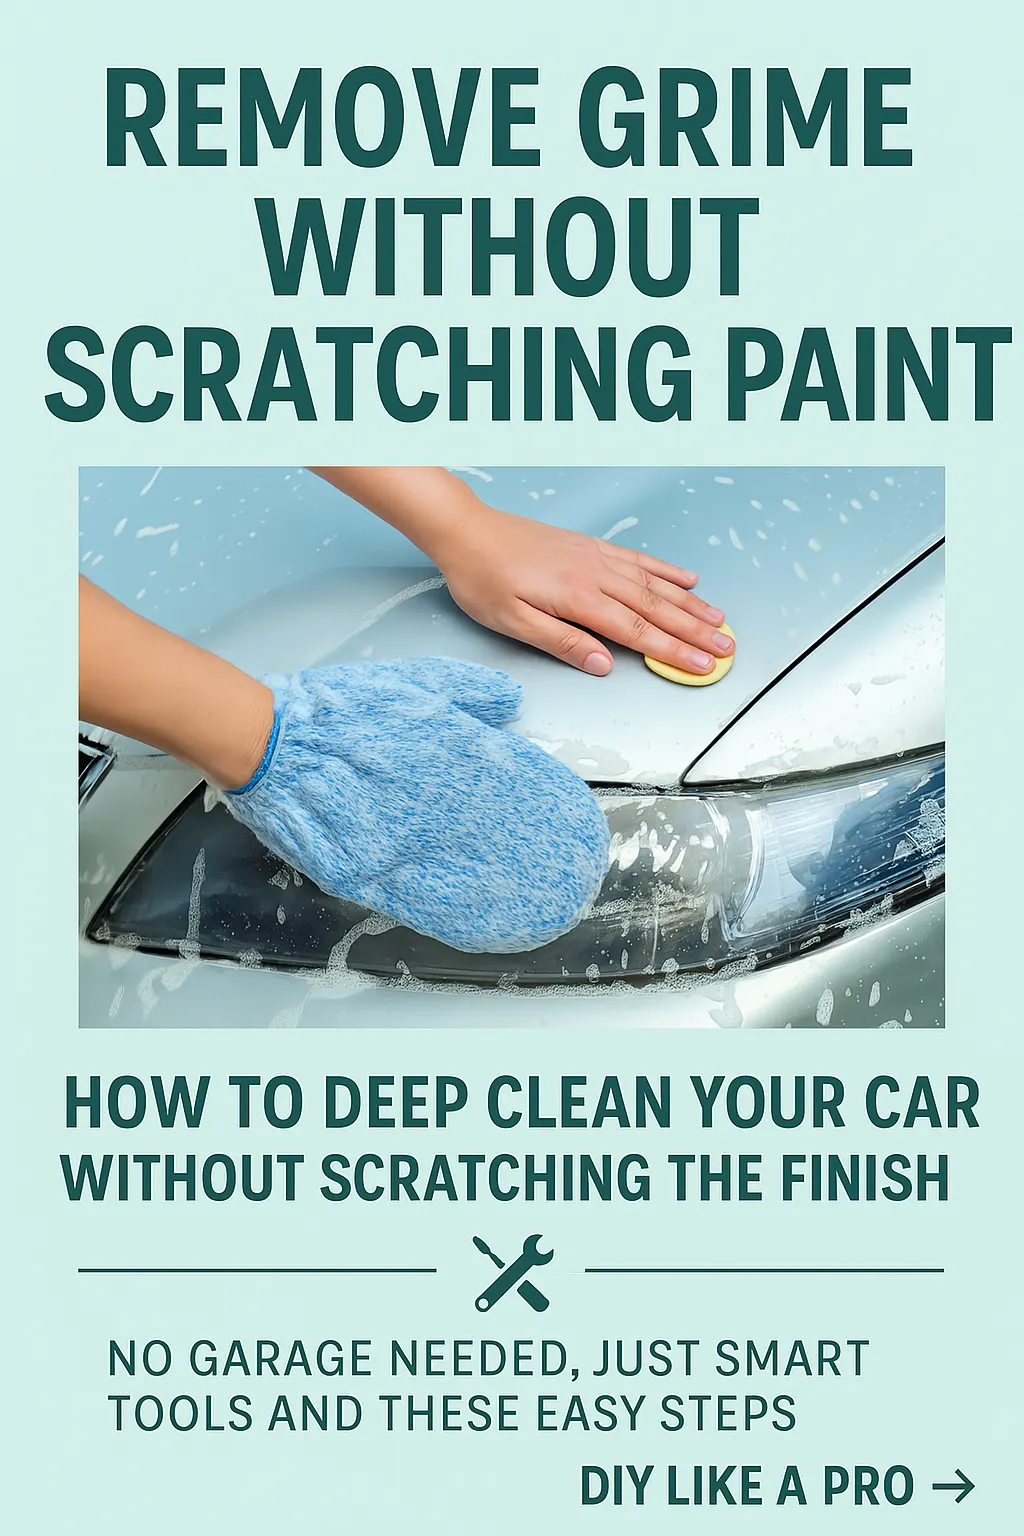
Step 1: Start With a pH-Balanced Car Shampoo
Never grab the dish soap. While it may cut grease in your kitchen, it’s too harsh for automotive finishes. You want a shampoo specifically designed for car paint—pH-balanced, wax-safe, and tough on dirt.
- Work in the shade to prevent soap from drying on the surface too quickly.
- Use the two-bucket method: one with soapy water, one for rinsing your mitt.
- Dry with a clean microfiber towel to avoid swirl marks.
Pro Tip: A foam cannon attachment can help apply shampoo evenly and loosen grime before handwashing.

Step 2: Clay Bar the Surface
Even after shampooing, paint can feel rough to the touch. That’s because embedded contaminants are clinging to the surface. A clay bar gently lifts those pollutants, creating a silky-smooth canvas for polishing or waxing.
How to Use a Clay Bar (Safely):
- Feel for Bumps: Place a plastic sandwich bag over your hand and glide it over your car’s paint. If you feel bumps, it’s time to clay.
- Apply Lubricant: Generously spray clay lubricant onto a small section of the panel.
- Glide the Clay: Move the clay in straight, gentle motions. Do not press hard.
- Fold Frequently: As the clay picks up contaminants, fold it to expose a clean side.
- Rinse and Dry: Wipe with a microfiber towel and rinse thoroughly.
Step 3: Polish for a Like-New Look
Once your paint is clean and smooth, it’s time to tackle those fine scratches and dull patches. Polishing corrects minor imperfections and restores clarity. If your car looks faded or patchy, this step can dramatically revive its depth and shine.
- Apply polish to a soft pad or car buffer set on low speed.
- Work in 2×2 ft sections with overlapping motions.
- Let the polish haze, then buff off with a clean microfiber towel.
Pro Tip: Always read product labels to ensure compatibility with your car’s paint type.
Step 4: Lock in Shine With Synthetic Wax
Traditional carnauba wax looks gorgeous—but wears off fast. Synthetic waxes provide a longer-lasting seal against UV damage, acid rain, and pollutants, all while giving your paint that smooth, glossy finish.
Our favorite: Meguiar’s Ultimate Liquid Wax. It glides on with minimal effort and buffs off without streaks—even in high humidity.
Long-lasting protection, deep gloss, easy application, and amazing value. What more could you ask for in a wax? Check price on Amazon
Application tips: Use a foam pad to spread wax in thin, circular coats. Let it cure for 10–15 minutes before gently wiping with a microfiber towel.
Best Car Detailing Products to Use at Home
Looking for trusted tools that won’t break the bank? These DIY-friendly products are rated highly by car enthusiasts and detailers alike:
- Clay Bar Kit: Removes embedded contaminants for silky-smooth paint.
- Foam Cannon: Helps coat the car evenly with shampoo for a contact-free pre-wash.
- Dual-Action Buffer: Speeds up polishing and reduces swirl marks.
- Microfiber Drying Towels: Super absorbent and gentle on paint—no streaks or scratches.
- pH-Balanced Shampoo: Won’t strip wax but still lifts grease and grit effortlessly.
These budget-conscious upgrades help you get pro results without stepping into a detailing shop.
Final Thoughts: How to Clean Grime Off Your Car the Right Way
You don’t need a garage full of gadgets or a pro-level budget to give your vehicle the VIP treatment. When done right, a DIY detail not only makes your car look incredible—it protects its paint, extends its lifespan, and boosts resale value.
Each step—from the foam cannon to the final wax—builds a deeper layer of protection that shields your vehicle from daily wear and environmental damage. And if you follow this guide once every couple of months, your car will always look like it just rolled off the lot.
Want more DIY auto care? Check out our 5 Ways Tinted Windows Protect Your Car article section for more budget-friendly, results-driven guides.
Share It With Your Ride-or-Dies
Know someone who’s still using dish soap on their ride? Help a fellow car-lover out! Bookmark this post or share it on Pinterest, Facebook, or your group chat. You’ll save their paint—and maybe even their pride.
FAQs About Cleaning Your Car Safely
What’s the safest way to remove grime without scratching?
Start with a foam pre-wash and use pH-balanced shampoo plus a microfiber mitt. Avoid circular motions when scrubbing—use straight lines instead.
How often should I use a clay bar?
Generally, every 3–6 months depending on where you live. If the paint feels rough, it’s time to clay again.
Is a buffer necessary for polishing?
Nope! It helps speed up the job, but you can hand-polish using a foam pad and some elbow grease.