Skip to Content

A DIY Guide in Making a Hare Mask

A rabbit or a hare mask can usually be seen worn by people during Easter and Halloween.

People who wear a hare mask usually choose such because the rabbit or hare spirit animal has always been a sign of wealth, prosperity, fertility, regeneration, new life, and immortality.

Due to its high capacity to breed and build heritage, the rabbit’s longevity significance seems to be very accurate.

Some may view the hare as a timid and glum animal, but it is proud and powerful because of its resilience and cunningness.

In addition, the hare mask signifies diligence, determination, enthusiasm, and benevolence, and all of those who wear or showcase this mask can adopt these values in their very own life.

Since there are not too many shops selling hare masks, you may very well make your own.

Making a hare mask is a fun, simple, and cheap way to prepare for Halloween, Easter, or just any type of masquerade party for children or adults.

You can choose whether you would like to make a hare mask that will cover your whole face, half of your face, or maybe just a tiny portion over your eyes. You can even add a ribbon, string, or stick to make it stylish after you make your hare mask to make it wearable.

If you are planning to wear your hare mask more than once, then there are some ways that you can do to preserve it.

You can get the kids (as well as the adults) to enjoy making their hare mask by following this very quick and easy step-by-step guide in making their very own hare mask.

You can get the kids (as well as the adults) to enjoy making their own hare mask by following this very quick and easy step by step guide in making their very own hare mask.

A DIY Guide in Making a Hare Mask

Design your own hare mask.

You can choose the material you would like your hare mask to be made with. Cardstock would be the suitable material for you to make it, or you can also opt to use heavy cardboard or even a sturdy paper sheet.

You can create a hare mask to cover your eyes, half your face, or the whole of your face.

To make it easier for you, you can print a template for the hare mask or draw it directly to the cardstock. To have a symmetrical face mask, you can fold the paper in half and just draw first the half of the mask.

Put it in the window and draw the form on the other half of your paper. And while your mask is still folded, you can cut out the half-shape, just make sure the middle is along the fold, or you will end up with two distinct halves.

Draw eye holes and a mouth hole if needed. Hold the hare face mask in front of your face first, then use a pencil to create a tiny mark on the area in front of your eyes to make sure the eye holes are in the correct location. Then you will be able to draw the eyes throughout the mark. And you can also do the same in making a mouth if you do a full-face hare mask.

In cutting out the two holes for the eyes, you can use an X-Acto knife or make use of a razor blade. If you have chosen to create a full-face mask, you should also cut out the mouth hole.

If you do not have an X-Acto knife or razor blade, you can still cut them out with scissors (although more difficult). If you are using scissors, just fold the mask and cut a tiny hole across the area where you want to cut the eye. Then you can put the scissors to cut the rest of the eye form through the hole.

Do not cut out the entire hare mask yet. Leave the additional paper around the form if you realize that you want a bigger one while decorating.

Put decorations on your hare mask.

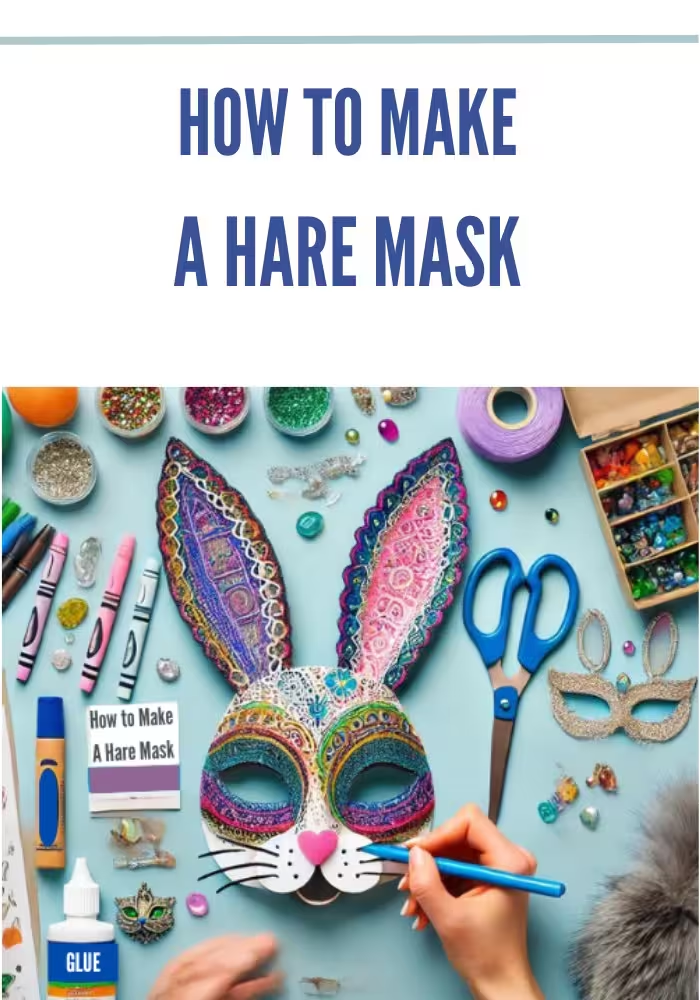
Use markers, crayons, and paint to color your mask. And if you have the shape of your mask, you can start by designing its base color.

You can even use any material to create your design, but it works best with paint, markers, and crayons. You can make it a solid color or attach designs like stripes, stars, or polka dots.

Bear in mind that markers with strong fumes can irritate your nose.

Chalk and pastels can also easily be rubbed off, and the tiny particles may hurt your eyes.

You can also put some glitter, jewels, furs, or any other decorations that you have at your disposal. You can set your additions on your hare mask once you have completed your base layer of color.

Use white craft glue to attach the additional decorations to your hare mask as it is water-based and less likely to aggravate your skin or eye. Craft glue is flexible, so your mask can still be formed around your face when it is already dry.

Be cautious not to put heavy or too numerous decorations on your hare mask. If it is too much or if there are a lot of additions, it could weigh down the paper, making it hard for the mask to keep its form. Too much extra weight will make it hard for the mask to stick over your face.

Make sure to dry your hare mask entirely. Let it dry completely first before doing anything else with your mask. You can leave it overnight if necessary. Your mask will be ruined even before you wear it if you already use it before it is completely dried out.

Make your hare mask wearable.

You can use a scissor or an X-Acto knife or a razor blade will also do to cut out the shape when you are done decorating your hare mask. Be cautious not to cut off any of your attached furs or additions.

If you want to simplify the cutting with scissors, you just bend the paper.

If you want, you can also put a ribbon on your hare mask as a design and tie your hare mask to your face. Get two ribbons, and each piece will be about a foot long.

Glue the inside part of your mask with the ends of the ribbon. Start the ribbon outside your eyes, and then stick it to the edge of your mask. You can also punch holes in the area between your eyes and the bottom of your mask if you have a hole punch.

Then through the hole, you should slip the ribbon and bind it in a snug loop. It is not a secure option if you will stack your ribbon. It might come loose and could scratch your eye. Pull it around your head and tie it in the back to wear your mask once you have connected the ribbon or string.

If making use of ribbon is not your cup of tea, then you can opt to make use of some heavy-duty string to make the tie wear your mask.

You can use a chopstick to create a handle if you want to keep your mask to your face instead of tying it around your head.

Glue the handle to the mask’s back. White glue will be good as long as it is generously applied. Before you add it to your mask, you can make your handle plain or decorate it with paint or markers.

How to preserve your hare mask.

If you wish to wear your mask more than once, keeping it dry is essential. Because the hare mask is made of paper, it is easy to tear if you get it wet.

If you are going to wear your hare mask in a very warm and humid atmosphere, and you are scared that you might sweat on your mask, then you can glue a plastic wrap or line the inside part of your mask with scotch tape to avoid your mask from soaking up sweat.

It would also be better to store your mask in a flat position to avoid it being squished or crumpled. You may put it on a shelf rather than in a drawer.

To safeguard it from dust, you must put your hare mask in a container with a cover.

Dust can destroy your mask quickly, particularly if glitters or furs are attached to it.

If you intend to use your hare mask for a more extended amount of time, you should make sure that it is covered. A shadow box frame is a fantastic way to maintain it tidy while it is on display – that is, if you want to use it as a decoration.

Just spray your mask with aerosol hairspray and let it dry to avoid your design from wiping or falling off.

error: Content is protected !!