I received a Rowenta Travel Iron in exchange for this post. All opinions are my own and my love for ironing tips remain my own.
Announce it’s Arts and Crafts Time and capture my heart forever.
I love the commercial with the popular wireless phone company confessing to love affairs with bedazzles.
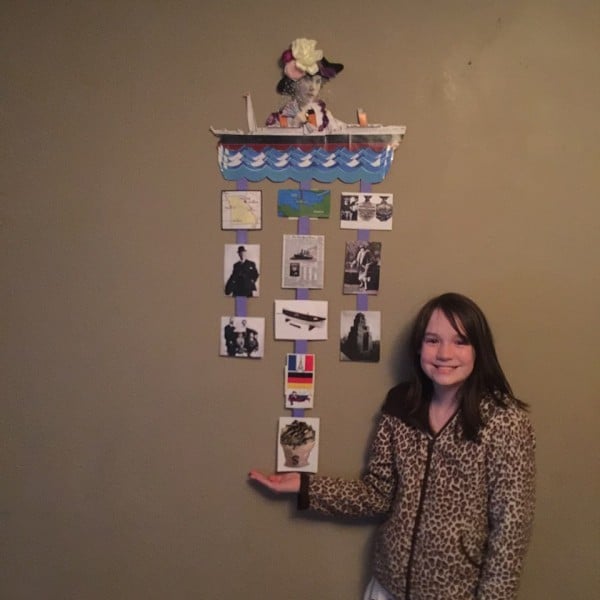
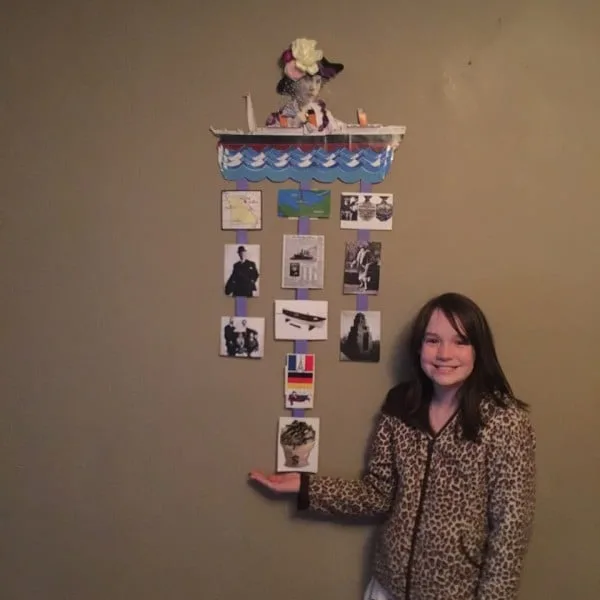
We’ve busted out our glue guns to create some projects for Miss M’s history classes:
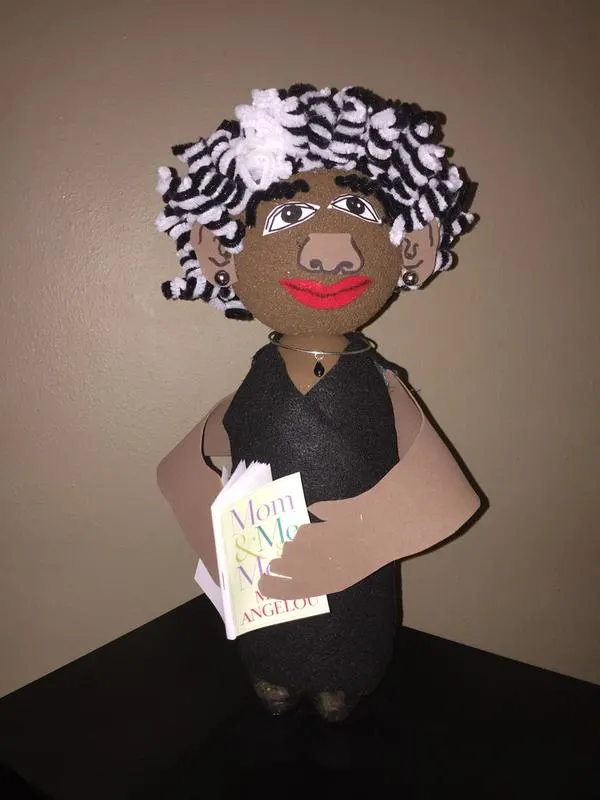
There was Black History Month and her Maya Angelou History Bottle Buddy:


Rowenta First Class Compact iron offers a sleek ergonomic design that provides comfort while ironing, and the Micro steam stainless steel soleplate has superior glide and a precision tip for faster, easier ironing.
And suppose it couldn’t get any better, in a couple of weeks, right in the middle of National Craft Month, according to Martha Stewart. In that case, we’re heading to a hotel, and the Rowenta First Class Compact iron can come to thanks to its True dual voltage and the handle that folds flat for compact storage.
Rowenta is the leader in garment care essentials, and the brand offers a long list of products that can be used to add finishing touches to many creative projects.
Iron out visible wrinkles in a monogrammed pillow sham with the Rowenta Pro Master Iron, or diminish creases in a hand-sown kitchen curtain with the Rowenta First Class Travel Iron.
It’s a brand that I love in its full size–you may remember we used it for the Halloween Witch Banner craft, and I’ve made Costume Contest Winning Costumes using a Rowenta iron.
I love this miniature creation by Rowenta.
Its pint size is easy to maneuver, and still, it delivers the same high quality as my larger Rowenta.
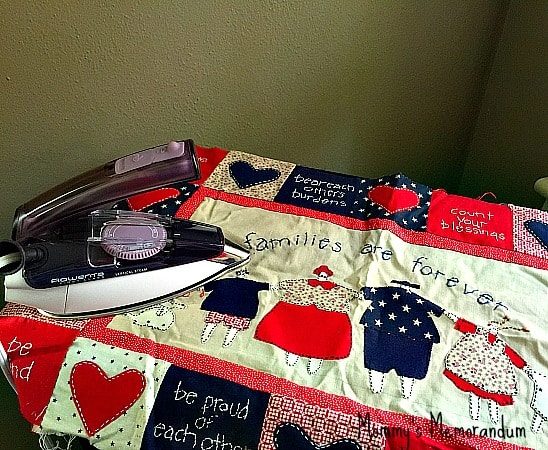

Getting ready to put the final touches on my Families are Forever Applique Craft project
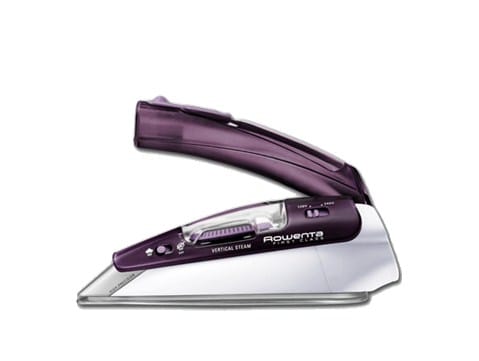
Rowenta First Class Travel Iron ($33.90) Features:
Highly polished micro steam stainless steel soleplate provides a smooth surface with superior glide.
It is not a fully dry iron but a regular steam iron. There is a lot of difference between steam and dry iron.
High precision tip delivers steam and presses into hard-to-reach areas.
Vertical steam removes wrinkles from drapes and hanging garments.
The folding handle folds flat for storage.
Mrs. Keck taught me to iron long ago when I was a nanny.
I was fascinated by her grace and precision.
It is a chore I enjoy, whether I’m crafting or just getting an outfit ready.
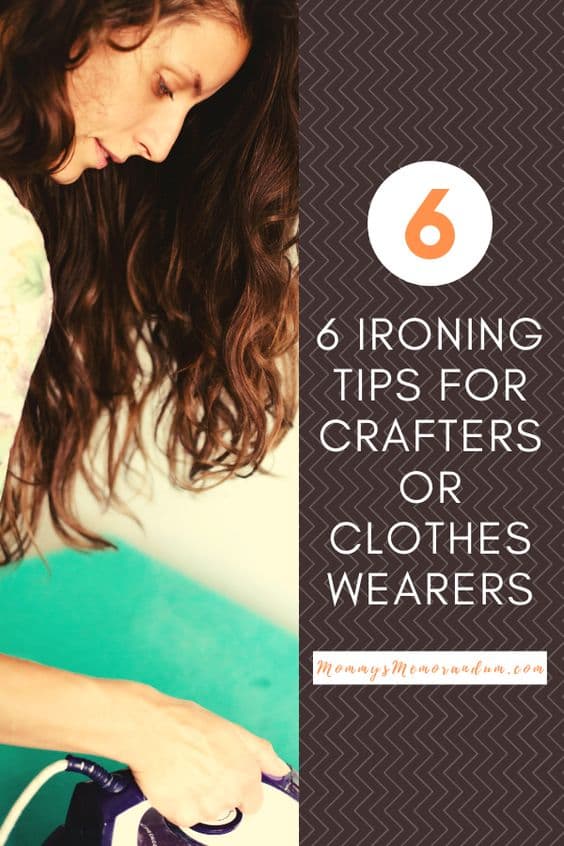
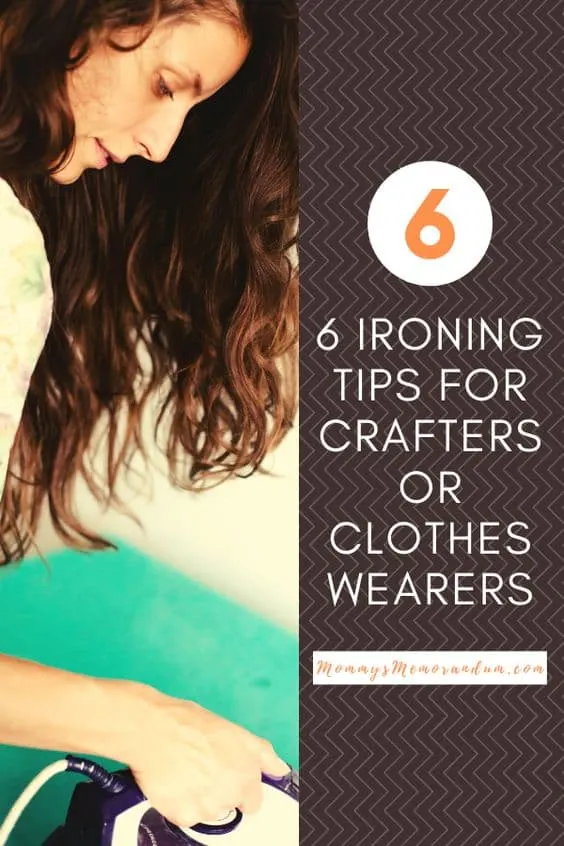
6 Ironing Tips to make the most of your time with the Iron:
To reduce shine caused by over-pressing or wear, soak a press cloth in water and then ring it out.
Place the damp cloth on top of the shiny surface and press down.
Repeat several times, then use a soft brush to raise the fabric’s nap.
For razor-sharp creases, iron the crease and then set it with a burst of steam.
Gathers and ruffles should be ironed on the side, from the outer edge toward the center or middle of the gathers.
If the material is too difficult to maneuver on an ironing board, hang your garment and use a vertical burst of steam.
Pleats should be ironed from the bottom, starting with the inside of the pleat, then moving to the outside.
If necessary, pin pleats to the ironing board at the top and bottom; avoid ironing over the pins.
To set pleats, use a burst of steam.
Seams should first be flattened and then ironed.
Iron the inside length of the seam and then press the outside of the seam.
Cover them with the spoon bowl and press the surrounding fabric when ironing over delicate buttons.