Argh! Pirate Hat Tutorial!

My Li’l Man loves to use his imagination. Today he was playing “Pirate” and as I watched him I realized, “He needs a really cool hat”…so I set to create. It took about 10-minutes (start to finish) to make and he’s been playing with it for over an hour now!

Ours is made out of black felt, but you can use paper–my mock-pirate-hat was and it worked GREAT!
Use this pattern. It is folded in half to fit on my scanner. The length measures 14.5″ and the height is 4.5″
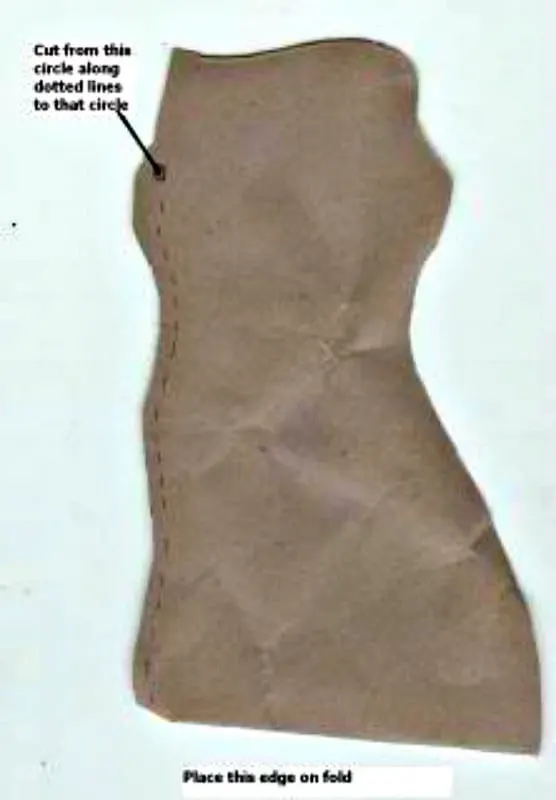
You’ll want to measure 1.5″ on each side on the bottom. You will cut between these markings to make the “hat” opening.
Trace your pattern on to felt or paper.
I traced the whole thing, rather than use the fold to give you an idea of how it will look.
It should look something like this when you are finished:
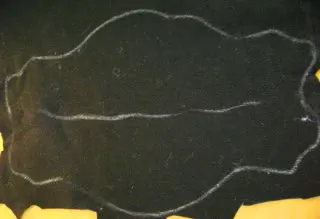
Cut it out.
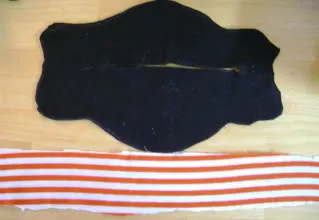
Now, cut a strip of fabric (I used a knit) about 4″ wide and long enough to tie around your child’s head, like a dew rag)
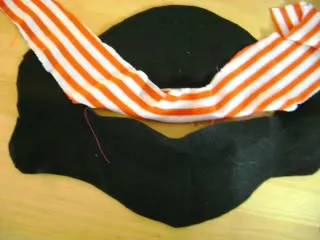
Fold hat and strip of fabric in half and line up together.
Sew one edge of the fabric to the wrong side of the felt, along with the “cut” for the “hat”.
Turn hat over and decorate it however you want. We made a skeleton and bones!
Then place head through the slit in center and tie the “bandana” on to secure the hat in place!
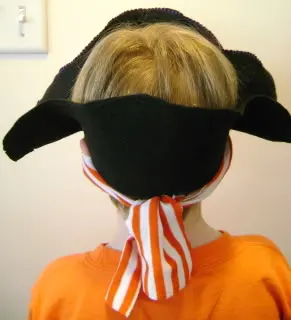
You’re done!
