
Chalkboard Flower Pots
These chalkboard flower pots are an easy DIY teacher gift made with a terra cotta pot, chalkboard paint, acrylic paint, ribbon, chalk, and a pretty plant so kids can give a sweet, useful “thank you for helping me grow” gift.
This simple flower pot craft is beginner-friendly, budget-friendly, and easy to personalize for teachers, Mother’s Day, spring gifts, Easter baskets, summer porch plants, or a thoughtful last-day-of-school surprise.
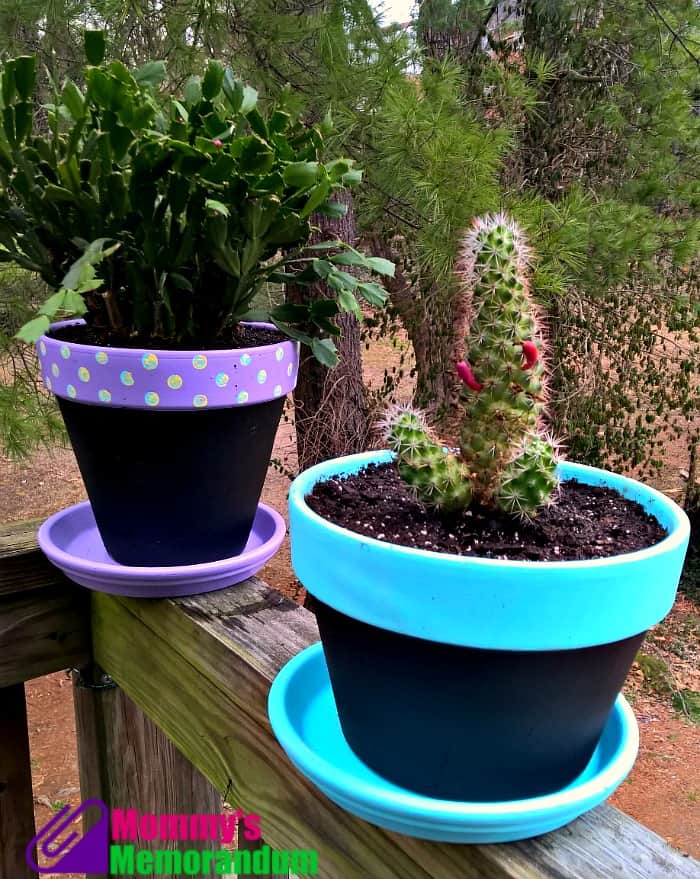
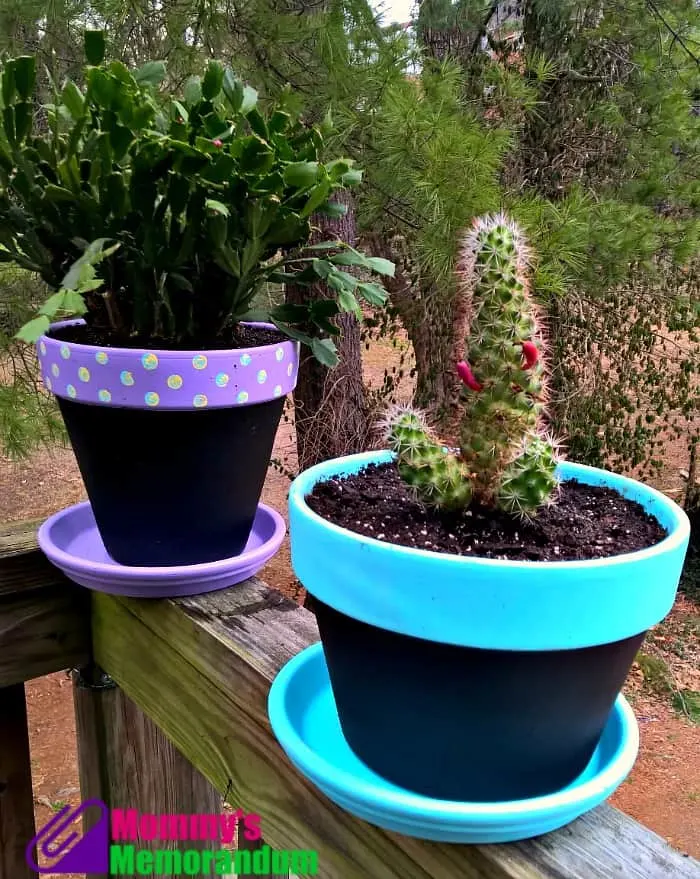
Chalkboard Flower Pots Teacher Gift
If you need a cute handmade teacher gift that does not require advanced crafting skills, this chalkboard flower pot project is a keeper. The chalkboard-painted section makes the pot personal and reusable, while the plant adds the “helping me grow” message without needing a lot of extra fuss.
The original idea was chosen by The Divine Miss M as a last-day-of-school gift for her teacher, and it still has all the charm of a kid-made project with just enough polish to feel special. You can keep it simple with chalk and ribbon, or dress it up with a plant pick, scrapbook paper, cardstock, and embellishments.
Why You’ll Love This Chalkboard Flower Pot Craft
- It is easy to personalize. Write a teacher’s name, “thank you,” “welcome spring,” or a short message right on the chalkboard paint.
- It works for more than teachers. Use it for Mother’s Day, Easter, birthdays, porch plants, classroom gifts, or summer party favors.
- Kids can help. Painting, tying ribbon, choosing colors, and writing with chalk make this a fun parent-child craft.
- It feels thoughtful without being complicated. A simple terra cotta pot becomes a keepsake with just paint, chalk, and a plant.
- It is practical. The recipient can keep the plant, change the message, or reuse the pot later.
Supplies for Chalkboard Flower Pots
You do not need fancy craft supplies for this project. Most of the fun comes from choosing the paint colors, ribbon, and little details that make the pot feel personal.
- Terra cotta pot and saucer in the desired size
- Terra cotta spray sealant for the pot
- Chalkboard paint
- Painter’s tape
- Acrylic paints in desired colors
- A couple of pieces of chalk
- Ribbon
- Cardstock, both colored and white
- Decorative paper or scrapbook paper
- Embellishments such as paper flowers, rhinestones, stickers, or buttons
- Bamboo skewer or craft stick
- A pretty plant or flower
Helpful tip: If you know the teacher’s favorite color, use it for the rim, saucer, ribbon, or plant pick. It makes a simple flower pot gift feel extra thoughtful.
How to Make Chalkboard Flower Pots
These chalkboard flower pots come together in two parts: painting the pot and, if you want to add one, making the optional plant pick. The plant pick is especially sweet for teacher gifts because it gives you a place to add a short “thank you for helping me grow” message.
For the Flower Pot and Saucer
- Seal the pot. Spray terra cotta spray sealant on the inside and outside of the pot and on the saucer. Let it dry completely before painting.
- Paint the chalkboard section. Paint the bottom portion of the pot with chalkboard paint. I did not bother painting the inside of the pot. You may need a couple of coats to get good coverage.
- Tape the rim. Use painter’s tape around the pot just under the rim to help keep a straight line.
- Paint the rim and saucer. Paint the rim of the pot and the saucer with acrylic paint in your chosen color. Add a second coat if needed.
- Let everything dry. Allow the pot to dry fully before adding chalk writing, ribbon, or the plant.
Optional Plant Pick for a Teacher Gift
- Print your saying. Print your message on white cardstock using a fun font. A sweet teacher gift phrase is: “Miss _____, Thank You for Helping Me Grow. Love, _____.”
- Layer the cardstock. Cut the printed white cardstock to size and adhere it to scrapbook paper and colored cardstock.
- Add embellishments. Decorate the plant pick with paper punched flowers, rhinestones, stickers, buttons, or other small craft embellishments.
- Add the skewer. Cut another piece of colored cardstock for the back of the plant pick. Glue the front and back together with the bamboo skewer sandwiched in between.
- Place the plant inside. Keep the plant in the pot it came in and set it inside the painted chalkboard flower pot.
- Add the plant pick. Stick your finished plant pick into the plant.
- Write on the pot. Use chalk to write “Thank You,” the teacher’s name, or a short message on the chalkboard-painted section.
- Tie on the chalk. Take two new pieces of chalk and tie a pretty ribbon around them for a finished gift look.
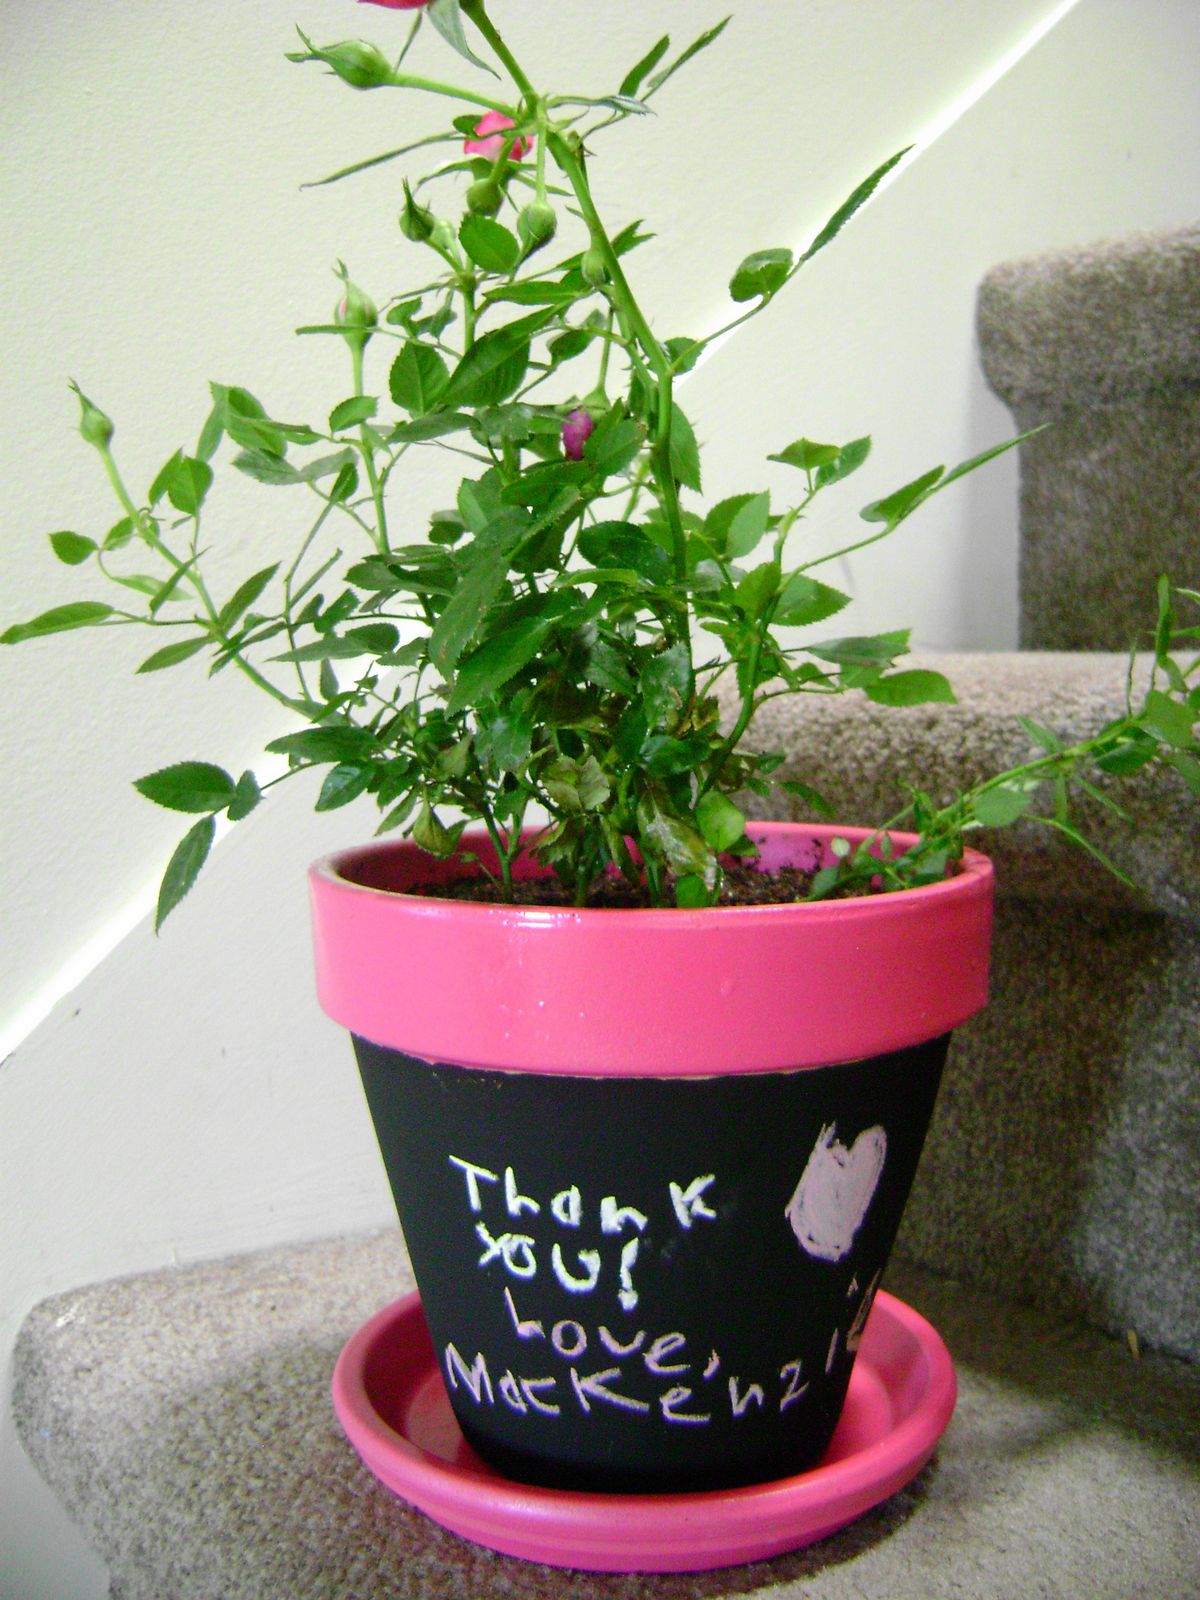
Our Chalkboard Flower Pot Project
The Divine Miss M selected this project to give to her teacher on the last day of school. We modified the instructions slightly and used spray paint.
It worked well.
We did not make a pick, which is sad really, because the plant pick is such a cute way to add the “helping me grow” message.
This was a Father-Daughter Project. I was not involved at all.
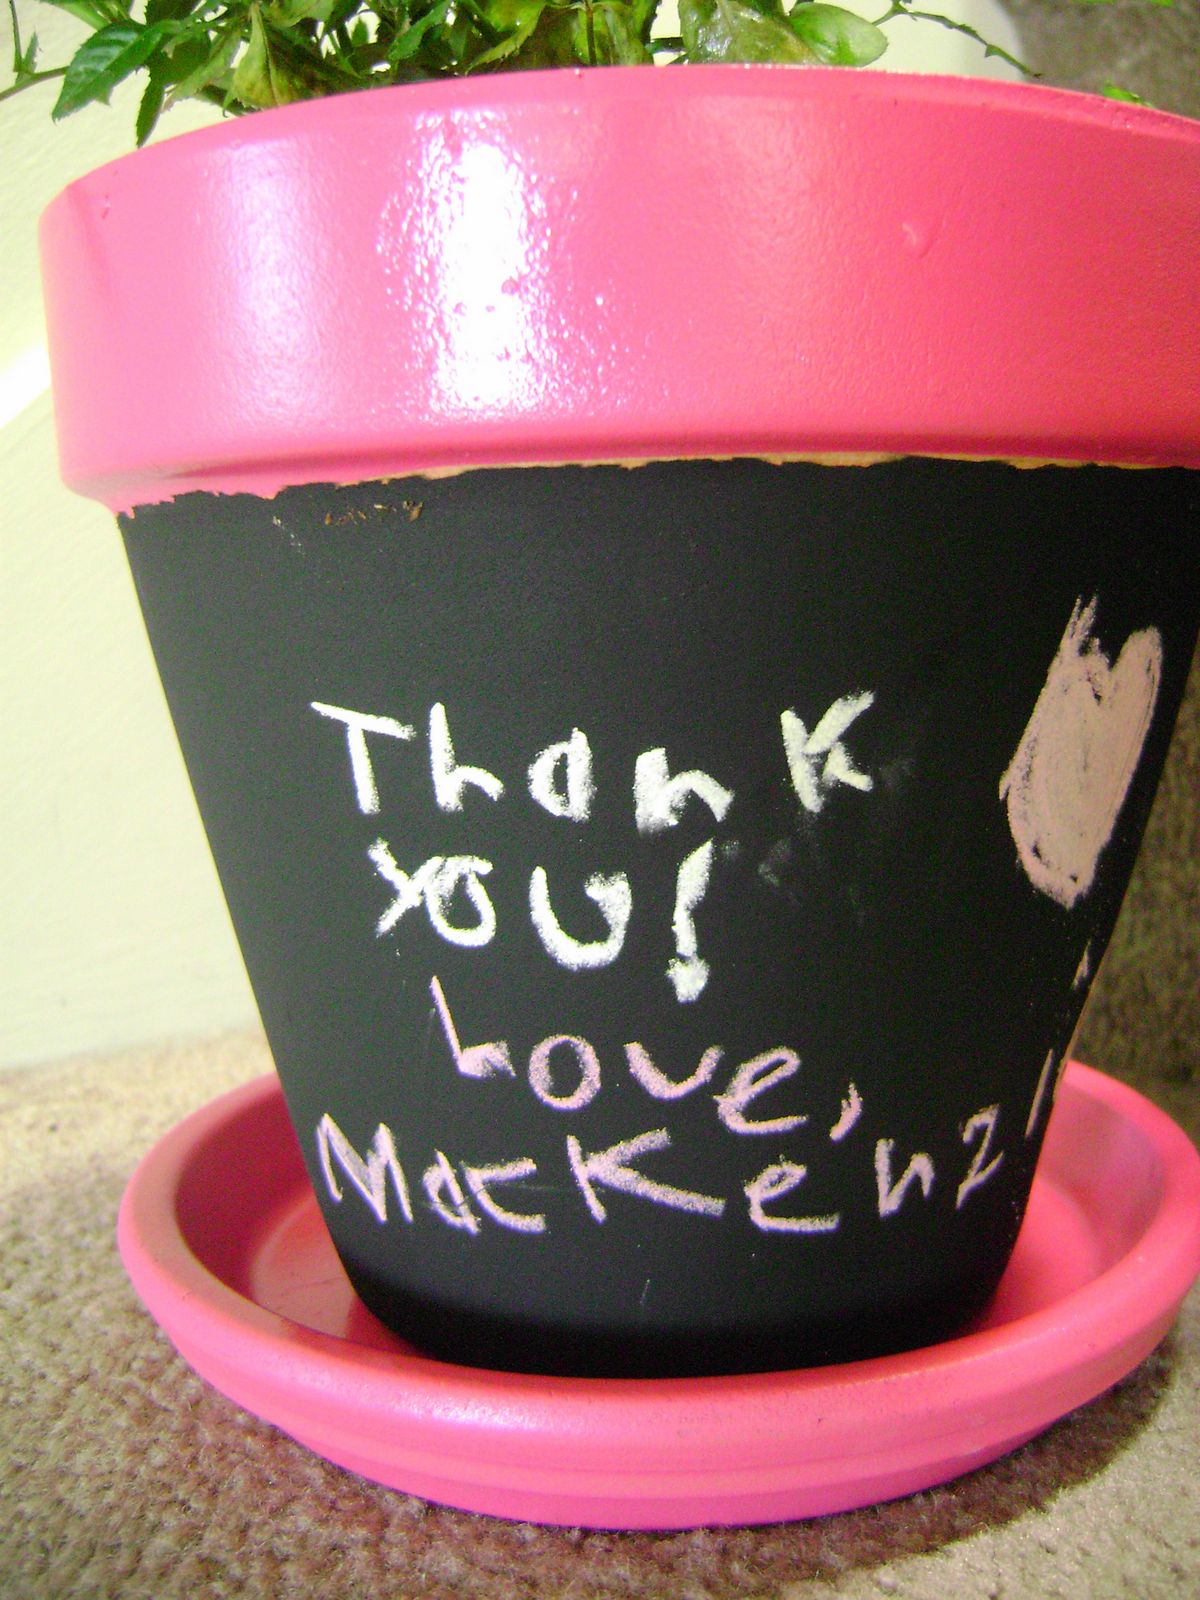
Here’s our pot.
Tips for the Best Chalkboard Flower Pots
- Seal the terra cotta first. Terra cotta is porous, so sealing helps the paint go on better and last longer.
- Use thin coats of paint. Several light coats usually look smoother than one heavy coat.
- Let each layer dry. Chalkboard paint needs time to cure before you write on it, so check the label on your paint.
- Keep the plant in its nursery pot. This makes watering easier and helps protect the painted pot.
- Add chalk as part of the gift. Tying two pieces of chalk with ribbon makes the gift feel finished and useful.
Troubleshooting Chalkboard Flower Pots
Why is my paint peeling off the terra cotta pot?
Paint can peel if the pot was dusty, damp, unsealed, or painted too heavily. Wipe the pot clean, seal it first, and use light coats of paint for better results.
Why does the chalkboard paint look streaky?
Chalkboard paint often needs more than one coat. Let the first coat dry fully, then add another thin coat for smoother coverage.
Can I write on the pot right away?
It is best to let chalkboard paint cure according to the paint label before writing on it. Once cured, gently rub chalk over the surface and wipe it off to condition the chalkboard area.
What if I do not have a bamboo skewer?
A craft stick, paper straw, floral pick, or even a sturdy piece of cardstock can work for the plant pick.
Perfect With Summer and Fourth of July Crafts
These chalkboard flower pots are sweet for spring teacher gifts, but they also make charming summer porch planters and kid-friendly party crafts. For a patriotic twist, paint the rim red, white, or blue and let kids write their own messages in chalk.
Pair this project with Crafty and Fun Fourth of July Activities or Summer Fun Activities for July 4 for an easy backyard craft table, summer playdate, or family holiday activity.
Chalkboard Flower Pot Variations
Once you know how to make a basic chalkboard flower pot, you can change the colors, message, and plant to fit almost any occasion.
- Teacher appreciation flower pot: Write “Thank You for Helping Me Grow” on the plant pick and “Thank You” on the chalkboard section.
- Mother’s Day planter: Use soft pink, lavender, cream, or yellow paint and add “Mom,” “Nana,” or “Grandma” in chalk.
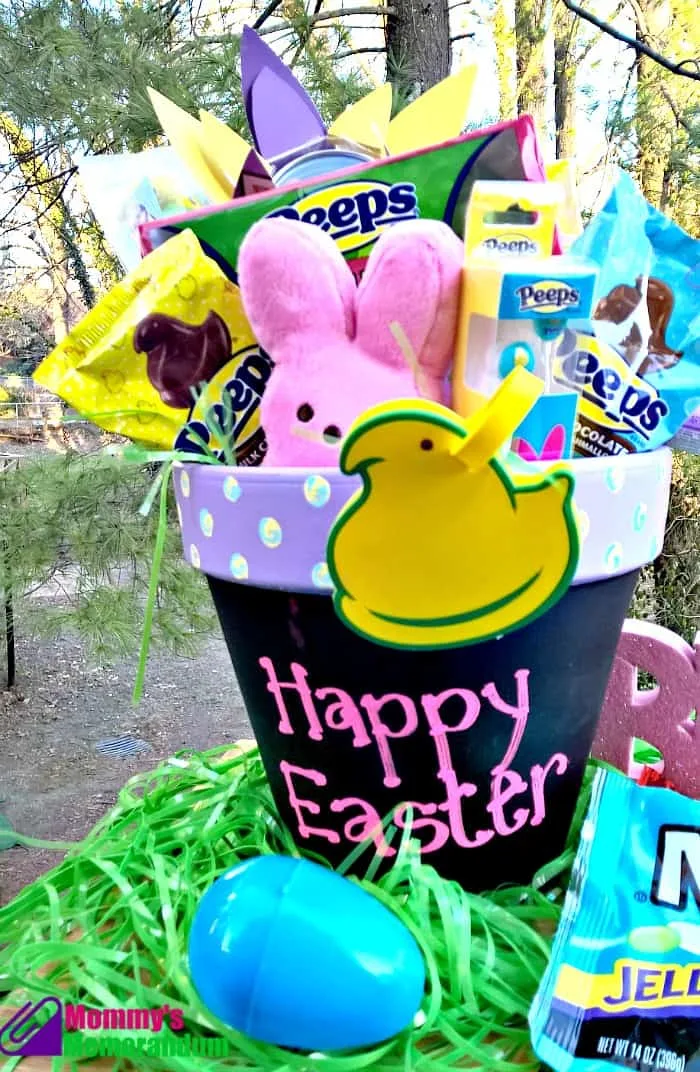
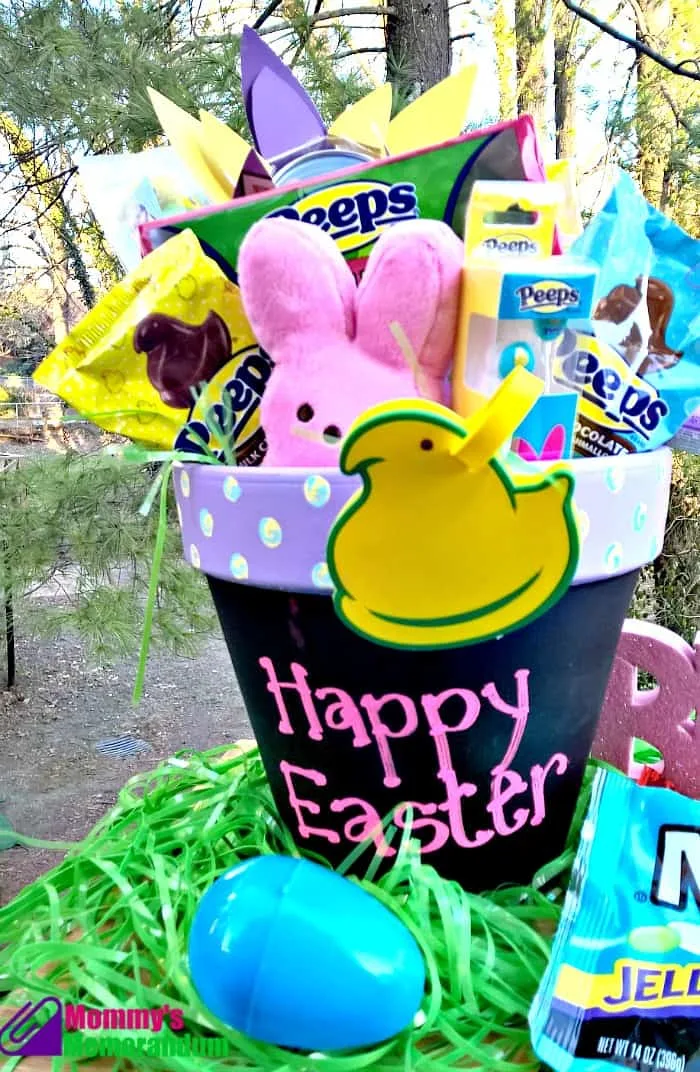
- Easter basket planter: Fill the pot with a spring flower, pastel ribbon, and Easter candy tucked around the plant.
- Fourth of July planter: Use red, white, and blue paint or ribbon and add a small flag for a festive porch pot.
- Herb garden pot: Use chalk to label basil, parsley, mint, rosemary, or thyme.
- Classroom gift: Let each child decorate a small pot and add a name or short message in chalk.
Easter Basket Flower Pot Idea
We also love the option of turning this into an Easter basket-style planter. It is still a flower pot, but the candy and spring colors make it feel extra fun for kids.
Everyday Chalkboard Planter Idea
Chalkboard flower pots are also great for everyday plants. The chalkboard section lets you label herbs, write a short greeting, or change the message with the season.
Best Plants for Chalkboard Flower Pots
Small plants work best because they are easy to set inside the painted pot while still in their nursery container. Choose something cheerful, sturdy, and easy for the recipient to care for.
- Mini roses
- African violets
- Succulents
- Small herbs such as basil, mint, or parsley
- Marigolds
- Petunias
- Pansies
- Small seasonal flowers from the garden center
Make-Ahead Tips
You can paint the flower pots a few days ahead of time and add the plant, chalk, ribbon, and plant pick right before gifting. This is especially helpful if you are making several chalkboard flower pots for teachers, neighbors, or classroom helpers.
If kids are helping, do the sealing and base painting ahead of time. Then let them help with ribbon, chalk messages, plant picks, and embellishments.
Storage and Care
If you are not gifting the pot right away, store the painted pot in a dry place and wait to add the plant until the day before or the day of gifting. Keep the plant in its original nursery pot so water does not sit directly against the painted terra cotta.
To clean the chalkboard area, gently wipe it with a soft cloth or slightly damp paper towel. Avoid scrubbing the painted surface too hard.
More Easy Craft Ideas
If you enjoy handmade projects with personality, these simple craft ideas are fun to make next:
- Tutorial: Chalkboard Flower Pots
- HERSHEY’S KISSES Roses DIY
- Tutorial: How to Make a Pioneer Doll
- Halloween Drawstring Bag
For seasonal family fun, you can also browse more ideas in Fourth of July and Summer Recipes and Party Ideas.
FAQs About Chalkboard Flower Pots
What kind of paint do you use on terra cotta flower pots?
Use chalkboard paint for the writable section and acrylic paint or spray paint for the decorative rim and saucer. Sealing the terra cotta first helps the paint adhere better.
Do you have to seal terra cotta pots before painting?
Sealing is recommended because terra cotta is porous. A spray sealant helps create a better surface for paint and may help the finished pot last longer.
Can kids make chalkboard flower pots?
Yes, kids can help with painting, choosing colors, decorating plant picks, tying ribbon, and writing messages in chalk. Adults should handle spray sealant and supervise painting.
Are chalkboard flower pots good teacher gifts?
Chalkboard flower pots make wonderful teacher gifts because they are personal, practical, and easy to customize with a “thank you for helping me grow” message.
Can I use spray paint instead of acrylic paint?
Yes. We used spray paint for our project, and it worked well. Use it in a well-ventilated area and follow the directions on the can.
What should I write on a chalkboard flower pot?
Try “Thank You,” “Thanks for Helping Me Grow,” the teacher’s name, the child’s name, the plant name, or a seasonal message such as “Happy Spring.”
Can I plant directly inside the painted pot?
You can, but it is easier to keep the plant in the nursery pot and set it inside the painted flower pot. This helps protect the paint and makes watering simpler.
Final Thoughts
There is something extra sweet about a gift a child helps make. These chalkboard flower pots are simple, a little messy in the best way, and easy to personalize for the person receiving them.
Whether you make one for a teacher, turn it into an Easter basket planter, use it for herbs, or set it out on the porch for summer, the chalkboard detail makes it feel fun and personal every time.