Is it possible to do Balayage at home? Yes! This super-easy guide will teach you how to DIY Balayage your hair at home.
Embracing the allure of stunning hair is an evergreen pursuit. Now, achieving that coveted Balayage look within the confines of your own home is not only a possibility but a delightful venture. This comprehensive guide aims to demystify the art of DIY Balayage, enabling you to transform your hair into a cascade of beautifully sun-kissed strands.
In a world where the right hairstyle coupled with a mesmerizing hue can imbue us with unwavering confidence, the importance of hair aesthetics cannot be overstated. Trends in hair are as dynamic as they come, with the digital landscape offering an endless array of inspiration. Social media platforms, and notably Pinterest, have evolved into veritable treasure troves for the latest hair color trends, rendering staying in vogue a breeze.
For those uninitiated, the concept of balayage involves a sophisticated technique that engenders highlights in a manner that mirrors nature’s play of light on hair. A borrowed term from the French language, “balayage” translates to “sweep” or “paint,” both of which encapsulate the essence of this art. Think of balayage as the conduit to infusing your hair with a perpetual summer glow reminiscent of lazy days spent on sun-drenched shores.
The core philosophy underpinning balayage revolves around harmoniously blending delicate strands of hair, typically a shade or two lighter than your base color, with the rest of your mane. The result? A symphony of hues that cascade seamlessly, eschewing the stark contrast of traditional highlights. The beauty of balayage lies in its capacity to defy the confines of a distinct demarcation line; instead, it embraces a subtle gradation of colors that appear to have been naturally bestowed by the sun’s caress.
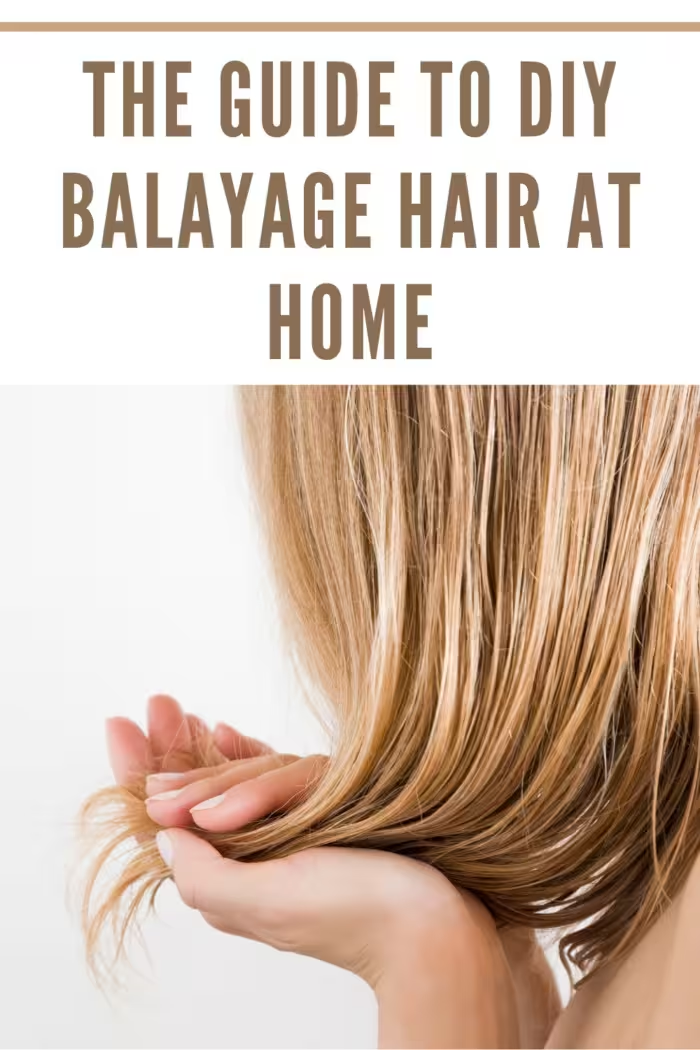
As the sun-kissed radiance commences further down the strands, the overall effect is one of continuity and grace. Moreover, the beauty of balayage extends beyond its aesthetic allure. Minimal maintenance is the order of the day; this technique’s inherent subtlety and blend ensure that you can revel in its charm as it gracefully grows out over time.
So, if you’ve ever contemplated infusing your tresses with the brilliance of balayage, this guide is your passport to embarking on an artistic journey within the realm of hair coloring. As you peruse the steps and techniques detailed here, you’ll find that recreating that coveted beach-inspired, effortlessly sophisticated look is well within your reach. With a few tools, a touch of patience, and a dash of creativity, you’ll soon discover that the art of DIY Balayage is both accessible and empowering.
Celebrated by Elle Magazine as a transformative innovation in the realm of hairstyling, balayage has emerged as a trailblazer that has redefined how we perceive and achieve captivating hair hues.
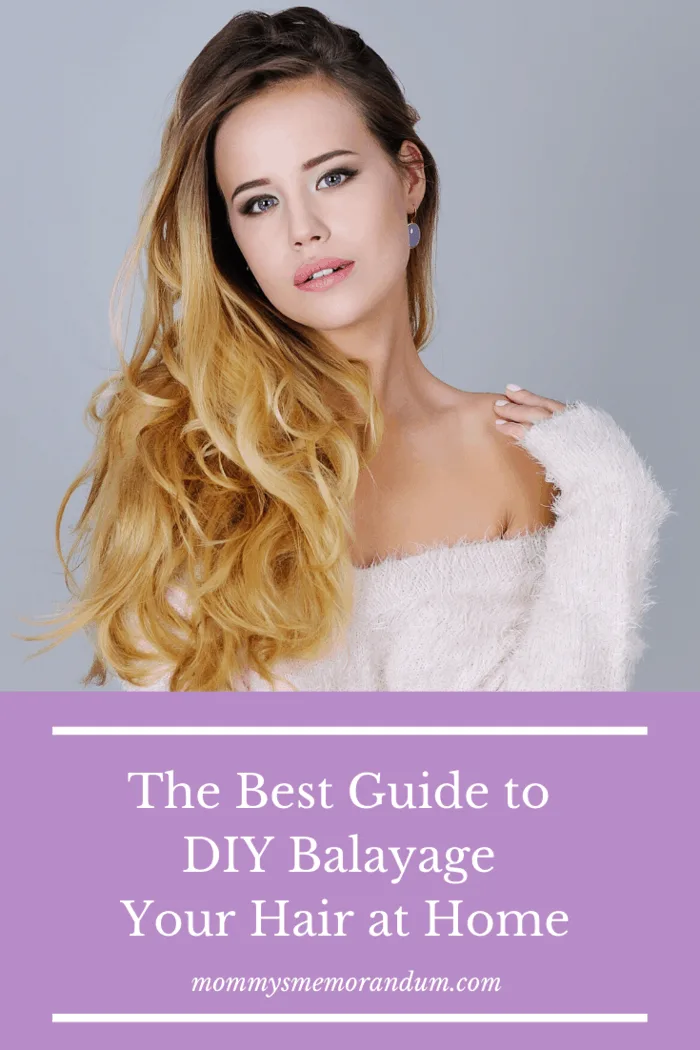
The allure of balayage lies not only in its ability to accentuate the beauty of one’s locks but also in its unique methodology, which elegantly sidesteps the use of traditional bleach or foils. This unconventional approach to hair coloring has revolutionized the way we think about highlights, fostering a subtler, more naturally blended result that effortlessly mimics the play of sunlight on hair strands.
When you must reinvent your hairstyle, the prospect of adopting balayage should undoubtedly be on your radar. This technique transcends the conventional, breathing new life into your appearance by imparting an air of sophistication and allure that’s synonymous with this innovative approach.
However, the enchantment of a balayage transformation does come at a cost—one that might, unfortunately, leave your wallet feeling a tad lighter. Depending on your location and the salon you choose, the investment for a professionally executed balayage can surge up to a substantial $150 or more. While the investment in your appearance is undoubtedly worth it, the financial constraints that accompany this decision might not always align with our budgets.
Fret not, for there exists a solution that marries both beauty and budget-consciousness—embarking on a journey of DIY balayage. Delve into the world of at-home hair coloring with the aid of our meticulously crafted, effortlessly comprehensive guide. This guide dismantles the mystique of balayage, making it accessible and achievable within the confines of your own abode.
Unlocking the secrets to crafting a superlative balayage effect at home, our guide enables you to partake in the artistic process of hair transformation. From choosing the right shades to mastering the techniques that render balayage so captivating, you’ll find yourself equipped with the knowledge and tools to execute this trendsetting hair endeavor.
Intriguing, empowering, and cost-effective, this guide is your passport to not only embracing the enchantment of balayage but also reveling in the satisfaction of having achieved it with your own hands. Embark on this DIY balayage journey, and emerge not only with beautifully highlighted hair but also with a newfound sense of accomplishment.
What is the Difference Between Ombre and Balayage?
The main difference between ombre and balayage is that ombre is a technique that results in a gradual fading from dark to light, while balayage is an artful free-hand painting technique. Ombre can be more structured with definite lines of demarcation, while balayage is more blended and natural. Additionally, ombre utilizes a larger section size when bleaching or coloring the hair, while balayage is focused on smaller sections.
Ombre, which also borrowed its name from the French language, means shading or shaded. Ombre Hair goes from lighter hair at the ends into a darker shade at the roots. While balayage is a technique, ombre is the effect or the result. You can achieve the ombre effect using the balayage technique. Some salons achieve the ombre look simply by dip-dyeing your ends a few shades lighter.
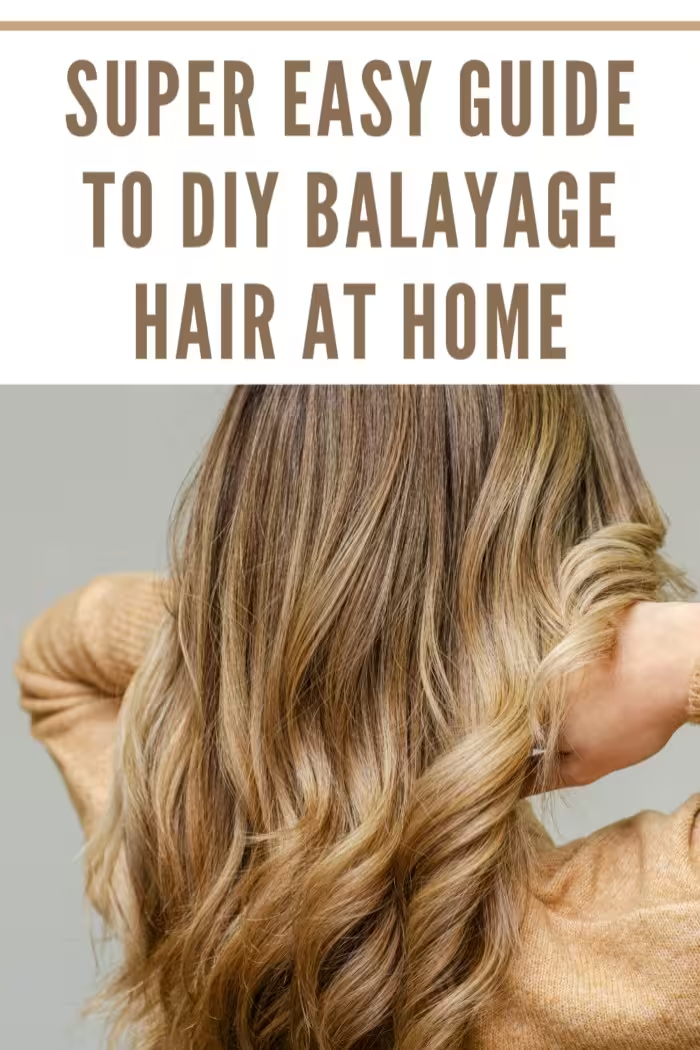
How to Balayage Your Hair At Home:
First, Get the Right Tools
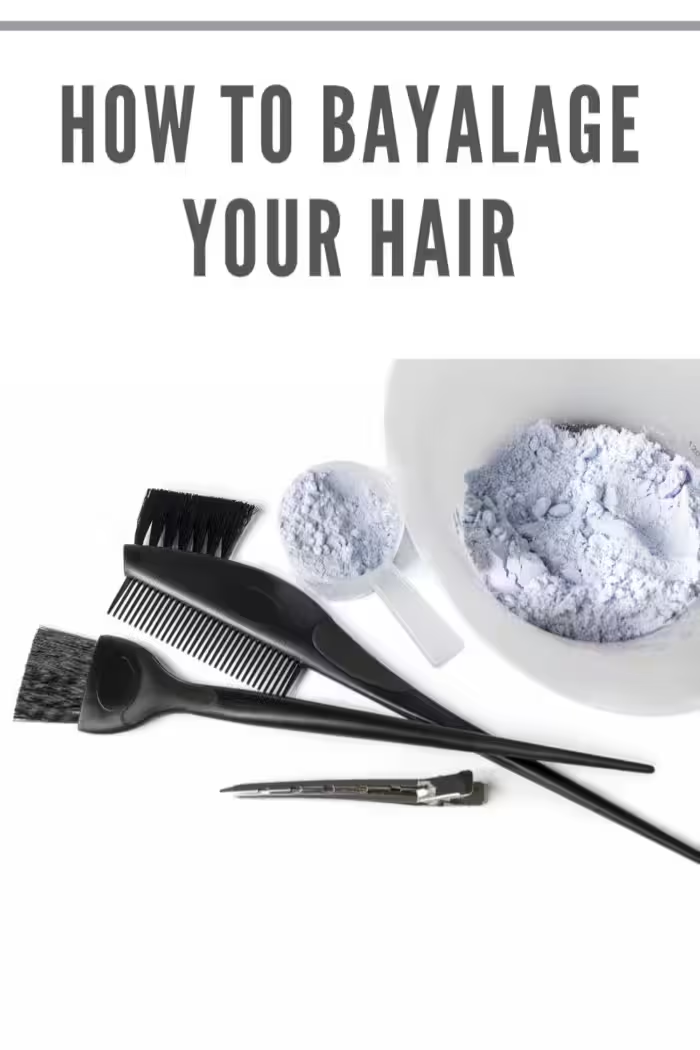
You’ll need the necessary tools to complete the task before you venture out to give yourself a gorgeous balayage color. We’re talking about hair clips, gloves, and a towel. You should also plan on wearing a shirt you don’t mind having stained by hair color.
To apply the hair dye, you’ll need an applicator brush.
You’ll also need a hair comb when teasing the hair for a balayage. Don’t forget Vaseline, either – when applied to your hairline, it will help prevent staining the skin.
You’ll also need the box of hair color you chose for your balayage. Please note that your hair color choice should be at least three times lighter than your natural hair color–or base color. This is what creates the dimension.
You can also use a balayage board or a piece of cardboard as a backer, which you’d place behind the sections of hair as you apply the bleach.
You’ll also want a toner to finalize the color and remove any brassy tones.
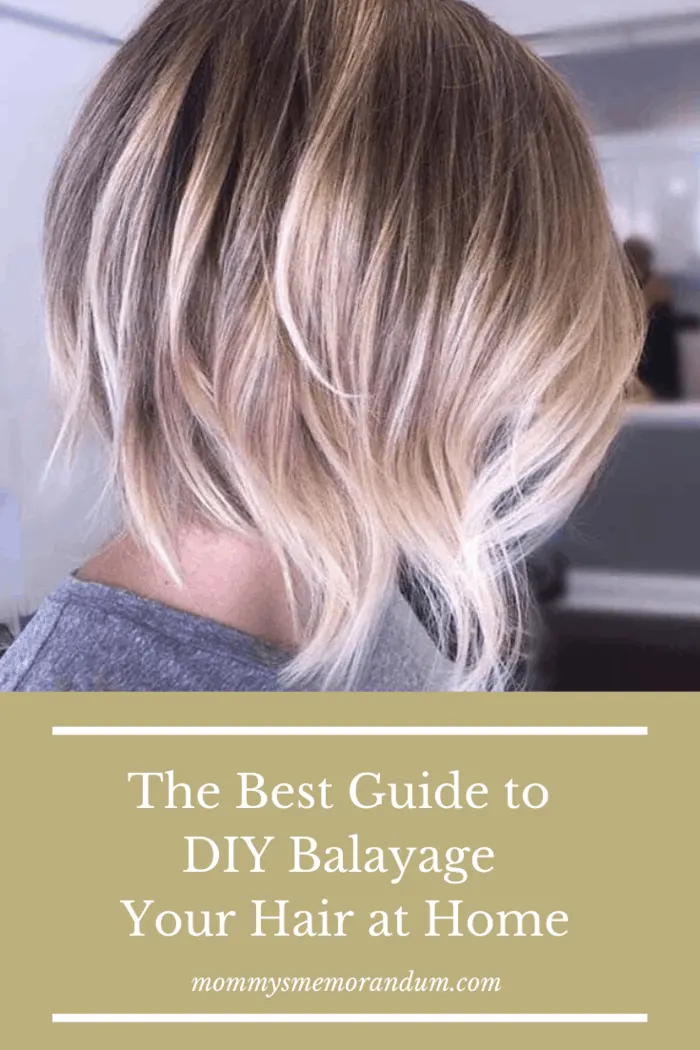
Go Through an Allergy Test
On the box of hair dye you’ve chosen for your balayage, there’s a gigantic chance that they’ll recommend you do an allergy or strand test before your application.
It’s a good idea to follow the instructions on your hair dye box to ensure you don’t have an allergy.
You’ll want to do the allergy test 48 hours before balayage.
Once you’ve completed the allergy test, you can begin the balayage!
DIY Balayage
Step 1 – Section
Clip Your Hair Up
With your hair completely dry, pull one section of your hair up and clip it securely.
You could also opt for the hot cross bun method to clip up your hair when applying a balayage color.
This essentially divides your hair into four workable sections by starting with a mid-part.
For the center parts, try dividing the hair into three sections.
Start at the bottom of your hair (from the nape up to the top of the ears, then two sections clipped off from the top to the middle part.
Balayage each section starting from the bottom.
For parts that aren’t centered, create sections with a horseshoe shape.
Start about two inches above your temples and sections around the crown.
Next, divide the hair into a second horseshoe shape from right below the temples.
The final section is the bottom, where you begin the application.
For a visual of these, take a peek at this how-to video from esalon for help.
After your hair has been clipped up accordingly, you’ll want to twist your hair from the mid-length to the end.
Tease your hair out using a comb starting from the beginning of the mid-length section.
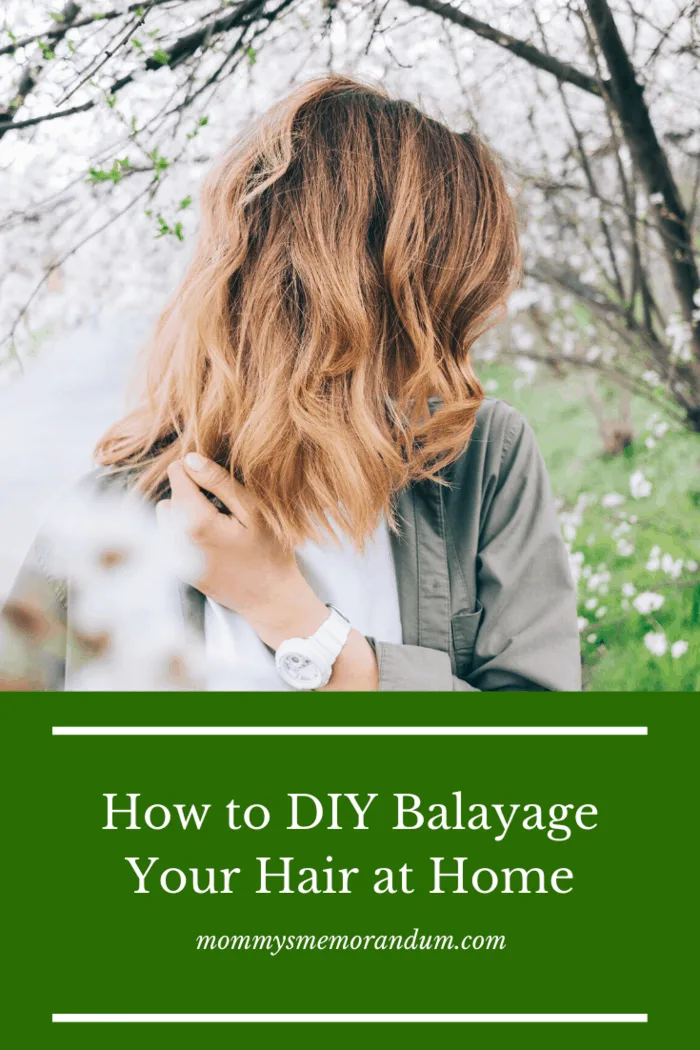
Step 2 – Prep
After you’ve teased your hair, you’ll want to apply the hair dye you’ve chosen to the mid-length area to one section of your hair.
Remember that the best balayage begins by using your tint brush to zigzag/weave through the hair and create thin, small sections.
Once you have the weave, backcomb the section gently to smooth out the hair section, preventing any harsh lines or chunky blocks of hair.
Step 3 – Apply that Dye and Start to Balayage
Place the hair strands on the board, if using, and apply the bleach, softly smoothing it up with the tint brush to where the backcomb hair sits.
Don’t go any further than this–just halfway up the strand.
Unlike traditional highlights, Balayage is a more subtle highlighting technique.
We found this step-by-step video from esalon for extra guidance.
Once you’ve finished with one section of your hair, it’s time to wrap it up, clip it back up, and start on a completely new section.
As long as you don’t get confused about which part of your hair has been dyed, you’ll be on your way to a beautiful balayage with subtle highlights.
If you want to avoid having the hair dye bleed into your roots, then you can further secure a section of your hair with bobby pins.
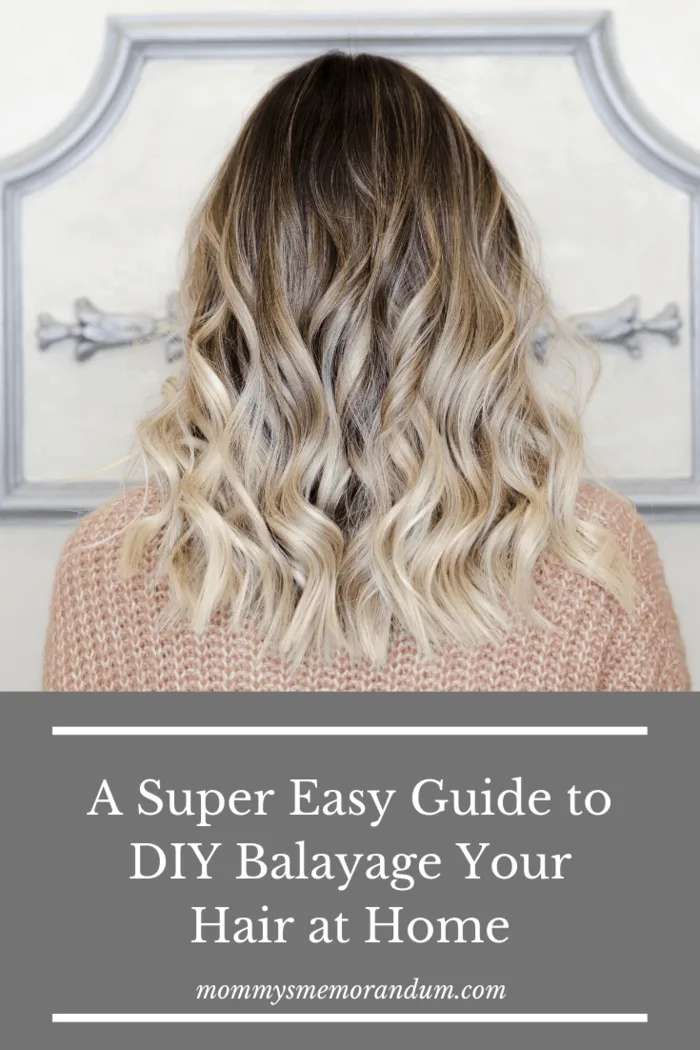
Look Out for Opportunities to Add Any Finishing Touches
If you feel there’s too much product on a strand or two, rub it out with your hand.
If you want some sections to be brighter, use the mixing brush within the balayage kit and use that to apply hair dye instead.
Once you’ve applied your hair dye completely, look out for any areas that need a bit of perfecting.
For example, maybe you applied some dye too far down from the mid-section.
If that’s the case, you’d benefit from applying a little more dye to the mid-area of your hair.
Don’t forget to follow the instructions listed on the box.
Leave the hair dye in for as long as it is recommended.
Once you’re finished, you can rinse it out, wash your hair, blow-dry, use an anti-static hairbrush, and style your hair to reveal your end result–beautiful self-made balayage!
You can get advice on hair straighteners from the experts at Hair Straightener Studio.
That was simple.
Pro Tip: If you Have Dark Brown Hair
If your hair is really dark and you see that the color has developed into a brassy shade, generously apply hair toner over the dyed hair and keep it on for 20-25 minutes.
Rinse and style as normal.
Maintaining a DIY Balayage Hairstyle:
To maintain a balayage hairstyle, it is important to use color–safe shampoo and conditioner, as well as avoid hot water when washing your hair. Additionally, use a deep conditioning mask once a week and heat–protectant sprays before using any hot styling tools. You can also visit your stylist for touch–ups or refreshes every 6–8 weeks to ensure the color looks fresh and vibrant.
A balayage look is easy to maintain, and because it’s a gradually lighter shade, growing out roots isn’t an issue.
It’s one of the best low-maintenance hairstyles ever!
For best results when maintaining your balayage, follow these easy steps:
Use a shampoo for balayage hair.
When you wash your hair, you strip it of its natural oils and dull the balayage color.
Try reducing your washes to 2-3 times a week.
Use a shower cap in between washes.
It’s important to use the right products for maintenance; use a purple shampoo to keep balayage highlights bright, and dry shampoo in between washes if needed.
Use a hair mask, focusing on the ends of the hair, to moisturize your locks once a week.
Feel free to use hair-repairing oils, and don’t forget a heat-protective spray.
This will extend the life of your color
Touch up your balayage every 12-14 weeks to keep it red carpet-worthy.
DIY couldn’t be easier when it comes to balayage!
Luckily, this DIY Balayage technique can be reasonably effortless since it mimics natural highlighting.
Because it doesn’t require bleach or foils, maintaining your color will be a breeze.
Style as you normally do or try one of these quick and easy hairstyling tips.
It’s a good thing that balayage is now a popular hair trend because it’s easy to do yourself, and it’s a much healthier option for highlighting.
A Super Easy Guide to DIY Balayage Your Hair at Home
Here's a super easy balayage hair color guide that you can complete at home.

