How to Make a Parmesan Basket: A Delicious and Creative Recipe
If you’re searching for a unique and flavorful way to serve salads, appetizers, or even a light snack, Parmesan baskets are an excellent choice. These delicate, crispy cheese bowls not only add elegance to any dish but are also incredibly simple to make. Plus, they’re made with just one ingredient—yes, you heard that right—Parmesan cheese!
In this guide, I’ll show you how to make a Parmesan basket from scratch. This recipe is easy to follow and perfect for impressing your guests or elevating your weeknight meals. Ready to dive into this cheesy adventure?

Why Parmesan Baskets?
“Simplicity is the ultimate sophistication.” – Leonardo da Vinci.
This quote perfectly encapsulates the beauty of Parmesan baskets. With just one ingredient—inexpensive shredded Parmesan—you can transform an ordinary dish into a sophisticated culinary creation. Whether you’re serving a light salad or a fancy hors d’oeuvre, these edible bowls are as fun to make as they are to eat.
Did you know? Parmesan cheese has been around for over 900 years and is beloved for its nutty, salty flavor. It also contains calcium and protein, making it a healthy addition to your meals.

Parmesan Basket Recipe: At a Glance
Prep Time: 2 minutes
Cook Time: 3 minutes per basket
Servings: 1 basket per round of Parmesan
Ingredients: Inexpensive shredded Parmesan cheese
Ingredients
- Inexpensive shredded Parmesan cheese (You know, the kind in the bag at the deli)
That’s it! How simple is that? Now, let’s get started.
How to Make a Parmesan Basket
Step 1: Heat Your Skillet
Start by heating a 10-inch nonstick skillet over medium-high heat for about 2 minutes. The skillet needs to be hot enough to melt the cheese quickly but not so hot that it burns.
Pro Tip: Use a nonstick skillet to ensure the cheese doesn’t stick, making it easier to flip and shape the basket.
Step 2: Sprinkle the Parmesan
Once the skillet is hot, sprinkle the shredded Parmesan in a circular, disk-like shape. Start from the center and work your way out, keeping the edges lighter to create that signature lacy effect.
Expert Tip: Avoid overloading the edges with cheese. This creates delicate, crispy edges, which is part of the Parmesan basket’s charm.
Step 3: Cook Until Golden
Let the cheese melt and cook for 2-3 minutes until the bottom side is golden and slightly crispy. You’ll notice the edges turning a beautiful golden brown.
Step 4: Shape the Parmesan Basket
Carefully lift the cheese disk using a spatula and your fingers. Immediately drape it over a glass (golden side up) and gently press down to form the bowl shape.
Pro Tip: Be quick but gentle! The cheese cools and hardens fast, so shaping it immediately is key.
Step 5: Cool and Serve
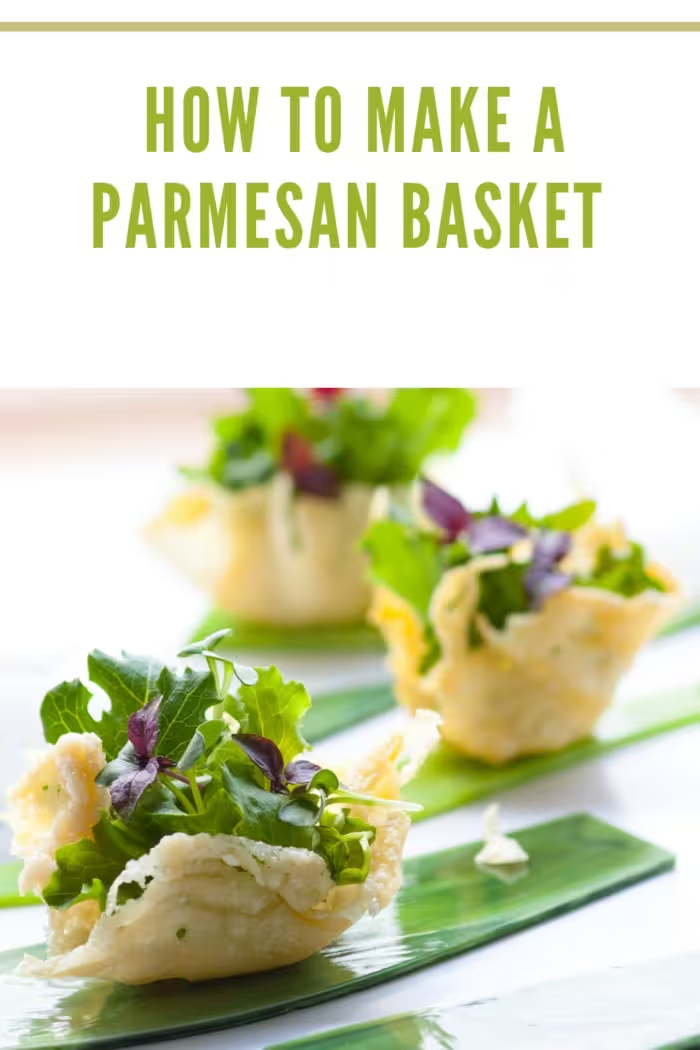
Allow the Parmesan basket to cool for a few minutes on the glass. Once hardened, it will retain its shape and become a sturdy, crispy bowl. Fill it with your favorite ingredients and serve!
Expert Tip: You can make these baskets several hours ahead of time. Just store them in a cool, dry place until you’re ready to fill and serve.

FAQs
Q: Can I use grated Parmesan instead of shredded?
A: It’s best to use shredded Parmesan for this recipe because it melts evenly and creates the lacy texture that makes the basket unique.
Q: How long do these Parmesan baskets last?
A: Once cooled, Parmesan baskets can last up to 4 hours before serving. Just be sure to keep them in a dry environment to maintain their crispness.
Q: What can I serve in a Parmesan basket?
A: Parmesan baskets are perfect for holding salads, pasta, or even soft-textured foods like lettuces with vinaigrette. The crispiness of the cheese pairs wonderfully with contrasting textures.
Expert Tips for Perfect Parmesan Baskets
- Don’t rush the melting process. Give the cheese time to cook evenly for the perfect golden color.
- Shape while hot. The moment you remove the cheese from the skillet, shape it over a glass to get the best results.
- Play with sizes. Use a smaller skillet for mini Parmesan baskets or a larger one for bigger bowls!
Want More Delicious Recipes?
Craving more scrumptious and healthy recipes? Dive into my Pinterest board for a treasure trove of culinary inspiration! And if you’re eager to make meal prep even simpler, don’t miss out on my cookbook, The How-To Cookbook for Teens: 100 Easy Recipes to Learn the Basics. It’s brimming with quick, easy recipes designed to elevate your cooking game. Grab your copy today and start transforming your meals!
Why Parmesan Baskets Are the Perfect Party Trick
Imagine hosting a dinner party, and as your guests sit down, they’re served a vibrant salad in an edible, crispy cheese bowl. They’ll be in awe! I remember the first time I made these for a family gathering—everyone couldn’t stop talking about how creative and delicious they were. Trust me, once you make these, they’ll become a staple in your kitchen.
Final Thoughts
Now that you know how to make a Parmesan basket, it’s time to get cooking! These delicate, crispy bowls are the perfect way to impress your guests with minimal effort. Plus, with just one ingredient, they’re both budget-friendly and simple to make.
