Master the Art of Instant Pot Poached Eggs
Welcome to the world of hassle-free poached eggs—where boiling water becomes a thing of the past! If you’re someone who craves perfectly poached eggs but dreads the traditional stovetop method, you’re in for a treat. Today, I’ll show you how to whip up Instant Pot Poached Eggs that are as easy as they are delicious.

Why Instant Pot Poached Eggs?
You might be wondering if using an Instant Pot is faster than the traditional method of poaching eggs. The answer is a resounding yes! Even though the Instant Pot takes a few minutes to come to pressure, it still saves time compared to boiling water on the stove. Plus, the consistency is much easier to control.
Two Methods to Poach Eggs in the Instant Pot
There are two main methods to make poached eggs in the Instant Pot. You can either:
- Use silicone molds for a fun twist on breakfast.
- Use ramekins (which we’ll focus on today) for a classic presentation and impeccable texture.
Both methods produce a beautiful, tender egg white cradling a gooey, golden yolk. The result? A symphony of tastes and textures that’ll make your taste buds sing!

How to Make Instant Pot Poached Eggs
Servings: 1
Prep Time: 1 minute
Cook Time: 3-5 minutes (depending on desired yolk consistency)
Time for Instant Pot to Come to Pressure: 10 minutes
Total Time: 14 minutes
Ingredients:
- Eggs
- Nonstick cooking spray
- 1 cup of hot water
Directions:
- Spray one to six (4-ounce) ramekins with nonstick cooking spray.
- Place the trivet inside your Instant Pot and add 1 cup of hot water to the inner pot.
- Crack one egg into each prepared ramekin, centering the yolk as much as possible.
- Cover each ramekin tightly with aluminum foil and place them on the trivet.
- Close and lock the lid, turning the steam release handle to Sealing.
- Set your Instant Pot to Pressure Cook/Manual on LOW for:
- 3 minutes for soft-cooked yolks
- 5 minutes for medium-cooked yolks.
- Once the cooking time is up, perform a quick release of the pressure.
- Carefully remove the ramekins and uncover them.
- Serve directly in the ramekin or slide the eggs out onto toast, an English muffin, or a plate.
Pro Tip: The cook time remains the same, no matter how many eggs you’re poaching at once.

Expert Tips for Poached Eggs Success
- Skip the salt until after cooking: Adding salt before poaching can cause the egg whites to loosen.
- Use fresh eggs: Fresher eggs result in firmer whites and better shape retention.
- Use a fine-mesh sieve: For perfectly poached eggs, crack the egg into a sieve first to remove the liquidy egg white. This ensures the firm egg white stays around the yolk, resulting in a beautifully poached egg.
- Serve immediately: Poached eggs are best enjoyed right after cooking, but they can be stored in the fridge for up to four days. If storing, place them in an ice-water bath before transferring to an airtight container.

Frequently Asked Questions (FAQs)
- Can I adjust the cooking time for firmer or runnier yolks?
Absolutely! Cook for 3 minutes for a soft yolk or 5 minutes for a medium yolk. - Do I need to add vinegar to the water?
No vinegar needed! The Instant Pot’s pressure cooking eliminates the need for vinegar to poach eggs. - Can I cook multiple eggs at once?
Yes! You can poach up to six eggs at a time. Simply stack the ramekins like bricks to fit them all in. - What happens if the yolk breaks while cracking the egg?
It’s best to use that egg for scrambled eggs, pudding, or baking, as poached eggs need an intact yolk for the best results. - How do I reheat poached eggs?
Place the poached egg in hot water for a few minutes to warm it up. - Can I serve the eggs in different ways?
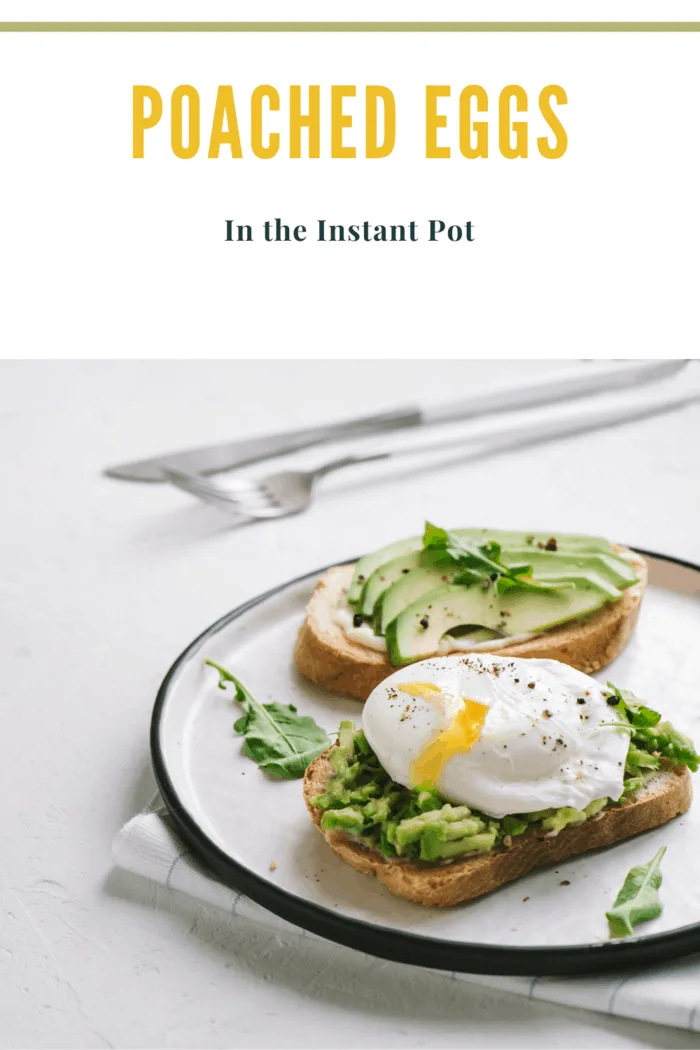
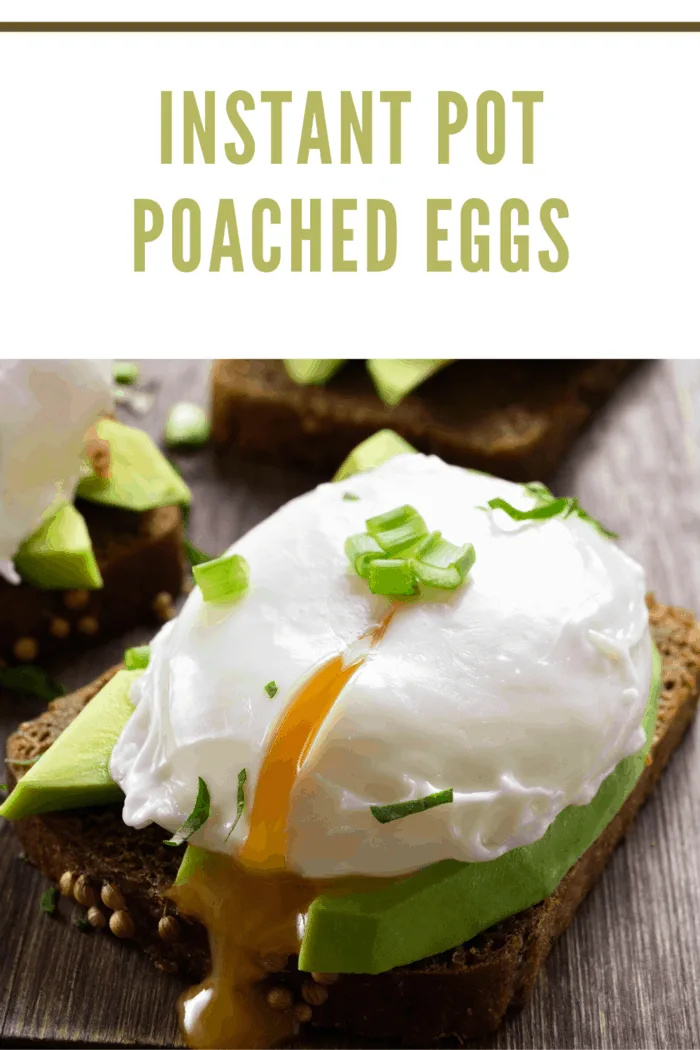
Certainly! Try topping your eggs with avocado, smoked salmon, or sautéed spinach for a gourmet twist.
Want More Delicious Recipes?
Craving more scrumptious and healthy recipes? Dive into my Pinterest board for a treasure trove of culinary inspiration! And if you’re eager to make meal prep even simpler, don’t miss out on my cookbook, The How-To Cookbook for Teens: 100 Easy Recipes to Learn the Basics. It’s brimming with quick, easy recipes designed to elevate your cooking game. Grab your copy today and start transforming your meals!
Final Thoughts: Instant Pot Poached Eggs Ideas
- Silky Eggs Benedict: Serve poached eggs on English muffins with hollandaise sauce for a breakfast classic.
- One-Pot Wonder: Pair with sautéed spinach for an easy Eggs Florentine.
- Instant Pot Egg Cups: Perfect for grab-and-go meals.
When you’re finished, why not give your Instant Pot a deep clean with this guide.

Instant Pot Poached Eggs
Poached Eggs in the Instant Pot create whites that just firm enough to gently envelop an oozy, golden yolk. in less time than it takes to boil water.
Ingredients
- 1-6 eggs
Instructions
- Spray one to six (4 ounces) ramekins with nonstick cooking spray.
- Place the trivet that came with your Instant Pot in the bottom of the liner and add 1 cup hot water to the inner pot.
- Crack one egg into each prepared ramekin, centering the yolk in the ramekin as much as possible.
- Cover each ramekin tightly with aluminum foil and place it on the rack.
- If using more than one ramekin you’ll want to make one layer and then stack like bricks to accommodate the ramekins.
- Close and lock the lid and turn the steam release handle to Sealing.
- Set your Instant Pot to pressure cook/manual on LOW for 3 minutes (for soft-cooked or 5 minutes for medium cooked.)
- When the cooking time is up, quickly release the pressure.
- Remove the ramekin(s) from the pot and uncover.
- Serve egg in the ramekin or slide out on to English Muffin, toast, plate, or serving choice.
Notes
*The cooking time is the same regardless of how many eggs you cook at a time.
Nutrition Information:
Yield: 1 Serving Size: 1Amount Per Serving: Calories: 429Total Fat: 29gSaturated Fat: 9gTrans Fat: 0gUnsaturated Fat: 17gCholesterol: 1116mgSodium: 426mgCarbohydrates: 2gFiber: 0gSugar: 1gProtein: 38g
The Nutritional Information may not be accurate.
