How to Fix Bubbled Paint on Walls (And Prevent It for Good)
Jump To:
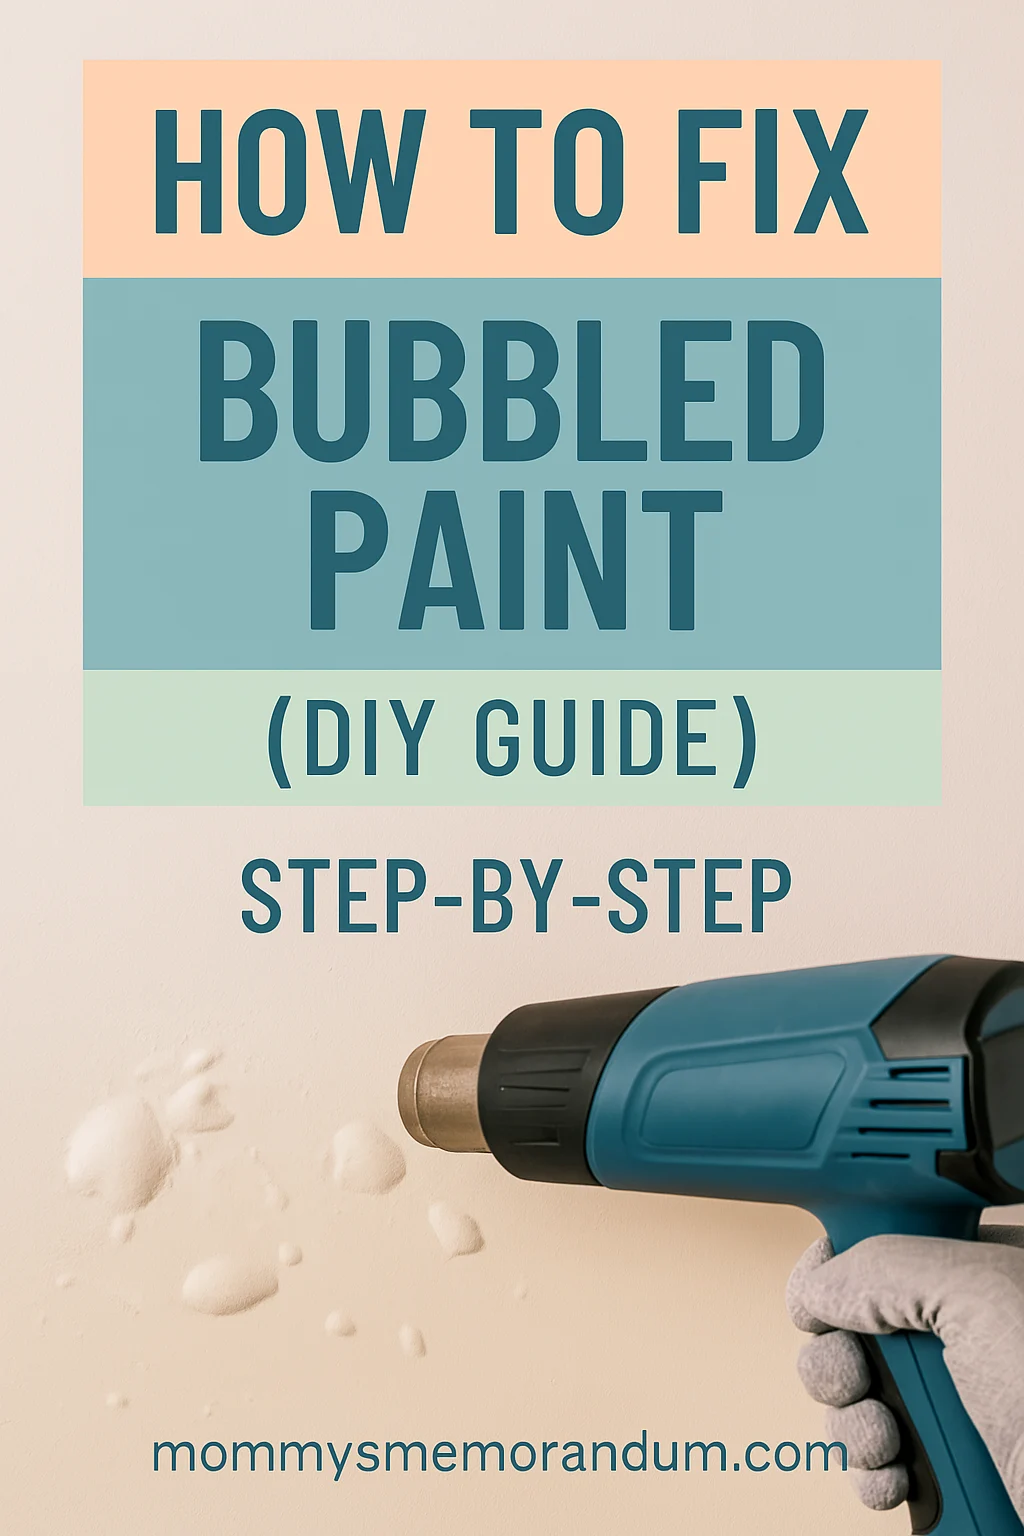
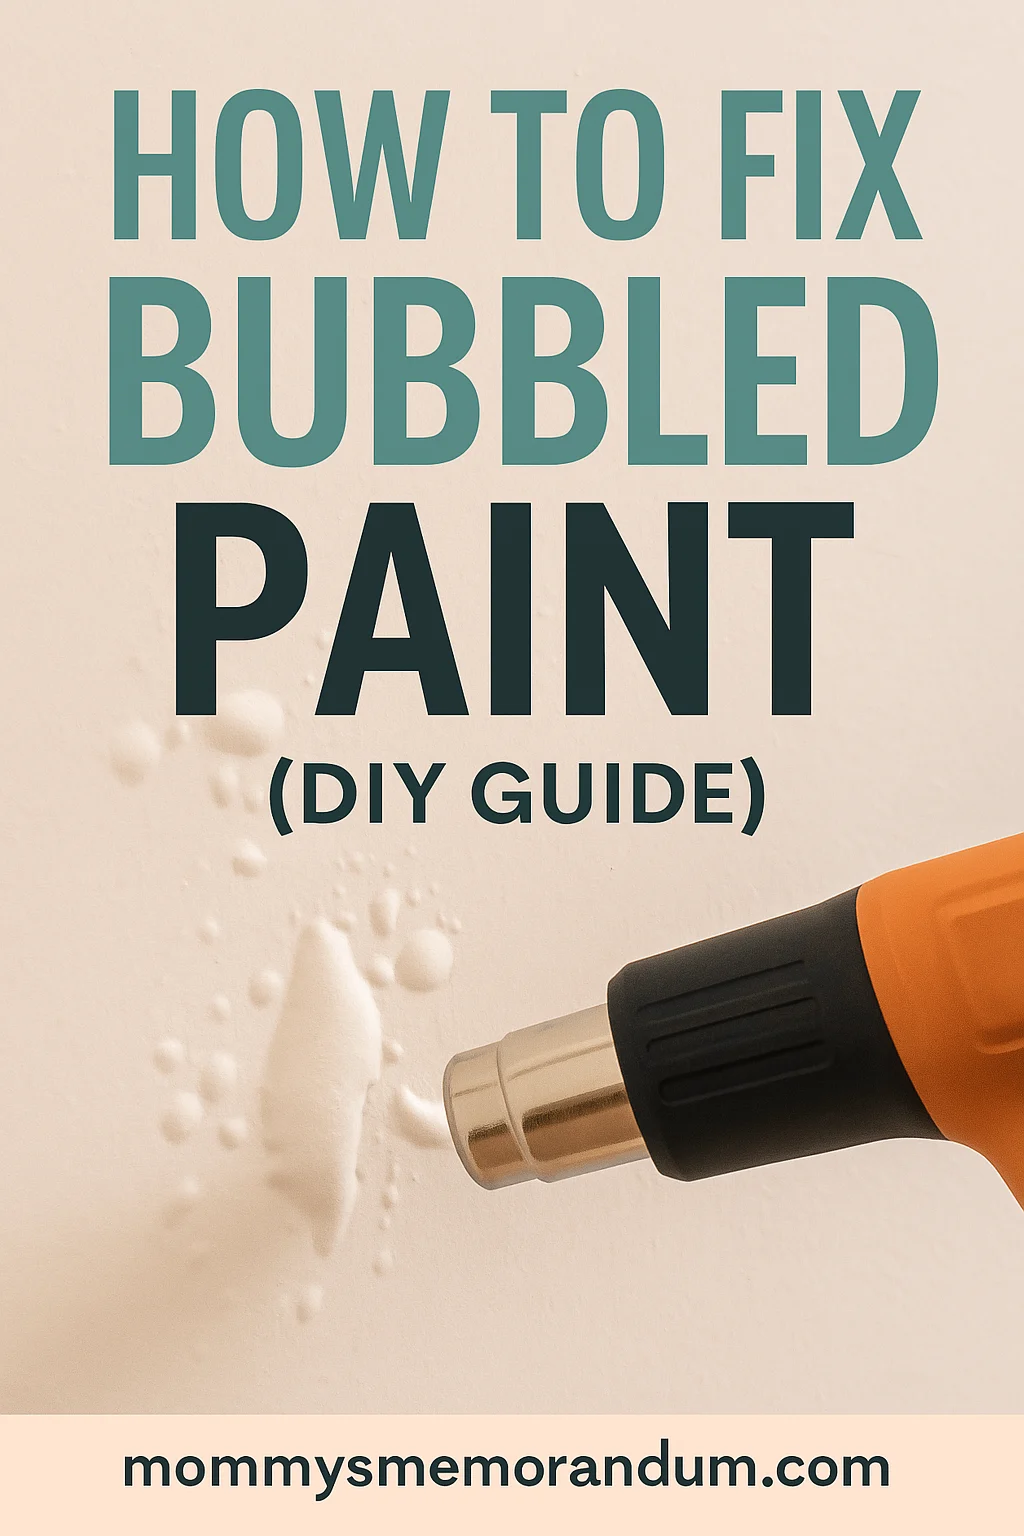
Have you ever noticed bubbles forming under a fresh coat of paint or even months after painting? It’s frustrating—and it’s more than just a cosmetic issue. Bubbled paint, also known as blistering, happens when the paint film lifts from the wall, usually due to heat or moisture. Left unchecked, it can lead to peeling, cracking, and even structural damage over time.

In this guide, we’ll explain the most common causes of paint bubbling and walk you through how to fix it properly. We’ve also included a tool list with pro-recommended gear that simplifies the job—affiliate links included to make shopping easy and to support our content.
What Is Paint Bubbling?
Paint bubbling happens when the top coat of paint detaches from the wall surface, forming bubbles filled with air, water vapor, or both. This loss of adhesion is usually the result of improper surface prep, high heat, or excess moisture in the substrate (plaster, drywall, or wood).
As the bubbles dry, they can either harden in place or burst, leaving behind uneven surfaces or peeling sections.
Common Causes of Paint Bubbling
- Painting on a dirty or dusty surface
- Moisture trapped in drywall, wood, or plaster
- Not using primer before painting
- Applying paint on a hot surface (e.g., sunlit walls)
- Using the wrong type of roller or applying paint too thickly
- Painting in high-humidity environments like bathrooms or kitchens
- Applying alkyd or oil-based paint over a damp surface
How to Fix Bubbled Paint on Walls
Before getting started, inspect the affected area to identify whether the bubbling is caused by moisture or heat. You’ll need to gently scrape open one of the blisters to check the substrate underneath.
If the substrate is dry: and only the top coat is affected, heat is likely the culprit.
If the underlying layer is damp: or multiple coats are affected, moisture is your enemy.
For Heat-Caused Bubbling
- Use a paint scraper to remove blisters down to a stable paint layer.
- Sand with medium-grit sandpaper to smooth edges.
- Wipe clean and let dry thoroughly.
- Apply bonding primer to ensure proper adhesion.
- Repaint at a surface temperature below 90°F.
For Moisture-Caused Bubbling
- Identify and fix the moisture source (leaks, ventilation issues, etc.).
- Scrape and sand bubbled areas.
- Apply high-adhesion primer with mildew resistance.
- Improve airflow with vents, fans, or dehumidifiers.
- Repaint with water-resistant, high-quality paint.
Tools You’ll Need
Having the right tools makes all the difference. Every item below is vetted by pros and linked for convenience:
- Heat Gun — Chemical-free stripping tool for stubborn paint.
- Paint Scraper — Lifts loose bubbles and old paint safely.
- Sandpaper — Medium grit (120–150) for prep precision.
- Primer — Boosts paint adhesion and helps prevent future bubbling.
- Protective Eyewear — Keep your eyes safe while scraping or using a heat gun.
As an Amazon Associate, we earn from qualifying purchases. These links help support our content—thank you!

Pro Tips to Prevent Bubbling
- Never skip the primer, even on “pre-primed” drywall.
- Avoid painting in direct sun or overly humid conditions.
- Use a moisture meter to detect hidden dampness in problem areas.
- Let repaired areas cure completely before repainting.
- In high-moisture areas, consider using mold-resistant paints with built-in inhibitors.
Final Thoughts
Fixing bubbled paint might feel like a hassle, but with a bit of prep and the right tools, it’s absolutely doable—even for DIYers. Whether you’re tackling a small patch in your bathroom or doing a full repaint, following the right process ensures your paint job lasts.
Want more wall-perfecting tips? Check out our guide on how to paint trim like a pro.
 Learn how to strip bubbled paint without chemicals using a heat gun and more.
