I received The $50 Home Makeover book to facilitate an honest review. All opinions are my own.
There have been times in my life when I have lived in cookie-cutter neighborhoods. The ones where all the houses are the same. I was always fascinated when I visited a neighbor and how they took the same space and made it their own. A house that was a reflection of the people who lived there.
With The $50 Home Makeover book, you can find inspiration to make your home the stylish, modern look you seek without breaking the bank.
One of my favorite makeover projects in the book is the Herringbone Headboard. My room is my retreat, and I love the look of this headboard.
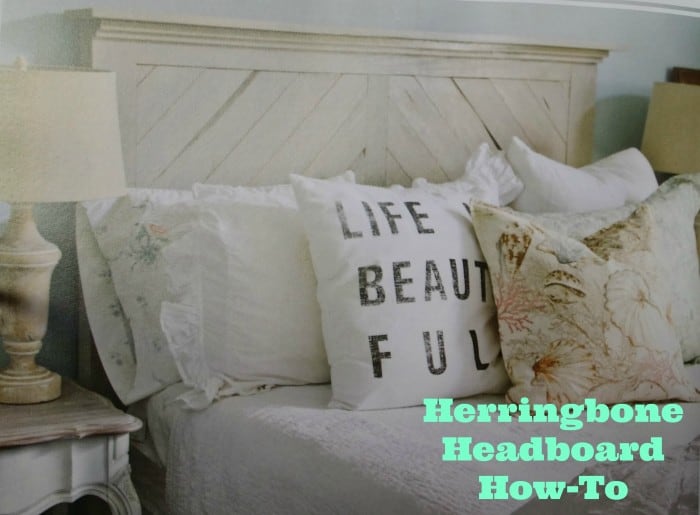

Headboards are, for the most part, pricey. Building your own is easy. With a farmhouse look, this headboard spotlights a mock-herringbone pattern. It’s a statement that has many options.
Herringbone Headboard Supplies:
- (4) 1″x4″x12′ boards
- (2) 1″x6″x12′ boards
- (1) 1″x3″x8′ board
- (1) 4’x8′ sheet of 1/2″ MDF or particle board
- Table saw or circular saw
- Wood glue
- 2″ wood screws
- 1″ wood screws
- Square
- Fine-grit sandpaper
- Paint or stain of your choice (the headboard shown uses Rust-Oleum Sunbleached Wood Stain)
Herringbone Headboard Directions:
Cut Boards to these sizes:
- (1) 581/8″ x 48″ MDF (A)
- (2) 60-inch 1″ x 4″s (cut from 1″x6″) (B)
- (2) 60-inch 1″ x 13/8″s (cut from 1″x6″) (C)
- (1) 51-5/8 inch 1″x4″ (cut from one 1″x6″) (D)
- (1) 59-5/8 inch 1″x 1-3/8″ (cut from 1″x6″) (E)
- (2) 51-5/8 inch 1″x3″s (F)
- (1) 40.5 inch 1″x3″ (G)
- (1) 59-5/8 inch 1″x 3″ (H)
- (1) 63-inch 1″ x 6″ (I)
- Cut boards to the measurements above. Cut MDF down to size with your table saw. Alternatively, have the cutting done at your home improvement store.
- To create the headboard legs, attach board (C) to the board (B) to form a small L-shape, using wood glue and 2″ wood screws. Repeat this step with the other set.
- Attach the legs to the MDF Board (A) from the back using wood glue and wood screws. Board (C) will be pointing down and covering the side edge of MDF Board (A), and Board (B) will be blush with the top and attached to the front of Board (A).
- Attach one Board (F) from the back using wood glue and screws. It should be flush to the bottom edge of the headboard between the leg pieces.
- Attach Board (G) to the center of the headboard from the back, using wood glue and 1″ screws. It should be centered with 29-5/16″ on either side.
- Attach one Board (F) to the headboard, leaving 1″ between the top of the Board (F) and the headboard, using wood glue and 1″ screws from the back. This should make the top of what looks like the letter I on the front of the headboard. Don’t worry about the space from the top; it will be covered up later.
- Start cutting diagonal boards at a 45-degree angle. Begin by cutting the end off the first board–this will be our corner piece. For the rest of the pieces, the long edge of the first board should be the length of the short edge of the second board. Start in the top left-hand corner of the headboard, with the boards angling toward the bottom middle. When you hold the board, the cut angles will be angled away from you. Don’t attach these boards et; just lay them in place to be sure everything will fit together well. Also, you should be able to use these boards as templates for the second side.
- Continue cutting each board in this manner until you get to the middle corner of the headboard. When cut like all the others, the board that fits in the corner should fit on the left, but the tip should stick up in the middle. Use a square or a straight edge to draw a line to trim the board to fit.
- When the first board reaches the middle, you can use that board as the template to create the next four boards. The angles of these boards will be cut in the same direction.
- Once you reach the bottom left corner, cut it the same length as the board before and use the square to draw a line to cut off the excess tip.
- Now continue cutting the remaining four boards, but this time the angles will be slanted in toward you.
- Once the first side is complete, you can start over on Step 7, or you can use the boards as a template to make the second side.
- Once all boards are laid out and fit in place, attach them to the headboard with glue and with 1: screw from the back.
- Attach Board (H) to Board (E) using wood glue, aligning the boards to flush with one another at the top.
- Attach boards from Step 9 to the top of the headboard using 2″ wood screws from the back. This will create a nice molding leading up to the top board.
- Attach Board (I) to the top, perpendicular to the headboard, aligning it to be flush with the back of the headboard. This board will hang over on all sides but the back. Attach using wood glue and 2″ wood screws from the top.
- Lightly sand with fine sandpaper to smooth the surface. Stain if desired. This project uses Rust-Oleum Sunbleached Wood Stain for a light and airy look.
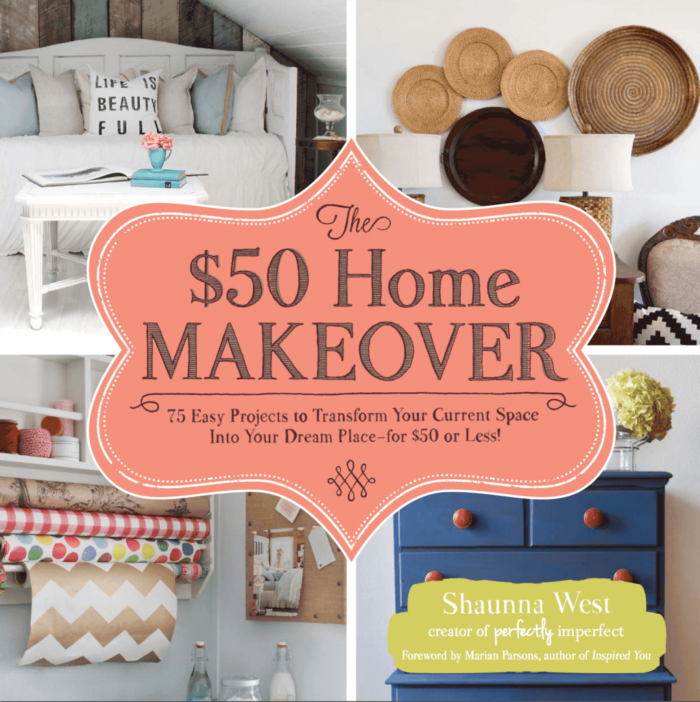
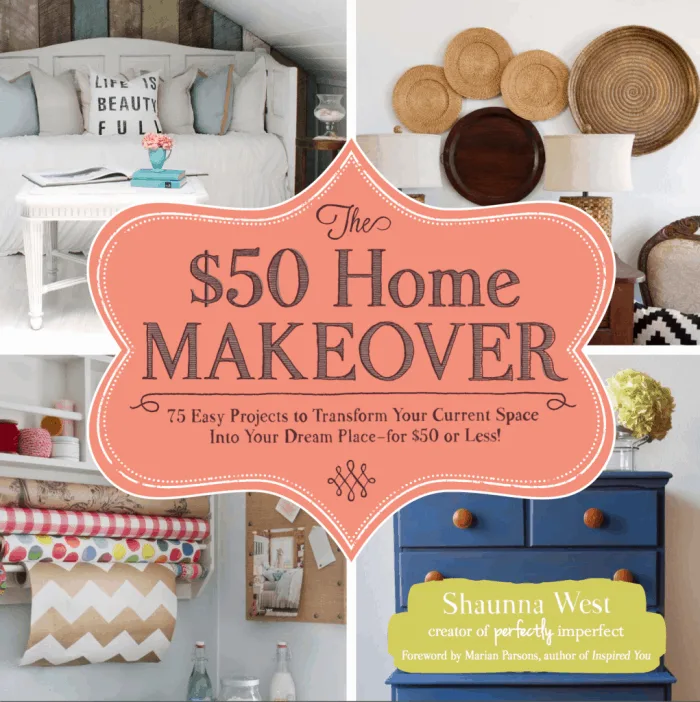
If you enjoy this project, you will enjoy The $50 Home Make Over. It offers 75 easy projects to transform your current space into your dream place for $50 or less.
Shaunna West writes the book Perfectly Imperfect, featured on Nate Berkus, Apartment Therapy, and Tori Spelling’s ediTORIal.
More than headboards, this book offers projects of all sizes, from a spring wreath to a decorative plank wall, with step-by-step instructions that are budget-friendly and will spruce up any space.
There are colored photographs, a key to denote how long a project takes, how much it costs, and the difficulty level, including many before and after pictures of finished projects.
This book is great for any DIY individual or someone looking to get a new look without a big bill!