If you haven’t tried facial hair waxing before, it can be daunting and even scary at times. The truth is, facial hair waxing is quick and capable of removing even fine hair and can last weeks if done the right way. In short, it’s an excellent hair removal method that won’t break the bank.
However, sometimes, it can go wrong. For instance, some women have reported having a pimple after waxing and experiencing extreme redness. That is why it’s very important to know what to do first before putting that warm, sticky goo on your face. In this article, we talk about having a smooth-sailing at-home waxing session.


Tips For Facial Waxing
But before officially starting your waxing sesh, allow us to give you a few tips to achieve smooth facial skin after waxing.
Exfoliating your face is a great start.
If you’re a skin-conscious kind of person, then you should already be used to exfoliating regularly. Exfoliating is great for our skin. And it’s an even more important step before waxing.
You remove all excess dirt, dead skin, and oil that aren’t visible to the naked eye by exfoliating. Failure to remove those grimes before can make it harder for the wax to grab hold of the hair.
A night before your waxing session, do a thorough face cleansing. Use a gentle cleanser, put on a facial mask to remove any deep impurities, and then exfoliate. Doing so will condition your skin for waxing the following day.


Wax temperature is important.
Wax burns are common when you’re doing at-home waxing. Hence, it’s crucial to do a patch test on a tiny area of your skin first. Or better yet, use a quality waxing product that won’t need to be heated. But if you insist on hot wax, be sure to buy one that’s genuinely intended for home use and microwave heating.


Say No to waxing if you’re under certain medications or using certain topical creams.
Topical creams with Retin-A or Differin can wear out your skin and make it vulnerable to tearing. Additionally, if you’re on antibiotics, it may cause your skin to be overly sensitive, which means waxing will be very painful. So, before doing facial waxing, make sure to know the effects of any medications you’re taking on your skin.


The Waxing Process
Waxing is most effective on wax-length-ready hair. Your facial hair should be at least 1/4 inch long. If it’s shorter than that, then your waxing process can be futile, and worse, cause ingrown hairs.
Prepping of the skin
Apart from exfoliating your face the night before, you also need to prep your skin right before wax application. So make sure to properly wash your hands and face to remove any makeup or dirt. Pat dry your skin and apply a tiny amount of powder on the area you intend to wax.
Heating of the wax
If you can multitask while cleaning your face, you can also start heating the wax using a wax warmer or a microwave. The wax has to be warm but not too hot. The consistency should be like honey, not oil. If it’s the latter, leave it in the heat until the wax thickens like honey.
Wax application
Next, use an applicator or a popsicle stick to apply the wax evenly in the same direction as the hair growth. For small sections of the face, apply the wax at a 45-degree angle. There should be enough wax to cover the entire target area, but not so much that it’s too thick to remove.
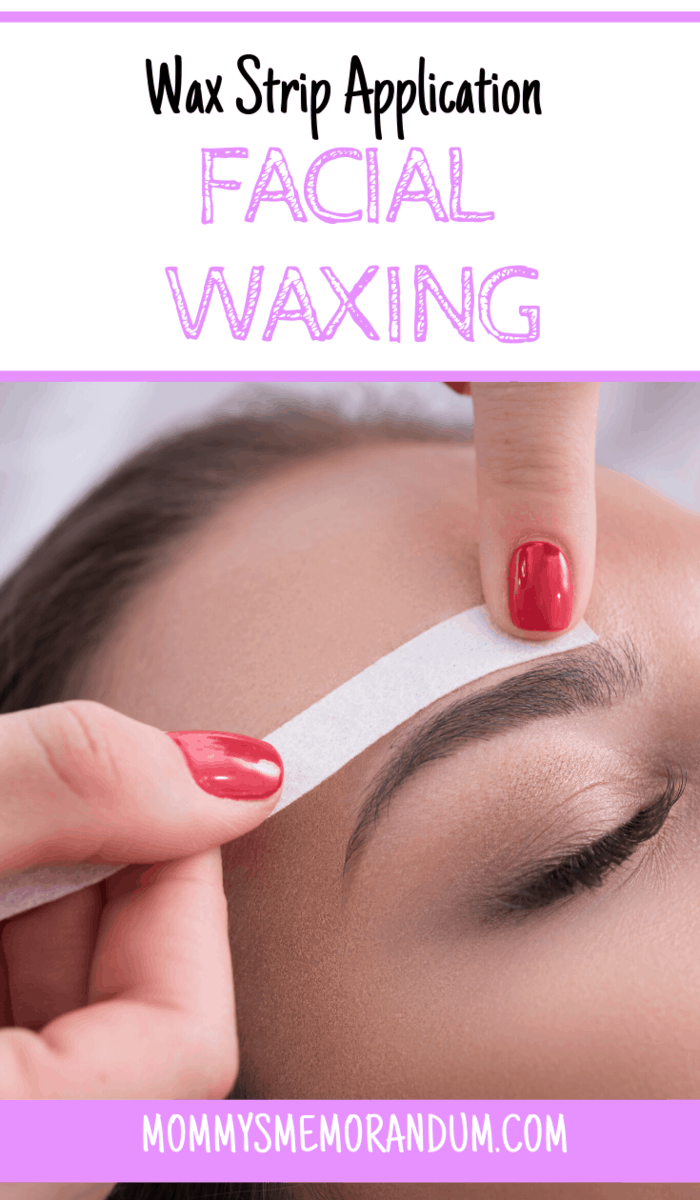
Wax strip application
Then, apply a waxing strip. Ensure there’s enough space at the edge of the strip that isn’t touched with wax. This part will be used to pull the strip off effectively.

Removal of the wax strip
Afterward, press your palm against the strip and smooth it out in the direction of the grain. Do this a couple of times to encourage the wax to grip the hair. At this point, the wax may feel slightly cool.
Hold your skin taut with the other hand, grab the wax-free area of the strip, and quickly remove the strip in the opposite direction of the hair growth. Some wax may remain in the hair, so you can place the strip back and do the same.
Summary
The key to a successful at-home facial waxing is to read all included instructions and follow them thoroughly. Not following the directions can lead to adverse effects and an unproductive waxing session.
After all, no woman wants to sport unsightly facial hair. With those tips and the step-by-step guide, you should be able to effectively remove your unwanted facial hair without skin irritation or side effects.