Make the knitting Rib Stitch by doing this step-by step guide on how to knit ribbing.
Knitting is often seen as a hobby, but it is in fact much more than that.
It is a craft which dates back as far as the 11th century.
In fact, it could be much older than this, but it is harder to distinguish exactly how old.
As a result of its long history, there is an abundance of different patterns and techniques which you can learn.
You will find several styles are easier or more practical to your needs than others.
These will be the ones that you learn and use over and over again.

If you need inspiration, then you can take a look at the array of patterns here.
Ribbing is the perfect stitch to use when you want to have a stretchy material.
You can add it to any design, especially at the neck and cuffs to help make sure it fits comfortably.
Of course, the type of material and pattern you use can influence your final product.
You can click here to learn more about yarns.

The Basics Of Ribbing
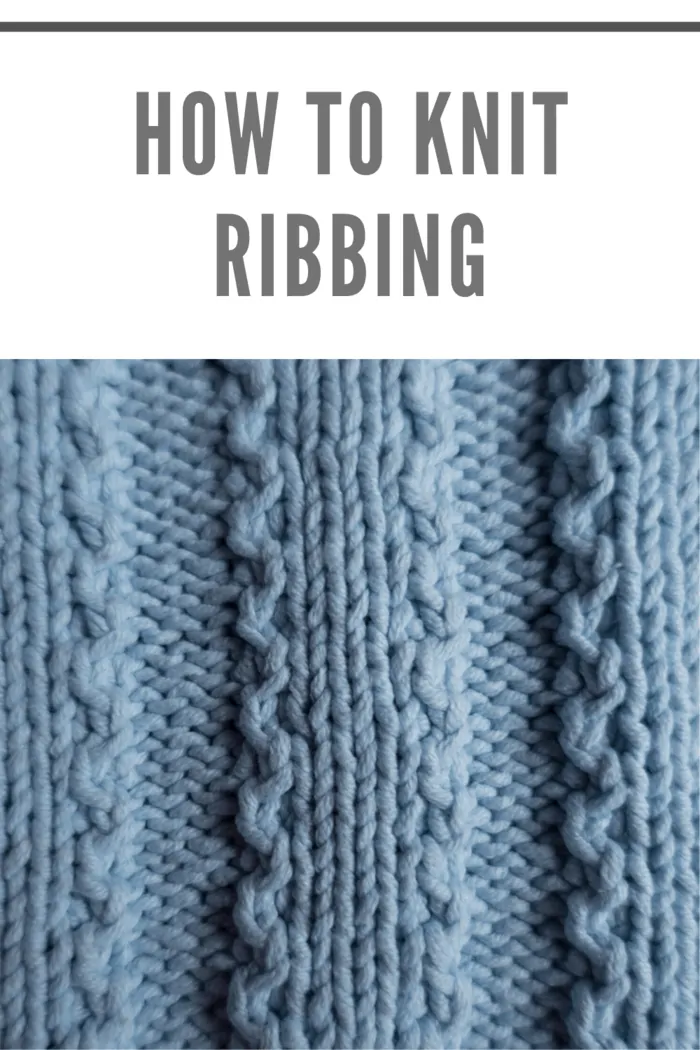
The stretch of your material is created by knitting columns of rib stitch with columns of purl stitches.
This creates a textured effect which will look like vertical stripes on your finished garment.
Before you knit ribbing, you need to choose between purl and ribbing.
The first column and hence the first stitch will need to be all one type.
Cast one rib stitch onto your needle and then one purl, continuing alternating these stitches until you have created the width of your garment.
Once you have done this, you can continue the same pattern, adding purl stitches to purl and rib to rib.
An alternative to this is to cast 2 purl stitches and then 2 purl.
This will widen the vertical stripes but retain the stretchy nature of your garment.
Although it should be noted that casting 2 stitches will reduce the stretchiness of the finished garment.
You should also be aware that larger needles create larger stitches; this also reduces the stretchiness of your item.

Make the Rib Stitch by doing this:
Create a triangle with your yarn in one hand.
The yarn should hang over your thumb and index finger.
Your other two fingers can hold the yarn together, preventing the stitch from sliding.
Your needle can then be slid between the piece of yarn hanging from your thumb and your thumb itself.
The needle then flows up and above the triangle.
Pull the needle away to tighten the stitch, allowing the thread to go tight on your thumb.
You can then twist your thumb to create a new loop and run the needle through this one.
Simply keep doing this to create the number of rib stitches you need.
It will take several practice runs before you get the hang off this stitch so make sure you have enough yarn spare to complete several trial runs.
Once you have mastered the technique, you will find that it is a very fast stitch, helping you to create the perfect garment in virtually no time.
We hope this guide has given you insight on how to knit ribbing.

