History of the Faberge Egg and a Do It Yourself Craft
It snowed all weekend here. The kiddos braved the weather to go for a walk to a nearby park only to return defeated that it was muddy. We decided to talk about Easter, and we learned about the Romanov family. We learned this family is where the Fabergé eggs originated
Maria loved the jewelry of young Peter Carl Fabergé, so the Czar placed an order with Fabergé. My children were fascinated by this story. We talked about the Easter of 1885 being the 20th Wedding Anniversary of Czar Alexander III and Czarina Maria of Rhine. It was a milestone that the Czar wanted to commemorate with an unusual giffor his wife.
Easter morning, Fabergé arrives at the palace with his delivery. It is a simple enameled egg. Fabergé had inside the egg a golden yolk; within the yolk a golden hen; within the hen a diamond miniature of the royal crown and a tiny ruby egg.
The Czar was so delighted with his wife’s love of the egg that he commissioned an Easter egg every year from Fabergé. The Czar’s order was that each egg must be unique and must contain a suitable surprise for his Empress. Fabergé met the challenge, borrowing inspiration from the gilded lives of the Czar and Czarina.
The untimely death of Czar Alexander III leaves his son Nicolas II at the throne. Czar Nicolas maintains the traditions of his family and orders the continuation of his father’s annual commission of Fabergé Easter egg for his mother and adds a second order to be delivered to his wife, Czarina Alexandra Fedorovna.
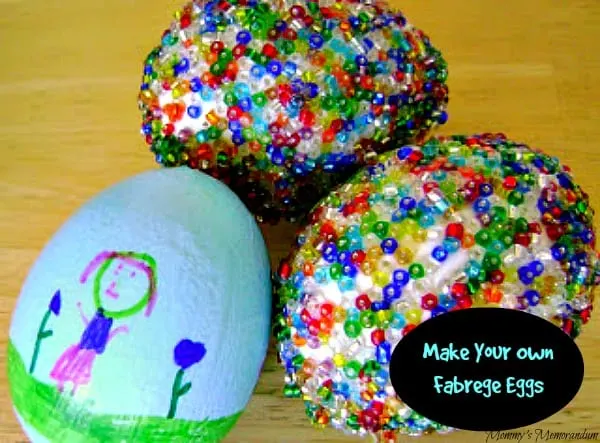
My children asked what a Fabergé egg was and so we decided to make our own.

I used Regina’s instructions on her blog, Southern Ooaks, titled Tips and Info on How to Do Blown Eggs. I modified it to what we had in our house.
1.) We blew the yolks out of eggs
2.) Wash the eggs.
3.) Baked the eggs for ten minutes in the oven at 350 degrees.
4.) We let the eggs cool for 15 minutes.
5.) We coated the eggs with decoupage to seal the cracks and give us a smooth base.
6.) We let it dry for four hours.
7.) Then we covered the egg in decoupage and rolled in beads.
8.) We let the eggs dry for 2 hours then repeated process 7.
9.) We let them dry overnight.
With all the drying time, The Divine Miss M couldn’t sustain her creative juices and took to painting her egg and then adding Sharpie Marker Drawings. We coated it with decoupage to preserve it.
The result is beautiful eggs that my children think is worthy of a royal empire. It was really a fun learning experience for them, and the craft imprinted this beautiful story of love and Easter in my children’s hearts.
Check out this idea for more adorable Easter Egg ideas!
We appreciate your subscription to Mommy’s Memorandum
