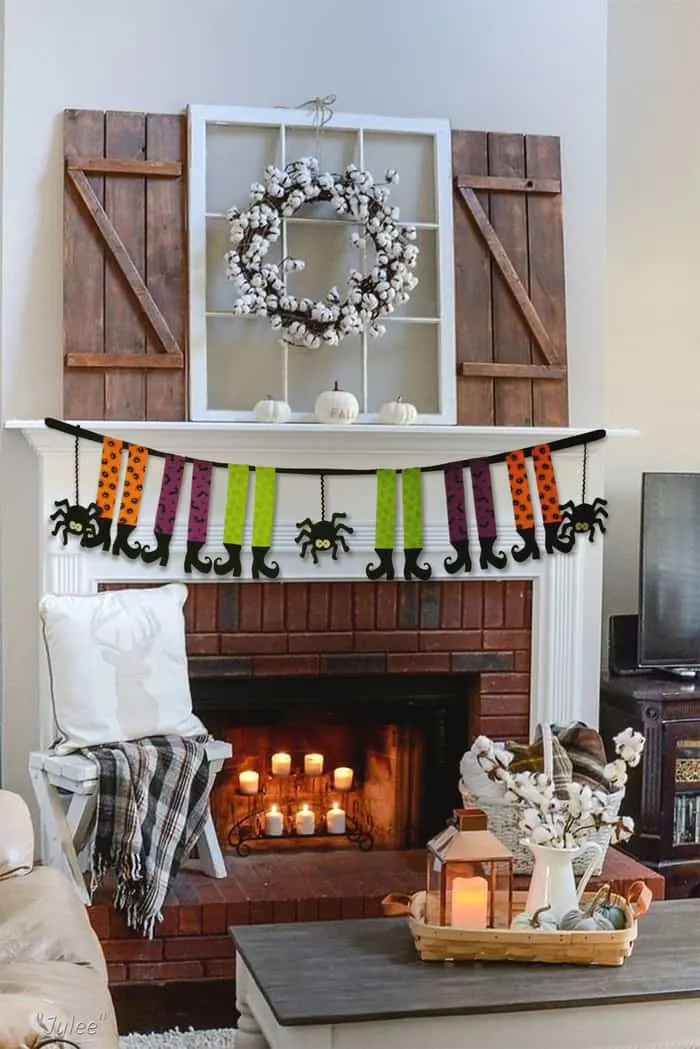
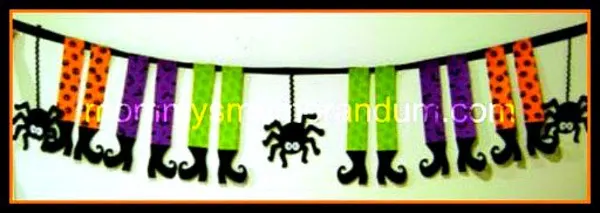
This No-Sew Spider and Witch Halloween Banner Tutorial is easy to put together in a few hours. It’s a fun addition to Halloween festivities and so easy my 7-year-old daughter made it with my supervision.
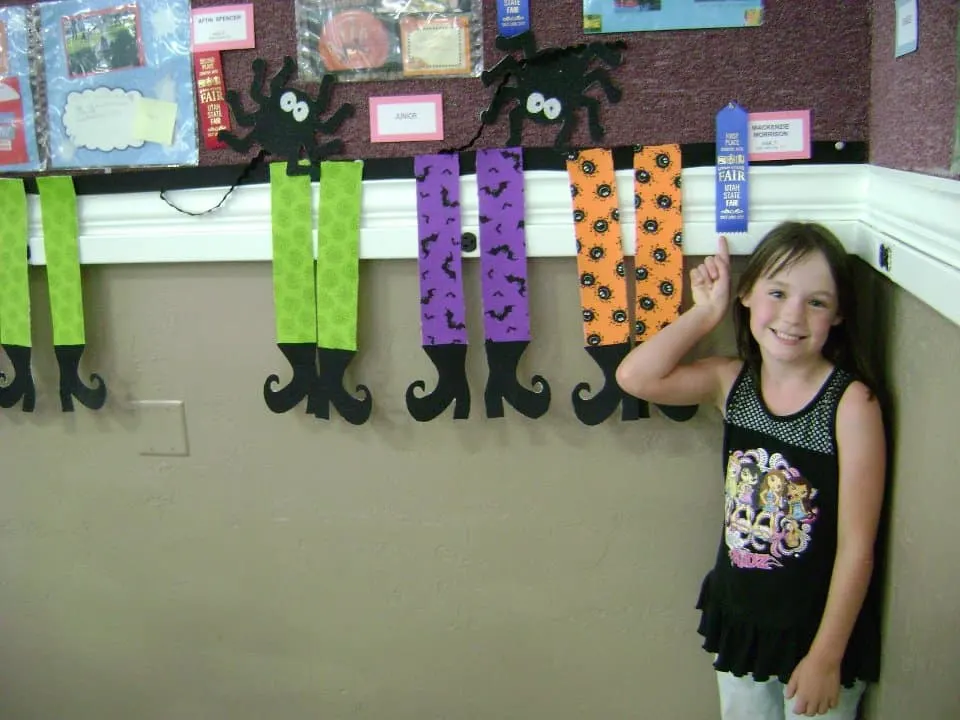
The Divine Miss M made this banner for the 2011 Utah State Fair and brought home a first-place ribbon. She made it from fabric (without a sewing machine); however, using the pattern, it works with scrapbooking paper for a banner in a jiffy!

Witching You A Happy Halloween Banner Tutorial
Witching You A Happy Halloween Banner Tutorial Materials:
Rowenta Iron
Wonder Under
Three different Halloween Print Fabric (we chose green, orange, and purple)
White fabric for spider eyes
Black Material for Witches shoes and spider
Black Jumbo Ric-Rac
Velcro or sewing machine
grosgrain ribbon

Witching You A Happy Halloween Banner Tutorial Instructions:
1.) Make a pattern for the Witch Legs. Ours (from fabric) measured 3″ wide x 16″ long–adapt to scrapbooking paper 3″ wide x 12″ long
2.) Transfer pattern on to Wonder Under. You’ll need:
- 3 spiders
- 12 right boots
- 12 left boots
- 6 six legs
3.) Using a Rowenta Iron, iron the Wonder Under onto the wrong side of fabrics
4.) Cut out pieces.
5.) Iron pupils to whites of spider eyes, then iron on pupils.
5.) Peel off one inch of wonder under from top of Witch’s boot and iron on to the bottom of Witch’s leg. Repeat until you have 12 sets.
Assembled Witch’s Legs Ironed on Heavy Interfacing
6.) Peel off the backing of Wonder Under and, using the iron, iron on to heavy interfacing
7.) Cut out all pieces
8.) Lay grosgrain ribbon on the table or floor and place pieces where you want
Cut Ric-Rac to the desired length to hang spider
9.) Cut Ric-Rac to the desired length for each spider to hang
10.) Secure all pieces with a sewing machine, glue gun, or velcro circles.
11.) Loop ends of the ribbon to hang
Banner is Ready to Hang


