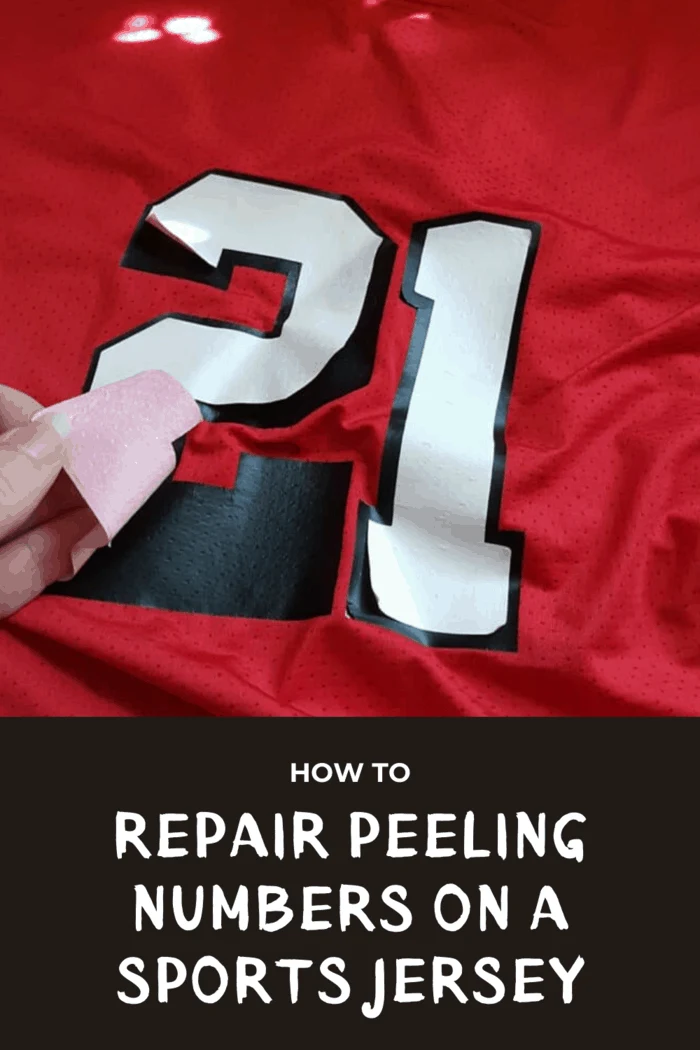
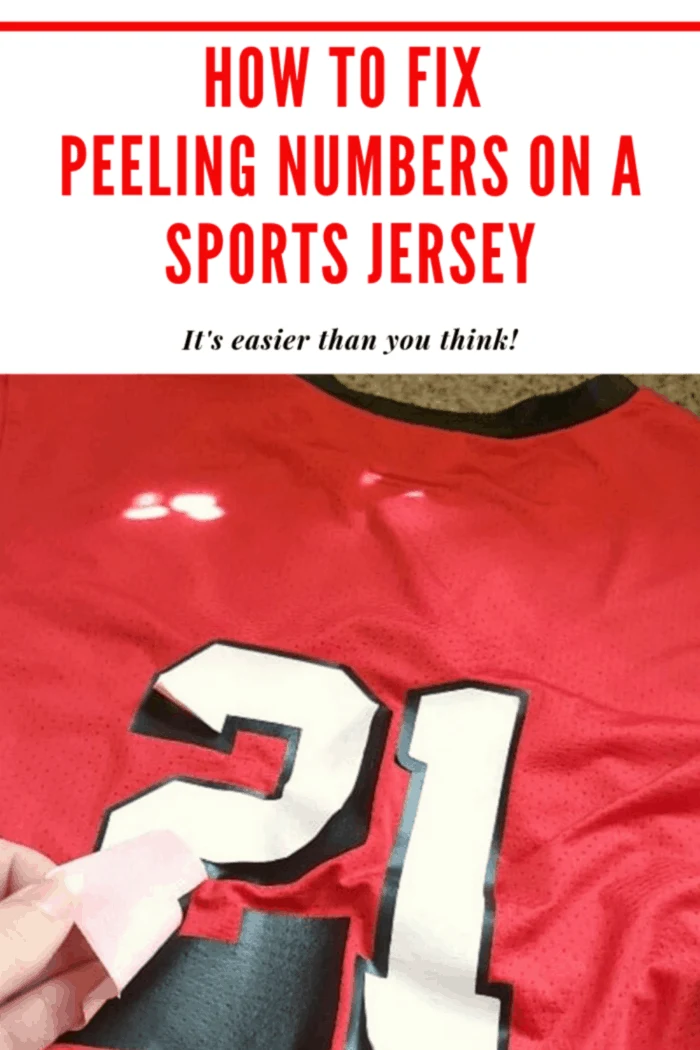
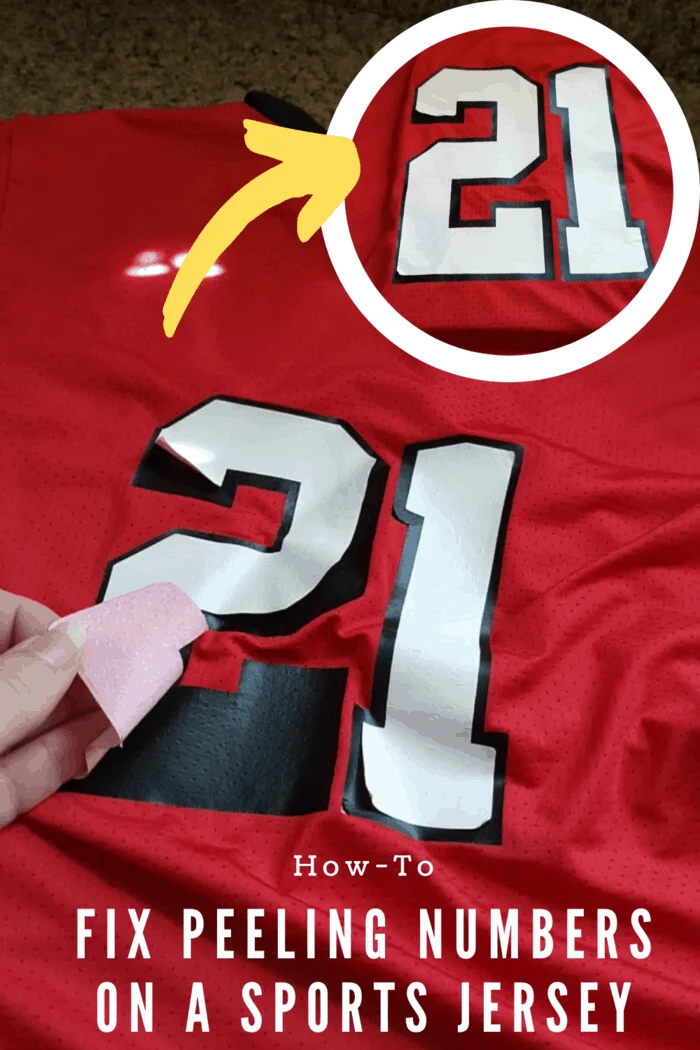
This tutorial walks you through how to fix peeling jersey numbers and make repairs to the letters or numbers peeling away on a sports jersey.
How do you fix peeling numbers on a sports jersey?
Easy Number Repair for Jerseys!
It’s so simple to reattach peeling numbers.
Maybe you’re here because that Tom Brady Patriots jersey, you’ve been wearing since 2001, has become the Patriots’ secret weapon and you need to learn how to repair numbers on a football jersey–so they can go to the Super Bowl–again.
Why I Use This Hack:
For me, it is more personal.
Our first year of Middle School and I’ve learned How To Fix Peeling Numbers On A Sports Jersey.
My daughter made the Volleyball team.
It has been an eye-opening season, as you may know from my post When You Can’t Afford to Attend Your Kid’s Sporting Events.
I was delighted when she came home with a borrowed uniform.
When I saw that numbers peeling off jersey was the reality of the borrowed sports jersey, I was told there are “newer” uniforms but they are in “rougher condition”.
I get it.
The decals on a sports jerseys are made from a plastic or vinyl material, and they have an adhesive layer at the back which can get with overlong exposure to water like during washing, begin to peel.
Maybe it’s my OCD or just that mother-gene that says I want my children to look “together“.
I never want to hear someone say to one of my kids, “Child, you look a mess!”
Given this, I found it unacceptable that our “borrowed uniform” needed so much TLC.
Every team has its fans.
Fans that wear their team jersey.
Whether you’re cheering from the sidelines, bringing the house down in the bleachers or participating in the sport, jerseys are expensive.
A team, or fan, wants their sports jersey to last as long as possible.
How to Fix Numbers Peeling Off A Jersey The Easy Solution
I washed the uniforms and then set to work to fix the peeling numbers.
There’s more detail at the end of this post on how to wash your jersey.
This Jersey Repair How-To is brought to you by Rowenta.
It was so easy, I offered to fix the “newer” uniforms and the uniforms the team is using this year.
Seriously, easy!
Keep in mind, while it is difficult to restore the decals to their original state, you can still fix them for a nicer look and better durability.
For greater success, see preventative care tips below.
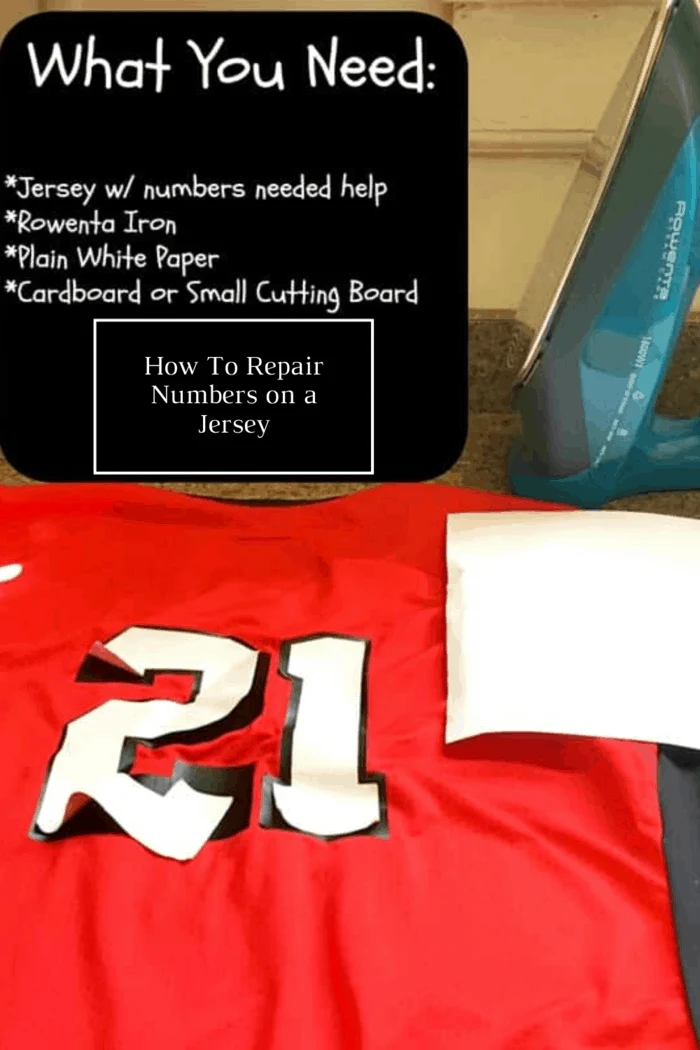
Supplies Needed for Repair:
Jersey in need of some TLC
Iron
Cutting Board or piece of cardboard
Plain White Paper
How to Fix Numbers Peeling Off A Jersey:
It’s best, to begin with, a freshly washed Jersey.
I love to iron, but no skills are needed for this project.
None.
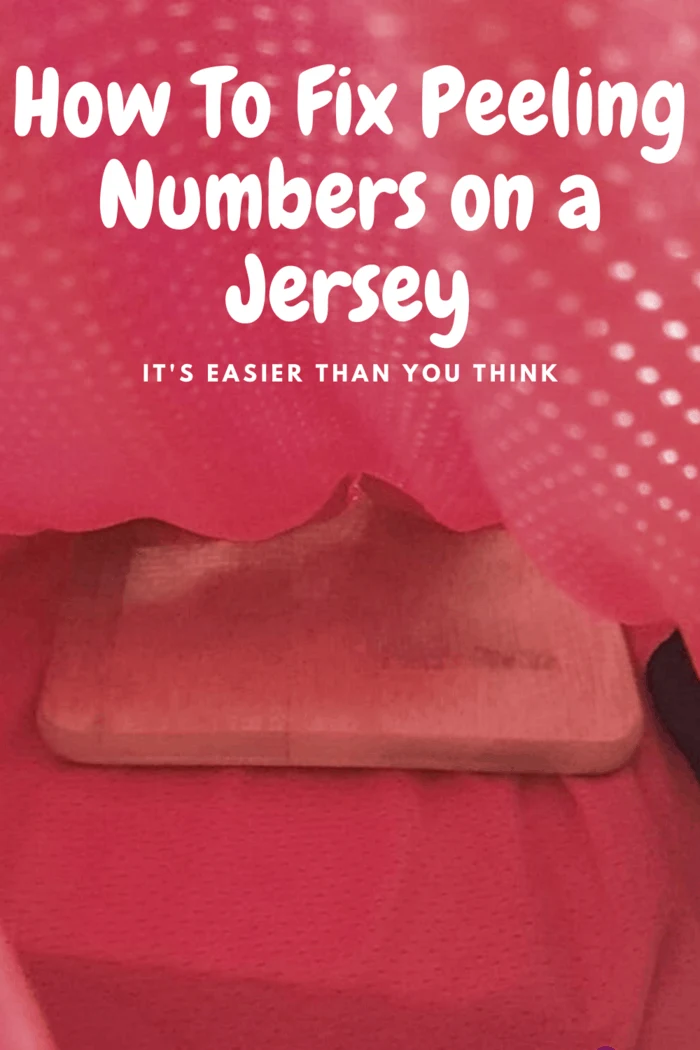
Place cardboard or a small cutting board between the inside and outside of the jersey.
You want the numbers to be repaired on the jersey on top of the cardboard, facing you.
You’ll want to place it so it is underneath the numbers that you are going to be fixing.
Once you have the cardboard/cutting board in place, you’ll want to make sure it is positioned under the numbers and that all of your number transfer is still intact.
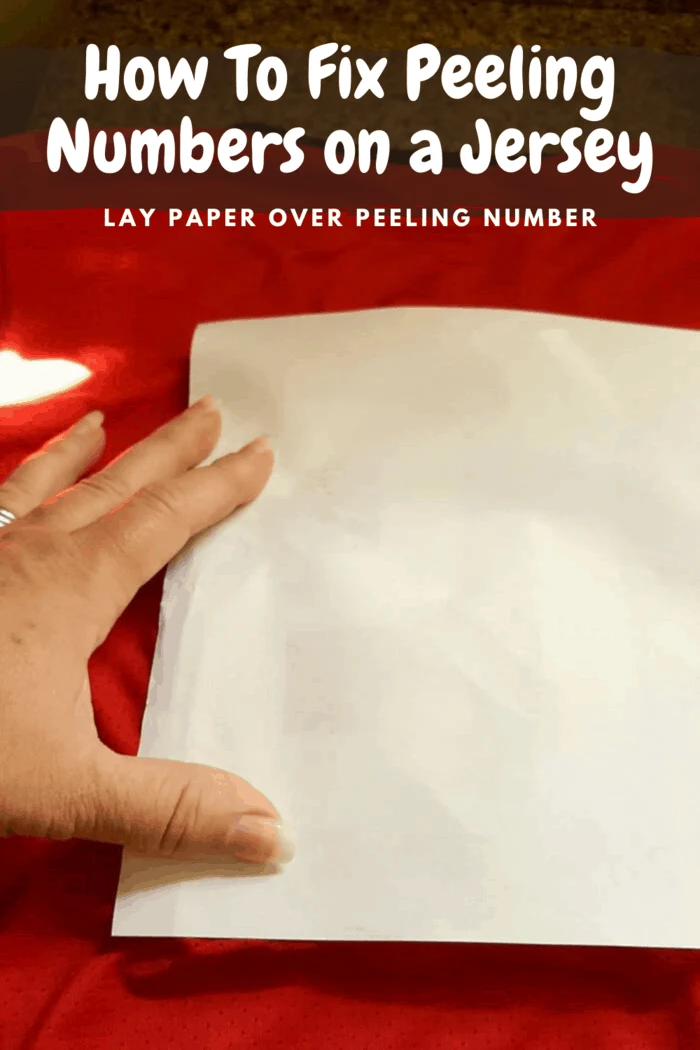
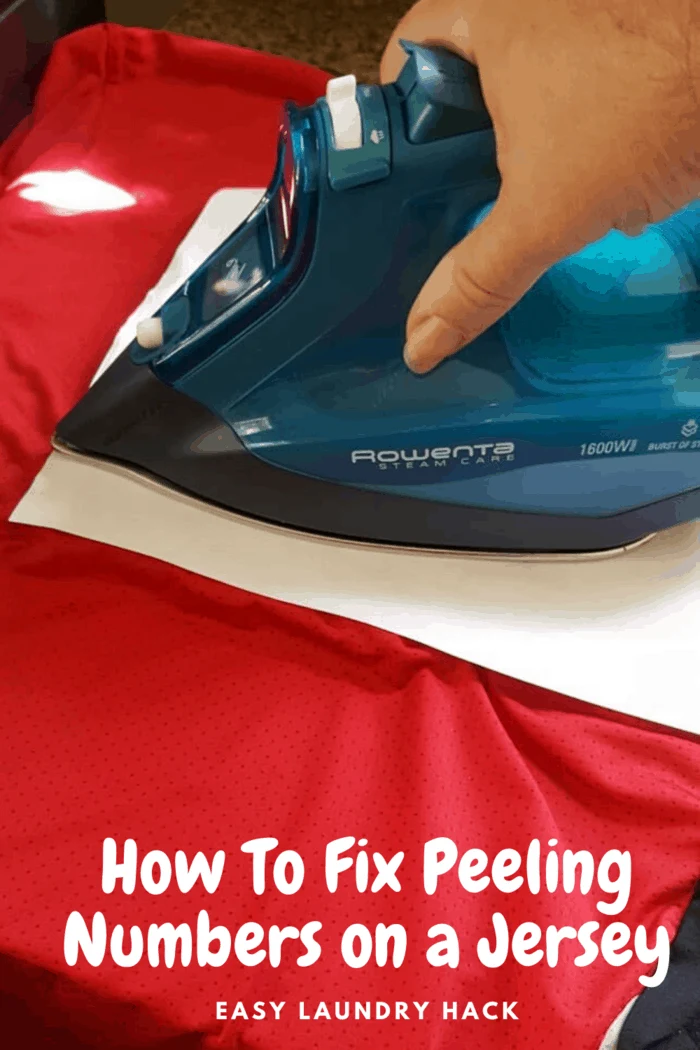
Next, place the plain white paper over the number you will be working on.
This will serve as a barrier between the number and the hot iron, which will keep your jersey from fusing together and give you a firm, flat area to press against.
Make sure your number is flat and in the position you want it to rest before continuing to the next step.
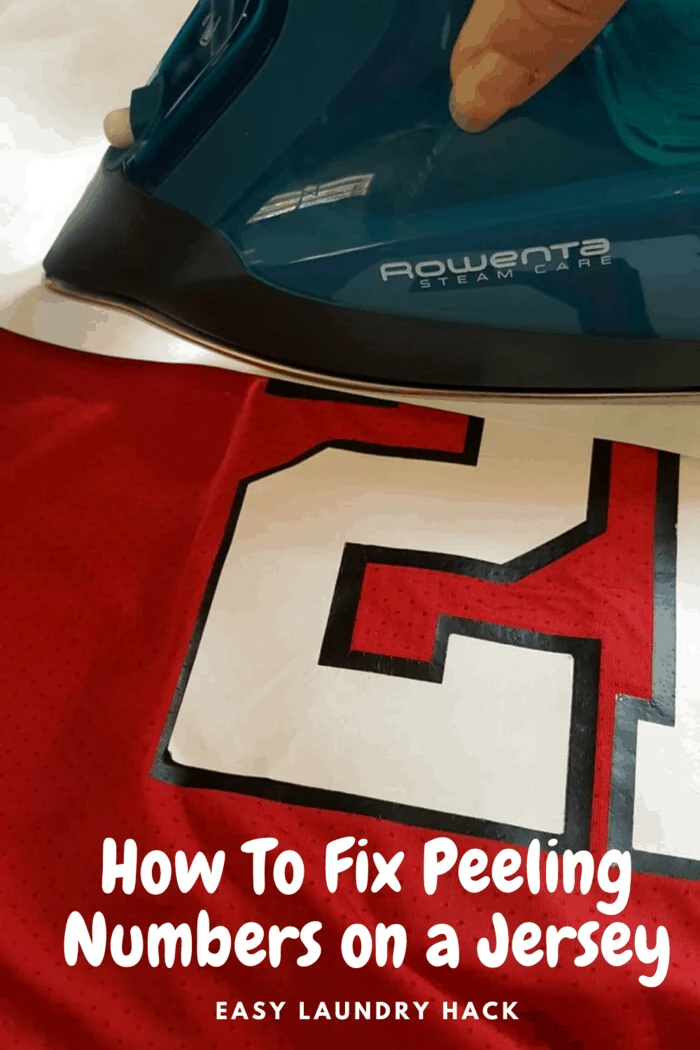
Once you have confirmed the number is in position, take your hot iron (NO STEAM) and gently press and glide over the paper in the area the number is.
Keep the iron moving and don’t let it glide off the paper or it will melt your jersey!
I like the Rowenta iron because it offers One Smart Temperature that automatically adjusts the iron’s heat settings and Tri-Plate Technology that ensures 100% safe and efficient ironing for even the most delicate fabrics without the risk of shine or burn!
It also features a precision tip and auto-shutoff!
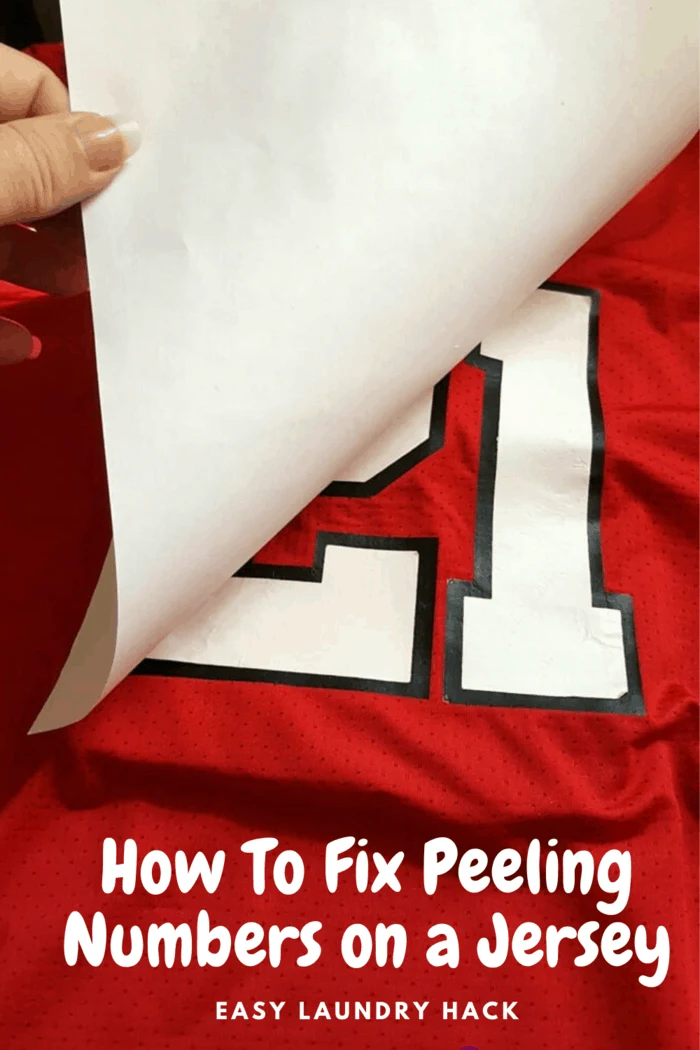
While the paper is still hot from the iron, begin pulling back the paper.
You want to work the paper towards the edge of the number.
If you are working on the bottom of the number you will want to pull the paper down.
Once you have removed the paper, observe the number as you may need to do some touch-ups.
Do any touch-up using the same process.
Once you have worked all the edges of the number, allow the jersey to cool completely.
For best results, work on only one problem letter or number at a time.
When the corrected section is cool, move to another area and follow the steps again for how to repair jersey numbers that are peeling.
I then turned the jersey over and followed the same process for the numbers on the front of the jersey.
The end result is a uniform I felt proud to send my child out into the court wearing.
It suddenly had school pride and made our team look like winners!
Once you have the numbers in place, wash inside out and line dry to keep the jersey numbers looking sharp.
You can always touch-up in between washes or games.
Watch this video on the step-by-step process to see just how easy it is to repair numbers on a sports jersey:
Preventative Care: Fix Letters/Numbers That Are Curling
Keep your jersey looking sharp by being proactive.
Inspect your clean jersey.
If you see numbers or letters peeling from the jersey, follow the steps above to treat it right away to ensure your jersey maintains its pristine condition.
And while it’s this easy to repair the peeling numbers on your jersey, here are some care tips to keep that Jersey looking fresh all season long:
How to Care for Your Jersey with Heat Transfer Numbers:
Before you wash, take a minute to read the care label on your jersey.
This article from the Spruce will help you with laundry symbols.
Sports jerseys are made of fabric that can survive many washes;
1. Pretreat the stains
Pretreat your jersey.
Look for stains on the fabric and decals.
If you notice any:
Dampen the stained area in cold water.
Next, apply the fabric stain remover to the stain.
Now, rub it gently with a soft-bristled toothbrush, and dab out the excess moisture.
For best results, allow the stain pretreatment to rest on the jersey for 15 minutes.
Treating stains as soon as you can gives you greater success.
2. Prepare Jersey for washing
Wash your white jersey separately as colors from other clothes may bleed during the wash.
Black and red jerseys may also bleed, so it’s best to wash them separately. A tablespoon of salt in the water will prevent some color bleeding.
Turn your jerseys inside out before putting them into the washer to protect the patches, wordings, and stitching from abrasion. (This is one of the ways peeling numbers on sports jerseys occur.)
Unbutton the baseball jerseys to prevent the buttons from breaking, and remove the laces from the hockey jerseys to avoid entanglement.
3. Wash your Jersey
You can use regular laundry detergent.
To preserve the color you may choose to use a detergent such as Woolite or Dreft (read the instructions first)
Use good quality, bleach-less, and color-protecting detergent.
Always Use cold water for washing your jersey.
Hot water may cause fading, shrinking, and damage to the decals.
If your jersey has a bad odor, add 1/4 cup white vinegar to the washer through the bleach dispenser (or dilute with 2 cups water before adding to the washer) to neutralize the odor.
Use the Permanent Press cycle.
4. Drying your Jersey
This is the final and important step in keeping your jersey looking its best.
After taking the jersey out of the washer, turn it right side out, and shake it.
This will prevent the stickers from sticking together.
Next, hang dry or flat dry under.
If you are using a laundry line outside, make sure that the sun is not beating directly on the jersey’s decals.
DO NOT place the jersey in the dryer, as the high heat may cause letters and numbers to crack or melt together.
Avoid ironing.
It doesn’t matter if it’s game day and you need that jersey right. now.
If you put it in the dryer, you only ask for trouble.
Instead, plan ahead to lay it flat or use a hanger to air dry it.
How to Repair Melted Numbers on Jersey:
Don’t ask me how I know this, but should your jersey accidentally find its way through a dryer cycle, say on high heat, and your jersey numbers have melted together, there is a fix.
It’s not perfect.
In full transparency, it will never again be perfect, but it will be wearable.
Don’t panic!
Be patient and allow the jersey to cool completely.
Once it is cool, dip a Q-tip in fingernail polish remover (acetone) and carefully, gently, and slowly swap the Q-Tip on the stuck numbers while VERY CAREFULLY pulling the melted area apart.
Unfortunately, some damage will be done.
It’s a given.
—
And there you have it.
How To Fix Peeling Numbers On A Sports Jersey.
Easy Number Repair for jerseys step-by-step so you can support your favorite team.

How To Fix Peeling Numbers On A Sports Jersey
You can repair the peeling numbers and letters on your sports jersey by following the procedure below.
Materials
- Jerseys that have peeling numbers
- Iron
- Plain white paper
- Cardboard or small cutting board
Tools
- Iron
- piece of paper to cover numbers
Instructions
Step 1: Place cardboard or a small cutting board between the inside and outside of the jersey.
You want the numbers to be repaired on the jersey on top of the cardboard, facing you.
Step 2: Place the plain white paper over the number you will be working on.
This will serve as a barrier between the number and the hot iron, which will keep your jersey from fusing together and give you a firm, flat area to press against.
Make sure your number is flat and in the position you want it to rest before continuing to the next step.
Step 3: Apply the Iron Heat with the Steam Turned Off
Make sure your iron’s steam function is off before you continue. The water spray released from your iron can moisten the plain paper, leaving the plastic number susceptible to melting from direct heat
Step 4: Start ironing the number over the white paper. Use only the tip of your iron, and press just the edge of the curling number or letter. Begin slowly, with a very short pressing time, then gradually increase the contact time, until you see the number or letter sticking again to the fabric. Keep the iron moving and don’t let it glide away to the plastic fabric.
Step 5: Pull Back the White Paper While It’s Still Hot
After the numbers stick back to your fabric, take off the iron and pull back the white paper while it’s still hot. Make sure to pull away the paper towards the edge of the number. For example, if you’re working on the bottom of the number, you will want to pull the paper down.
Step 6: Do the Touch-Up Using the Same Process
Carefully observe your numbers and letters as you may need to do some touch-ups. Follow the same process for the required touch-up.