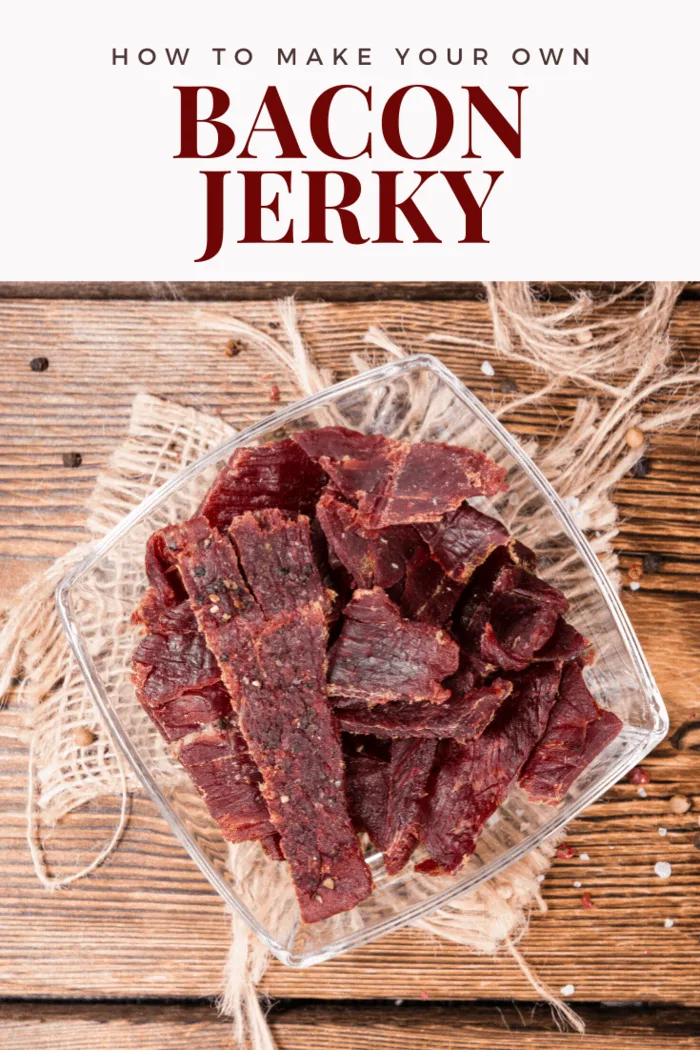
It’s not even difficult to make your own bacon jerky – just follow this step-by-step guide and you will soon be enjoying bacon heaven on a plate. If you want to learn more then head over to the exchange bar & grill.
Bacon – the one food guaranteed to make every day feel brighter and every meal taste better.
As a snack with a beer at the end of the day, or sprinkled on your oatmeal for a salty taste contrast, there’s no end of uses for this tasty and versatile creation, so what could be more amazing than having your very own supply of homemade bacon jerky on tap?


A Step-by-Step Guide to Making Bacon Jerky
Step 1 – Gather the equipment needed
You need:
A couple of cookie sheets
A couple of cooling racks
A smoker and oven or a dehydrator
Bags with a good zipper lock
Hickory wood

Step 2 – Prepare the ingredients (Allow around20 minutes)
For a decent amount of jerky you need to have to hand:
2 pounds of bacon, regular cut – avoid thick-cut pieces
A dry rub
Brown sugar
Garlic powder
Black pepper (coarse)
Begin prepping by cutting the bacon into strips – keep them quite small, then coat each piece completely in the dry rub, then in the garlic powder, pepper, and sugar.
How much you use is down to your taste
. Let the bacon sit for an hour in the fridge before smoking.

Step 3 – Set up the smoking gear
While the meat is keeping cold it’s time to get the fire going, but don’t add your hickory wood until the coals are gray.
When the heat hits around 190°F you can start the smoking process.
Place cooling racks onto two cookie sheets and lay the bacon across the racks, with just a little gap between each slice.
This method means all of the bacon gets smoked.
Step 4 – Get smoking
Place the bacon in your smoker, at the far side from the main heat to avoid it cooking too quickly, and leave it for around two hours to start, but check the cookie trays after one hour and remove the grease if necessary.
After 2 hours remove the bacon and place it in your oven, which has already been preheated to 190°F.
The bacon needs around another three hours to become jerky, but do check it every hour, then near the end every 15 minutes.
You don’t want it to be crunchy (even though that probably sounds like a good thing.).
Step 5 – When your jerky is done
After cooking it needs time to rest, so transfer the meat to a plate with paper towels on to soak up any remaining grease.
No begins the agonizing wait for it to cool down so you can enjoy the fruits of your labor!
Once it is cool and all grease has been removed split it between several zipper tie plastic bags for storage, sealing them well.
They keep fine in a dark place, like a cool pantry area.


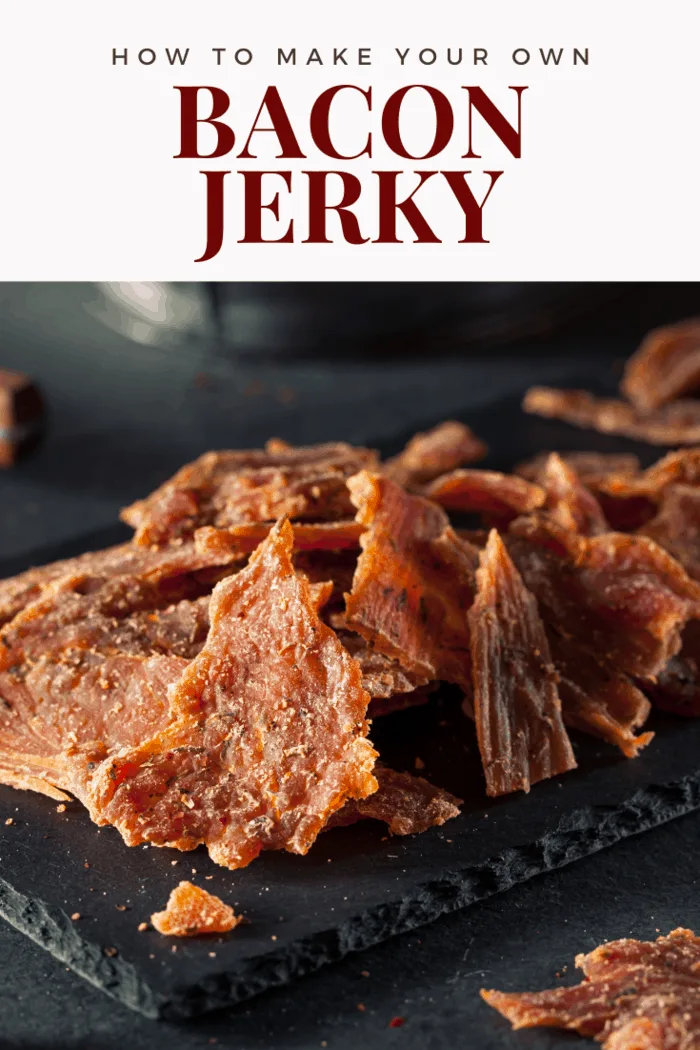
A Step-by-Step Guide to Making Bacon Jerky
It’s not even difficult to make your own bacon jerky – just follow this step-by-step guide and you will soon be enjoying bacon heaven on a plate.
Ingredients
- 2 pounds of bacon, regular cut – avoid thick-cut pieces
- A dry rub
- Brown sugar
- Garlic powder
- Black pepper (coarse)
Instructions
Step 1 – Prepare the bacon
Begin prepping by cutting the bacon into strips – keep them quite small, then coat each piece completely in the dry rub, then in the garlic powder, pepper, and sugar. How much you use is down to your taste. Let the bacon sit for an hour in the fridge before smoking.
Step 2 – Set up the smoking gear
While the meat is keeping cold it’s time to get the fire going, but don’t add your hickory wood until the coals are gray. When the heat hits around 190°F you can start the smoking process.
Place cooling racks onto two cookie sheets and lay the bacon across the racks, with just a little gap between each slice. This method means all of the bacon gets smoked.
Step 3 – Get smoking
Place the bacon in your smoker, at the far side from the main heat to avoid it cooking too quickly, and leave it for around two hours to start, but check the cookie trays after one hour and remove the grease if necessary.
After 2 hours remove the bacon and place it in your oven, which has already been preheated to 190°F. The bacon needs around another three hours to become jerky, but do check it every hour, then near the end every 15 minutes. You don’t want it to be crunchy (even though that probably sounds like a good thing.).
Step 4– When your jerky is done
After cooking it needs time to rest, so transfer the meat to a plate with paper towels on to soak up any remaining grease. No begins the agonizing wait for it to cool down so you can enjoy the fruits of your labor! Once it is cool and all grease has been removed split it between several zipper tie plastic bags for storage, sealing them well. They keep fine in a dark place, like a cool pantry area.