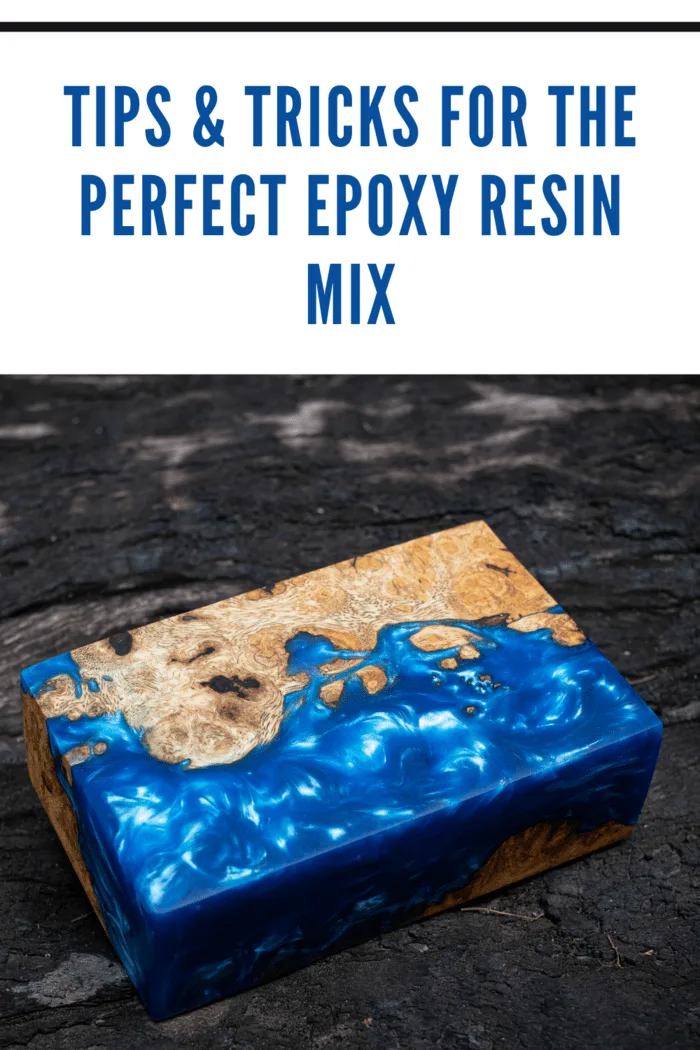
Whether you are a complete rookie at this task or have done this many times before, here are some simple tips and tricks that can help you apply epoxy resin like a professional.

PREP WORK
Begin by planning your projects from start to finish. Don’t even look at your epoxy until the substrate has been adequately prepared. The Resin, application, and cleanup should be the very last step in the process. If you have not used this epoxy resin before, it often helps to try a small sample run to get a feel for the media.
Adhesion is important to consider. If you apply resin to a high-gloss surface, you will want to sand the surface down with 150-grit sandpaper, a mechanical bond is also a good idea. Make sure you have thoroughly cleaned off the surface before you begin.
APPLICATION
Ambient cure epoxies can be greatly affected by temperature and humidity levels. Try to avoid the application of epoxy resin for hot-coating or laminating if the temperatures outside are especially cold or especially humid. Furthermore, the surface you will be applying the resin should be completely dry.
For a faster kick, allow your resin to rest a few minutes before you pour it onto the surface. The warmer the mixture, the faster it will cure. This is especially important if you will be applying resin on vertical surfaces where the epoxy resin can run or drip downward. The same is true if you will be applying the resin in less-than-ideal temperatures.
If heat is the problem, you can address this by adding an ice pack in a Zip-Loc bag to keep the resin a bit cooler. This trick is often used when a small space will have to be filled with epoxy resin.
Avoid allowing quantities any more significant than 3oz to kick in the pot. The subsequent exothermic reaction can release gasses, and in quantities higher than a gallon, the exothermic reaction may even cause the epoxy and hardeners to burst into flame. The best solution will be to pour the epoxy out and allow it to kick. You could also take the pot outside, where the risk of combustion is greatly reduced.
Remember that cured epoxy is not a hazardous material, but all un-kicked resins and hardeners should be disposed of properly.
When applying the resin to the surface, the best way to do this will be to spread out the epoxy with a squeegee in very thin layers (CDC). Then you will be able to smooth it out using a brush. This is the best way to ensure an even layer over larger areas.
If you feel that a second coat is needed, wait for a little until the epoxy becomes tacky, and then apply the next coat very thinly using a new batch of resin. This can take about half an hour. For best results, apply the epoxy using diagonally to the first layer and allow it to settle fully before it kicks.
CURING & CLEAN UP
Make sure to stay close and keep an eye on your project until it has begun to tack and cure as desired. The smallest levels of surface contamination can cause visible issues. If you will not have sufficient time for this, better leave the project for a day when you do.
You can balance your timing with slower resins or faster hardeners, depending on the outcome you hope for. For best results, you can leave your epoxy project to cure at room temperature. If you will be trimming the project, try to do this an hour or two after the epoxy has been properly set. You will find that it is far easier to do this when the epoxy is 75% cured as opposed to when it is completely cured.
Once the epoxy has cured completely, sanding and removal is the next step. Once the epoxy has stopped dripping or running, you will be cleared to remove the edging tape. Remember that it is always best to use a good quality 3M tape for this important aspect of your project.
Use denatured alcohol as opposed to acetone when doing clean-up. It is a good idea to avoid the use of solvents altogether when cleaning up. After the epoxy has fully hardened, 6-7 hours, using a squeegee for this task is the best idea. All the brushes you will use will have to be discarded. If you get any chemical residues on your skin, remove them immediately using a solution of warm water and soap.
Congratulations, you are now prepared to begin your project from an enlightened perspective. By following the recommendations included here, you will achieve perfect results every time and gain practice to create more excellent projects in the future.