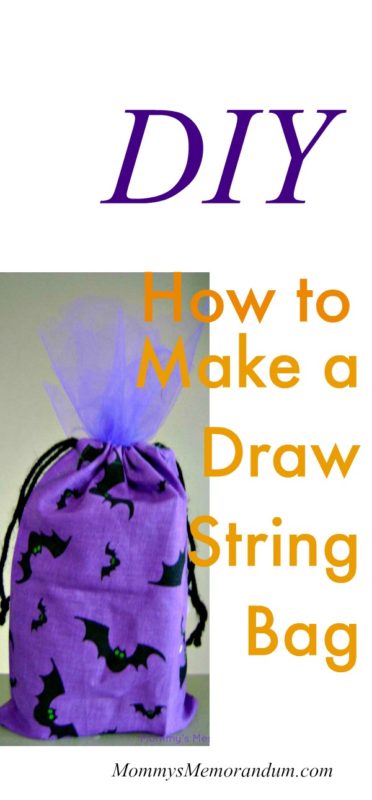
Whether Trick or Treating, hosting a party, or doing classroom favors, bags are a fall theme. This drawstring bag is simple enough for beginner sewers.
Drawstring bags are a great way to hold a few items for trick-or-treating, or switch fabric themes and use them to wrap gifts.
Follow this simple tutorial and sew your own drawstring bags about an hour–maybe two.
You can make them in any size you need!
Just adjust the measurements.
Grab a few fun fabrics and a drawstring, and you’re ready to get started!
Add a card to make it an easy “Treat” they want to repeat!

Drawstring Bag Pattern:
Take an 8″x10″ piece of paper.
Draw a rectangle that measures 7.25″ x 9.75.”
Cut out.
Measure down .50″ from the top and draw a dotted line across.
From that line, measure down 1″ and draw a dotted line across.
On each side, measure 5/8″ and draw a dotted line down.
Measure from the top down 6.5″ on each side and place a bold dot
You now have a pattern. It should look like this:
drawstring bag instructionsDrawString Bag Directions:
1.) Cut out the pattern piece
2.) Put the pattern on the fabric with right sides together, creasing along the fold line (bottom of the pattern)
3.) Stitch from folded edge to dot (matching dots). Be sure to backstitch at each end of the seam.
4.) Press seams open. Continue pressing to top edge.
5.) Turn seam allowance under the above dot (You should have already pressed this open). Stitch close to the edge.
6.) Fold Top edge under 1/2″. Press. Fold down another 1″. Press. Stitch close to the edge. This will form a tube on each side.
7.) Cut (2) 18″ pieces of yarn or cord. Using a safety pin, thread through both sides of tubing from different directions. A turning tube makes this job easier, especially when threading the second piece through. Tie ends together.
You can learn more about how to press and sew a hem for clean lines.

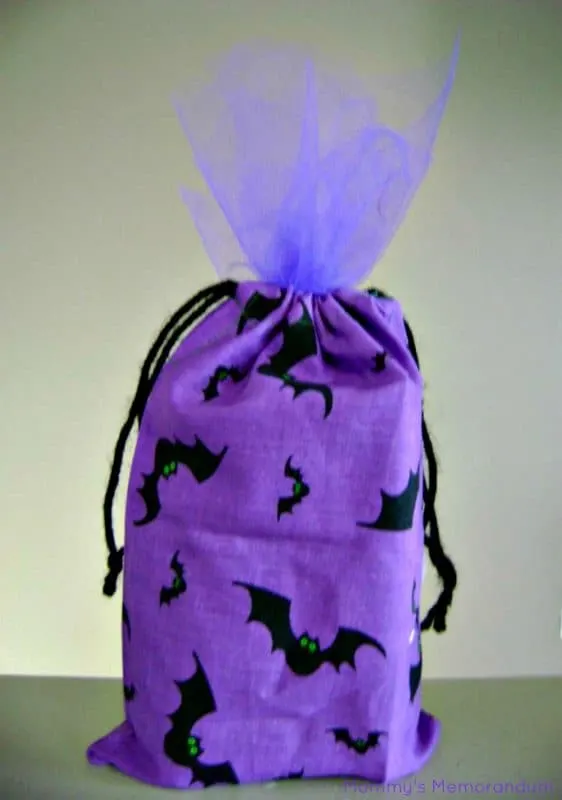
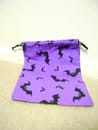
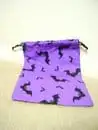
Fill your bag with tricks and treats (we are using a Capri Sun, Halloween Pretzels, and Ring Pop and Vampire Glow-in-the-Dark Slime). I then stuffed a couple of pieces of tulle at the top for some fanciness!
This tutorial for a drawstring bag is basic.
It’s easy to adjust and customize your drawstring bag to fit your needs or theme.
If you want it to stand on its own, adding fusible interfacing to the inside will give your bag more structure.
You can add batting and quilt the bag.
Remember when adjusting the size, you also need to adjust the size of channels for the drawstring.
This is a great afternoon craft and perfect for beginning sewers.